


Page 14
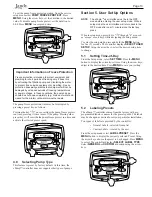
5.3 General
Labels
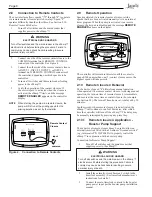
Using the arrow keys, select a general label from the list to
assign to the Preset. Press
MENU
to assign the label to the
Preset.
2
3
4
ePUMP
MENU
LABEL PRESET
FILTRATION
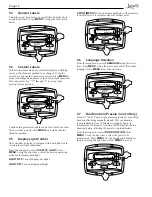
5.4 Custom
Labels
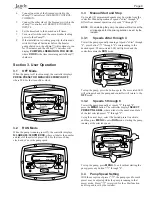
In the custom label mode, the controller displays a flashing
cursor at the character position to be changed. Using the
arrow keys, change the character as desired. Press
MENU
to
accept the change and advance to the next character position.
Press any preset key "
" through "4" to return to the
previous cursor position.
2
3
4
ePUMP
MENU
LABEL PRESET
1:PRESET 1
Continue this procedure until the end of the label is reached.
The new label is saved when
MENU
is pressed at the last
character position.
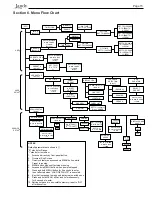
5.5
Display Light Control
The controller’s display is equipped with a backlight to aid
viewing in low light conditions.
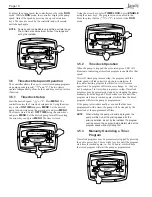
From the setup menu, select
DISPLAY LIGHT
. Press
MENU
. Using the arrow keys, select the desired operating
mode for the display backlight:
LIGHT OFF:
Turn off display backlight.
LIGHT ON:
Turn on display backlight.
2 MIN TIMEOUT:
Turn on display backlight, with automatic
turn-off after two (2) minutes since the last key press.
2
3
4
ePUMP
MENU
SELECT USER SETUP
DISPLAY LIGHT
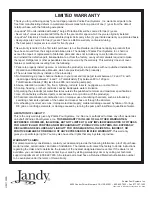
5.6 Language
Selection
From the setup menu, select
LANGUAGE
using the arrow
keys. Press
MENU
. Using the arrow keys, select the desired
language. Press
MENU
to save the selection.
2
3
4
ePUMP
MENU
SELECT USER SETUP
LANGUAGE
5.7
Run Duration (Presets 3 and 4 Only)
Presets "3" and "4" may be programmed to run for a specified
duration after being manually started. This run duration
is programmable from 30 minutes to eight (8) hours, in
increments of 30 minutes. A setting of 0:00 disables the run
duration feature, allowing the preset to run indefinitely.
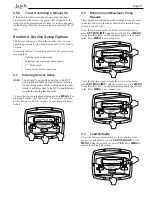
From the setup menu, select
RUN DURATION
. Press
MENU
. Using the arrow keys, select the preset to be
programmed. Press
MENU
. Set the desired run duration for
the preset using the arrow keys. Press
MENU
to accept.
2
3
4
ePUMP
MENU
SELECT USER SETUP
RUN DURATION
Summary of Contents for ePump
Page 2: ......


