(II)
JWL 10
4. Put the corresponding weight on the weighing pan, and then press
TARE
to complete the first
point calibration. “
”appears at the left bottom.
Note:
After the first point calibration, the window can display the weight value. If no need for
the other point calibration, move to step 6 to finish the calibration procedure.
5. Add another mass to the current weight. The window will show the total weight. Press
TARE
to complete. “
”appears at the left bottom.
6. Press
M+/SAVE
to save. After the window displays “
”, it will return to normal weighing
mode.
7. Operation
7-1 Weighing
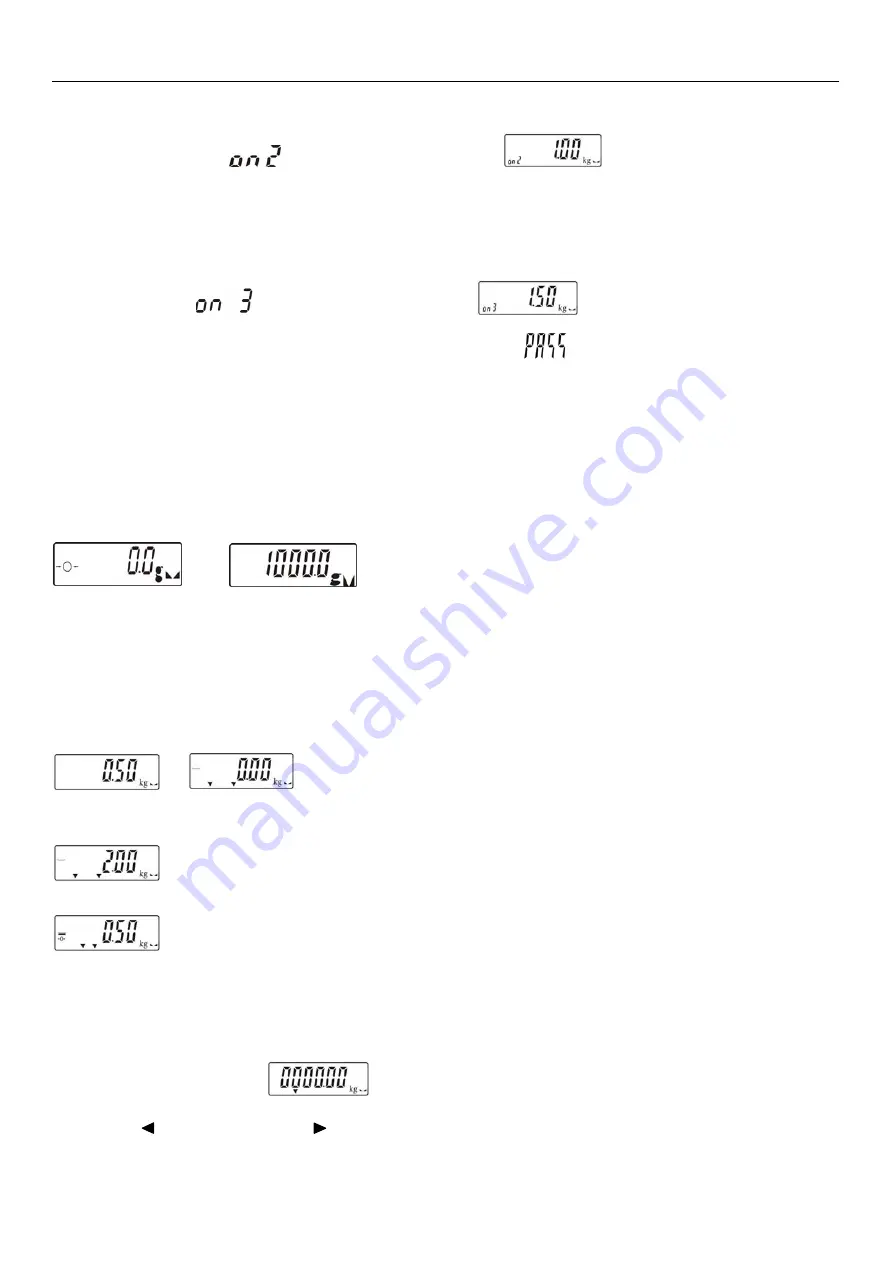
Begin with no load on the scale, the display reading zero. Place item(s) to be weighed on the scale.
The display shown is 1000.0g, gross weight.
(
The desired weighing unit should be selected before
weighing, refer to section 7-5.
)
→
7-2 Manual Tare & Preset Tare
When weighing a sample that must be held in a container, tare stores the container weight into
memory.
Manual Tare
1) Under the weighing mode, place the container on the weighing pan, wait till stable
symbol appears, and press the key
TARE
. The container is tared.
→
2) Place the item(s) to be weighed into the container. The weight displayed is the net weight.
3) Remove all items from the weighing pan; the screen displays the tare value.
4) To clear tare with an empty pan, Press down key
TARE
or key
ZERO/ESC
.
Preset Tare
1) Long press key
TARE
for 3 seconds. The scale is now in Digital inputting mode with the
left-most digit blinking.
2) Press
/MR
or
TARE/
to move leftwards or rightwards. Press
+/PRINT/HI
or
Summary of Contents for JWL Series
Page 20: ... II JWL 19 4 2 ERP System ...


