4
A .3 . Setting language
If you would like to choose another language than the
preset English, please do as follows:
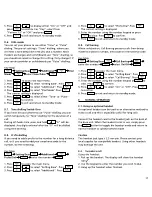
Press
and press
three times to select
display
press
press
twice to select
Select lang .
Press
press
to select your desired language:
english, deutsch, français, italiano, nederlands, español,
dansk, Svenska, türkçe, norwegian
and press
.
A .4 . installation and replacement of optional battery
CAution:
Always disconnect all phone cords from
the wall outlets before installation or replacement
of the battery.
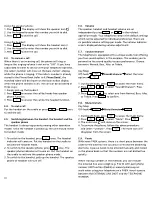
To install the battery, please follow the instructions below:
1. Prepare one piece of optional back-up rechargeable
battery, SANIK .4V 650mAH Ni-MH, model SN-AAA65H-
S-J1.
. Remove the table stand, the power supply unit and the
telephone line cord from the base station.
3. Unscrew the battery compartment door with a screwdriver
and lift up the battery compartment door.
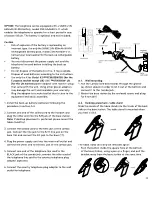
4. Install a new or replace the old battery pack as indicated
on the diagram below.
5. Mount the battery compartment door again.
Important Notice
To obtain the best battery performance, the back-up
battery pack should be charged for 10 hours after
first time installation.
Remove the back-up battery pack from this product if
storing over 30 days.
A .5 . Memory keys
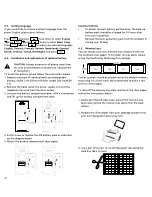
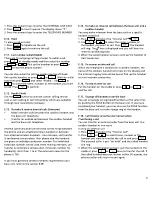
You can design your own memory keys and print them on
the enclosed silver paper. To fit under the key plate, please
set up the box/text by following this example:
Text
Text
Text
Text
66 mm
10 mm
Text or symbols should be placed within the dotted windows
measuring 14 x 8 mm each. We recommend to make a test
print on white paper.
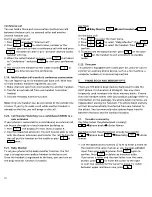
To take off the memory key plate and insert the silver paper,
follow the instructions below:
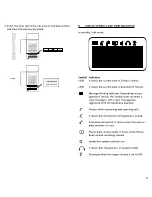
1. Gently pull the left side recess area of the memory key
plate and remove the memory key plate from the base
station.
. Prepare the silver paper from your package and print out
your own designed memory key text.
3. Use a pair of scissors to cut off the paper slip along the
solid line (66 x 10 mm).
•
•

