CONSER
VER
INSTALLATION, OPERATION,
AND SERVICE MANUAL
Conserver XL2 Manual • 07610-002-10-23-V
CONSERVER
®
XL2 DISHMACHINES
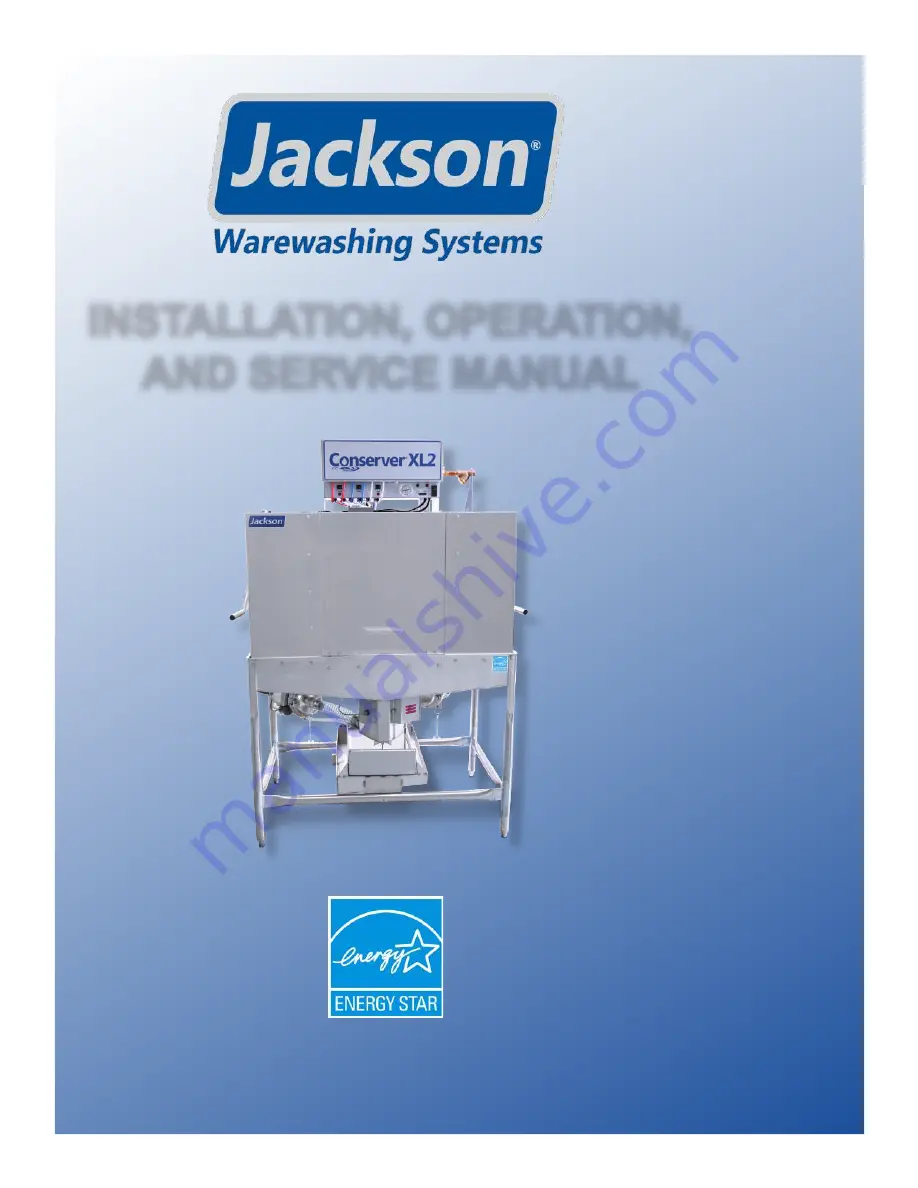
Page 1: ...CONSERVER CONSERVER INSTALLATION OPERATION INSTALLATION OPERATION AND SERVICE MANUAL AND SERVICE MANUAL Conserver XL2 Manual 07610 002 10 23 V CONSERVER CONSERVER XL2 DISHMACHINES XL2 DISHMACHINES...
Page 2: ...alled by Jackson at the factory and are shipped with the Dishmachine carry only a 1 one year parts warranty Labor to repair or replace these components is not included in the warranty or covered by Ja...
Page 3: ...OM DEFECTS IN MATERIALS AND WORKMANSHIP AND IS REPORTED TO JACKSON WITHIN 30 THIRTY DAYS FROM THE DATE OF INSTALLATION 9 DAMAGE CAUSED BY LABOR DISPUTE 10 DAMAGES RESULTING FROM IMPROPER CONNECTION TO...
Page 4: ...nged Hood and Controls on the XL2 to new design Removed list of Service Repair Centers Updated the Hood Assembly pg 35 Removed references to old new styles and parts associated with the old style Remo...
Page 5: ...o the proper page Technical support is not available on holidays Contact technical support toll free at 1 888 800 5672 Technical support is available for service personnel only Conserver XL2 Series Co...
Page 6: ...Plumbing 8 Water Supply Connections 9 Pressure Regulator 9 Shock Absorber 9 Connecting the Drain Line 9 Plumbing Check 9 Electrical Power Connections 10 Thermostats 10 Voltage Check 10 Preparing Chemi...
Page 7: ...29 Hood Assembly 31 Cantilever Arm 33 Tub Assembly Left front 35 Tub Assembly Right front 36 Frame Assembly 37 Wash Motors 38 Inlet Plumbing Assembly 39 Solenoid Valve Repair Kit 40 Plumbing Options 4...
Page 8: ...te i caustic chemicals ABBREVIATIONS ACRONYMS ANSI American National Standards Institute CFM Cubic Feet per Minute GHT Garden Hose Thread GPH Gallons per Hour GPM Gallons per Minute GPG Grains per Gal...
Page 9: ...ical Connection All dimensions from the floor can be increased 1 1 8 using the machine s adjustable feet D 1 1 4 32 mm 2 51 mm 4 102 mm 29 1 4 743 mm 44 1118 mm 50 1 2 1283 mm 15 1 4 387 mm 68 1 2 174...
Page 10: ...m 4 102 mm 11 1 2 295 mm 1 1 4 32 mm D 11 1 4 286 mm 68 1 2 1740 mm 6 3 4 171 mm 33 1 2 852 mm 17 1 4 438 mm CLEARANCE D 48 1 2 1232 mm 15 1 4 387 mm A 4 102 mm C LEGEND A Electrical Connection B Wate...
Page 11: ...mm A C D 57 1 4 1454 mm C B 13 330 mm 65 1650 mm 78 1981 mm WITH DOOR OPEN A 29 1 4 743 mm 13 1 4 337 mm 44 1118 mm 4 102 mm 11 1 2 295 mm 1 1 4 32 mm D 4 102 mm LEGEND A Electrical Connection B Wate...
Page 12: ...DISTANCE CAN VARY 20 1 2 521 mm OPENING 30 762 mm 4 102 mm ALIGN WITH TABLE DISTANCE CAN VARY 4 102 mm ALIGN WITH TABLE DISTANCE CAN VARY XL2 CML XL2 CMR 1 1 4 32 mm 1 3 8 35 mm 20 1 2 521 mm OPENING...
Page 13: ...conds Wash 53 Rinse 14 Dwell 20 Total Cycle Time 87 With Load Time 92 Always refer to the machine data plate for specific electrical and water requirements The material provided in this manual is for...
Page 14: ...tate territorial and national codes Work should only be performed by qualified electricians and authorized service agents Available Electrical Characteristics 115 V 60 Hz Single phase 208 230 V 60 Hz...
Page 15: ...ation to prevent damage to the machine during operation and to ensure the best results The machine comes with four adjustable bullet feet which can be turned using a pair of channel locks or by hand i...
Page 16: ...ure is line pressure in a no flow condition all valves and services are closed flow pressure is the pressure in the fill line when the valve is opened during the cycle The manufacturer also recommends...
Page 17: ...ower at the breaker or disconnect switch and lockout tagout in accordance with procedures and codes VENTILATION THERMOSTATS 1 Ensure power switch is in the OFF position and apply power to the machine...
Page 18: ...Sanitizer 4 Detergent is dispensed during the wash cycle The amount of detergent might need to be adjusted depending on water quality and type of detergent 5 Rinse aid is dispensed during the final ri...
Page 19: ...on the status of the dishmachine SELECT CYCLE STEP TO ADJUST PRESS SAVE TO EXIT CYCLE PUMP DRAIN FILL SANI DETER SPARE CYCLE COUNT SAVE EXIT START TIME DURATION TIMER MODEL SELECT MODEL RINSE AID STE...
Page 20: ...TIMER SELECT CYCLE STEP TO ADJUST PRESS SAVE TO EXIT CYCLE PUMP DRAIN FILL SANI DETER SPARE CYCLE COUNT SAVE EXIT START TIME DURATION TIMER MODEL SELECT MODEL RINSE AID STEP STEP DISH CYCLE TIMER Cha...
Page 21: ...UST PRESS SAVE TO EXIT CYCLE PUMP DRAIN FILL SANI DETER SPARE CYCLE COUNT SAVE EXIT START TIME DURATION TIMER MODEL SELECT MODEL RINSE AID STEP STEP DISH CYCLE TIMER SELECT CYCLE STEP TO ADJUST PRESS...
Page 22: ...E STEP TO ADJUST PRESS SAVE TO EXIT CYCLE PUMP DRAIN FILL SANI DETER SPARE CYCLE COUNT SAVE EXIT START TIME DURATION TIMER MODEL SELECT MODEL RINSE AID STEP STEP DISH CYCLE TIMER PLANT TEST MODE SELEC...
Page 23: ...strainer and pan strainer are in place and clean 2 Drain stopper is installed 3 Wash rinse arms are installed secure and rotate freely To place the machine in standby flip OFF ON FILL switch to ON pos...
Page 24: ...e between two lines on drain stopper After this water level is controlled by timer preset at the factory 3 Verify drain stopper is preventing wash tub water from pouring out excessively There might be...
Page 25: ...ing the cycle Pre soak flatware in warm water to assist in removing food Load plates and saucers in the same direction with the food surface facing the unload end of the machine To wash a rack open do...
Page 26: ...tion 2 Open door 3 Remove drain stopper and allow tub to drain WARNING Wash tank water will be hot 4 Remove sump strainer and pan strainer 5 Use a hand scraper to scrape foodsoil into a trash basket 6...
Page 27: ...an nozzles with a brush and flush with fresh water 9 Replace end caps and ensure they ve been tightened 10 Spray or wipe out interior of machine 11 Replace wash rinse arms 12 Ensure sump strainer and...
Page 28: ...ended by chemical supplier 8 Wait five minutes then inspect inside of machine If machine is not delimed run again 9 Flip NORMAL DELIME switch to NORMAL 10 Run two cycles to remove residual deliming so...
Page 29: ...all strainers are clean and securely in place before operating the machine When cleaning out strainers do NOT beat them on waste cans Wipe out strainers with a rag and rinse with water if necessary U...
Page 30: ...nd WHITE RED wires to switch If 120 V replace the switch Machine will not run Wash pump motor will run if wash relay is depressed manually nothing else works 1 Open door switch 2 Faulty control relay...
Page 31: ...heck voltage at relay coil between ORANGE BLACK and WHITE wires If you read 120 V coil is faulty Replace the relay Wash motor does not run even when the wash relay is manually depressed other function...
Page 32: ...connections at switch and at wire connectors Bypass switch to verify that switch is problem replace if required 3 Clear impeller 4 Check motor voltage and amp load If amp load is over 12 A replace th...
Page 33: ...tch on cam timer 1 Adjust detergent cam on cam timer 2 When the detergent cam is in the home position measure voltage between ORANGE and GREY WHITE wires If 120 V replace the microswitch Rinse aid not...
Page 34: ...IN SOLENOID SEE SCHEMATIC 38 ITEM QTY DESCRIPTION PART NUMBER 1 3 Switch Prime 05930 011 49 54 2 3 Light Red 05945 504 07 18 3 1 Light Green 05954 504 08 18 4 1 Switch Delime 05930 301 21 18 5 1 Cycle...
Page 35: ...22 1 Control Box 05700 003 81 49 23 1 Decal Lower Control 09905 004 00 06 24 1 Bracket Timer Mounting 05700 004 08 77 25 1 Relay Pole 115 V 05945 111 35 19 26 2 Bracket Pressure Switch 05700 004 08 99...
Page 36: ...07610 002 10 23 V 29 CHEMICAL FEEDER PUMPCOMPONENTS PARTS For complete Chemical Feeder Pump Assembly part numbers see the Control Box pages NOTICE 2 1 8 9 5 4 7 6 3...
Page 37: ...Detergent Sanitizer Feeder Pump 04320 111 35 13 04320 111 35 14 3 2 Screw 8 32 x 1 2 Phillips Flat Head 05305 011 37 06 4 1 Tube 3 16 x 8 Clear Tygoprene 05700 003 22 89 5 1 Roller Black Dot 04320 11...
Page 38: ...07610 002 10 23 V 31 HOOD ASSEMBLY PARTS 1 6 7 4 2 5 3 9 8 2 3 2 10 11 6 7 8 9 2 12 13 2 14 7 9 8 6 15 10 2...
Page 39: ...ear 05700 021 84 70 6 4 Door Guide 05700 021 44 94 7 8 Bolt Hex Head 1 4 20 x 3 4 05305 274 04 00 8 8 Washer 1 4 ID SS 05311 174 01 00 9 4 Door Stop 05700 011 46 30 10 2 Door Switch 05930 111 51 69 11...
Page 40: ...07610 002 10 23 V 33 1 2 24 18 10 11 12 13 9 15 16 7 8 5 22 4 14 6 23 18 17 18 19 11 12 20 CANTILEVER ARM PARTS 3a 3b 3c 3d 3e 3f 1 7 4 5 2 6 9 3 8 10 11 12 13...
Page 41: ...d 2 Nylon Washer 05311 369 03 00 3e 1 Bushing 03120 100 03 00 4 2 Screw Cap 1 4 20 x 1 5 8 05305 004 23 57 5 4 Washer 1 4 ID SS 05311 174 01 00 6 2 Plug Cantilever 05340 011 35 00 7 2 Cantilever Arm C...
Page 42: ...Wash Motor See Wash Motors 6 1 Hose Barb Fitting 3 8 x 1 8 Male 04730 002 18 96 7 1 Hose 3 8 ID x 12 Long 05700 002 69 73 8 1 Spillway Gasket 05700 111 34 52 9 1 Drain Seat Insert 05700 004 37 18 10...
Page 43: ...21 33 50 4 1 Hose 1 1 2 ID x 7 3 4 05700 111 33 52 5 2 Hose Clamp Mini 7 16 x 25 32 04730 011 36 05 6 1 Wash Motor See Wash Motors 7 1 Hose Barb Fitting 3 8 x 1 8 Male 04730 002 18 96 8 1 Hose 3 8 ID...
Page 44: ...FRAME ASSEMBLY PARTS 1 1 Accumulator 05700 031 66 24 2 1 Accumlator Strainer 05700 021 47 17 3 1 Accumulator Stop Clip 05700 011 49 11 4 4 Adjustable Bullet Foot 05340 108 01 03 ITEM QTY DESCRIPTION...
Page 45: ...1 1 Motor 1 HP 115 230 V 60 Hz 06105 004 24 80 60 Hz ITEM QTY DESCRIPTION PART NUMBER 1 1 Motor 1 HP 230 V 50 Hz 06105 002 19 87 2 1 Liquidtite Connector 90 degree 05975 111 01 00 3 1 Pump Support Ass...
Page 46: ...2 1 Nipple Brass 3 4 x 4 1 2 04730 004 04 53 3 1 Solenoid Valve 3 4 04810 100 03 18 4 1 Nipple Brass 3 4 x 1 3 8 04730 207 34 00 5 1 Y Strainer 04730 717 02 06 6 1 Elbow Brass 3 4 90 degree 04730 206...
Page 47: ...sembly from the valve body assembly After unscrewing carefully lift off the bonnet and enclosing tube assembly Don t drop the plunger The o ring seal and diaphragm cartridge can now be lifted out Be c...
Page 48: ...1 Complete Water Arrestor Assembly 3 4 05700 002 61 29 1 1 Nipple 3 4 NPT Close Brass 04730 207 34 00 2 1 Water Arrestor 06685 100 05 00 3 1 Tee 3 4 x 3 4 x 1 2 04730 211 06 00 1 2 3 WATER TREATMENT O...
Page 49: ...07610 002 10 23 V 42 WASH MANIFOLD ASSEMBLY PARTS 1 7 4 5 2 6 9 3 8 10 11 12 13...
Page 50: ...05310 276 01 00 4 8 Lockwasher 05311 276 01 00 5 2 Upper Manifold 05700 031 34 82 6 4 Hex Head Bolt 3 8 16 x 7 8 05306 011 36 95 7 4 O Ring 05330 111 35 15 8 2 Manifold 05700 031 34 59 9 4 Hex Head Bo...
Page 51: ...1 Injection Tube Gasket 05700 011 45 36 4 1 Injection Tube Bushing 05975 002 47 54 5 1 Rack Guide 05700 031 45 92 6 1 Air gap Insert 3 4 05700 004 34 43 7 1 Air gap 3 4 05700 004 34 42 8 1 Standpipe...
Page 52: ...07610 002 10 23 V 45 SCHEMATICS XL2 CML CMR 115 V 60 HZ 1 PHASE...
Page 53: ...07610 002 10 23 V 46 SCHEMATICS XL2 CML CMR 208 230 V 50 60 HZ 1 PHASE...
Page 54: ...47 Jackson WWS Inc 6209 N US Hwy 25E Gray KY 40734 USA 1 888 800 5672 www jacksonwws com Conserver XL2 Manual 07610 002 10 23 V...