External document
File name:
EYE-02 Wireless peripherals
10/12
URL:
http://www.jablocom.com/download
Camera switches can be controlled and configured in JabloTool via internet (
tab Peripherals),
or in JabloTool via USB cable (tab Configuration, External devices). Switches can also be controlled by SMS
commands if they are switched to SMS ON/OFF or SMS ON/OFF (pulse) mode. Switches are called Devices in
SMS commands.
Example of SMS command: "<Remote Access Password> DeviceX ON" will switch the DeviceX ON)
Example of SMS command: "<Remote Access Password> DeviceX ON 02:00:00" will switch the DeviceX ON for 2
hours
.
For more information on SMS commands see the camera manual.
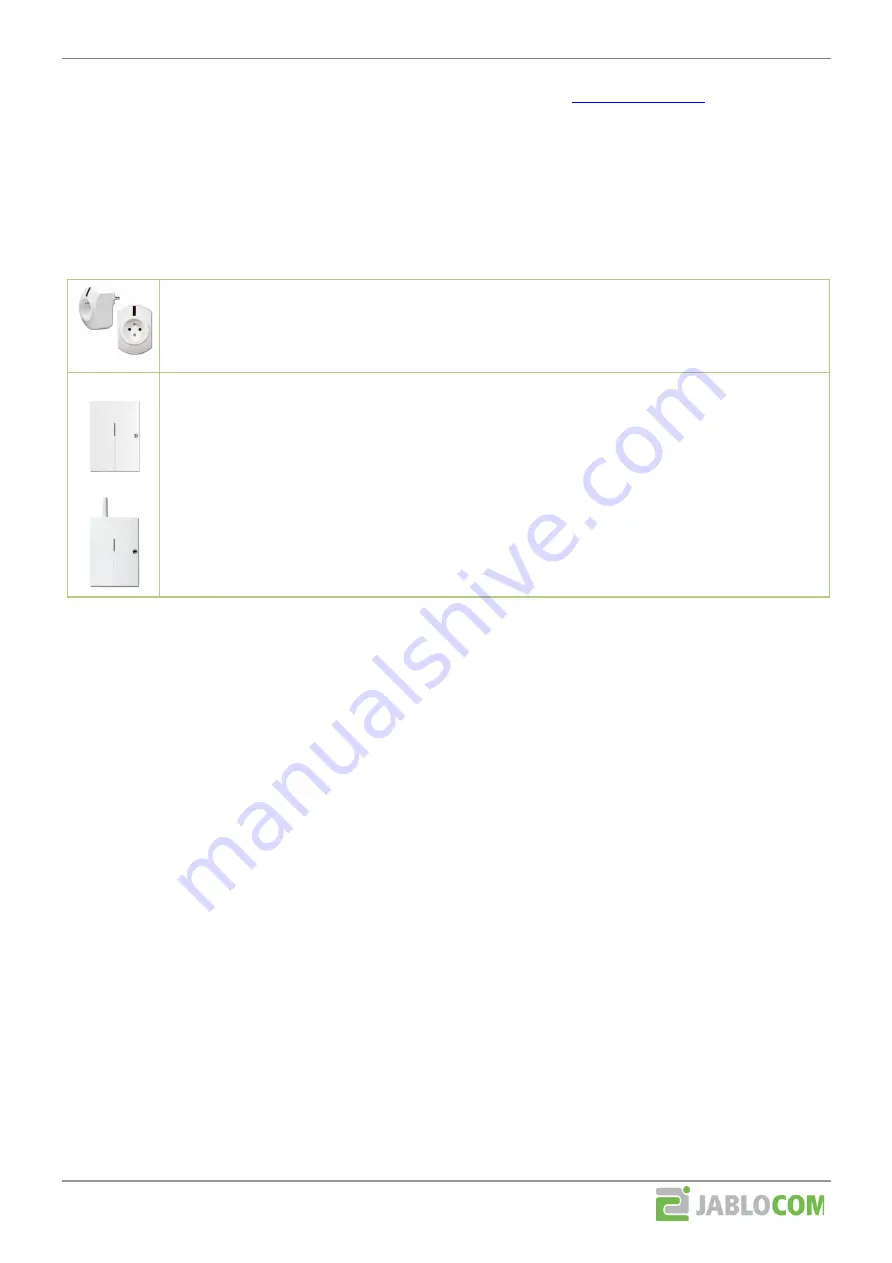
Wireless socket AC-88
It is relay made as do-it-yourself solution. You can remotely turn ON and OFF all domestic
appliances, lighting, heating, watering, etc. powered by the mains (AC 230V). It can be also used in
the inverse mode - it disconnects contact when it is turned ON.
UC-82
AC-82, AC-83
Wireless relay output module
UC-82
Wireless relay output module AC-82
Wireless relay output module for heating control AC-83
UC-82 and AC-82 have two remotely controllable relay outputs for a wide range of appliances like
turning ON/OFF lighting, heating, watering, etc.
Relay module AC-83 provides three remotely controllable relays. The module automatically makes
contact on all its three relays once in 7 days. This function reduces the amount of sediments in
heating system and it cannot be disabled. AC-83 is suitable only for control of heating systems.
5.2 Enrolling smart socket and relay modules
A relay needs to know which camera it should listen to. That is why the camera needs to be enrolled into the relay.
5.2.1
Enrolling AC-88
1. First reset the socket. You can skip this step if no other device is enrolled there.
Unplug the socket from the mains and plug it in again. The LED indicator will flash for a short moment.
Then press the button on the socket within 10 seconds after plugging in (the LED indicator will flash
once) and hold it until the LED indicator starts flashing four times per second.
Release the button to enter the reset mode.
To perform the reset press the button and hold it again until the LED indicator goes off (approx. 3
seconds)
Unplug the socket from the mains
2. Plug the socket into the mains, LED indicator will flash for a short moment.
3. Press the socket button within 10 seconds after plugging in and hold it
until the LED indicator flashes once in intervals - the socket enters the Switch ON (normal) mode. The
socket will make contact if camera switch is turned ON, or
until the LED indicator flashes twice in intervals - the socket enters the Switch OFF (inverse) mode.
The socket will disconnect contact if camera switch is turned ON. It will make contact if camera switch
is turned OFF.
4. Send the enrolment signal from the camera
Go to JabloTool via internet, tab Peripherals and click on Add new device. Other options are described
in the chapter 4.1.1., step 3.
Now the smart socket will respond to switching ON or OFF the first camera switch (DeviceX).
.
5.2.2
Enrolling AC-82 and UC-82
1. First reset the relay. You can skip this step if no other device is enrolled there.
Undo the cover and repeatedly press the button of the first relay (X), achieve the highest number of
LED flashes (4, or if not possible, then 3)
Press the same button and keep it pressed until all the LEDs flash a couple of times (=reset)


