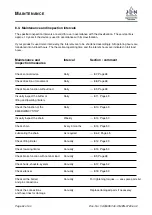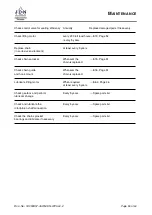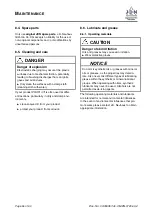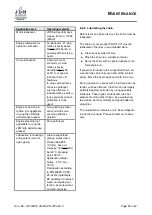
M
AINTENANCE
it exits, take the old chain and open chain link
from the new chain.
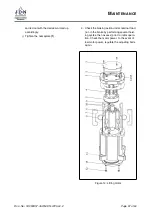
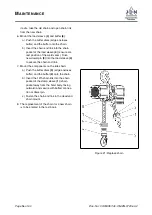
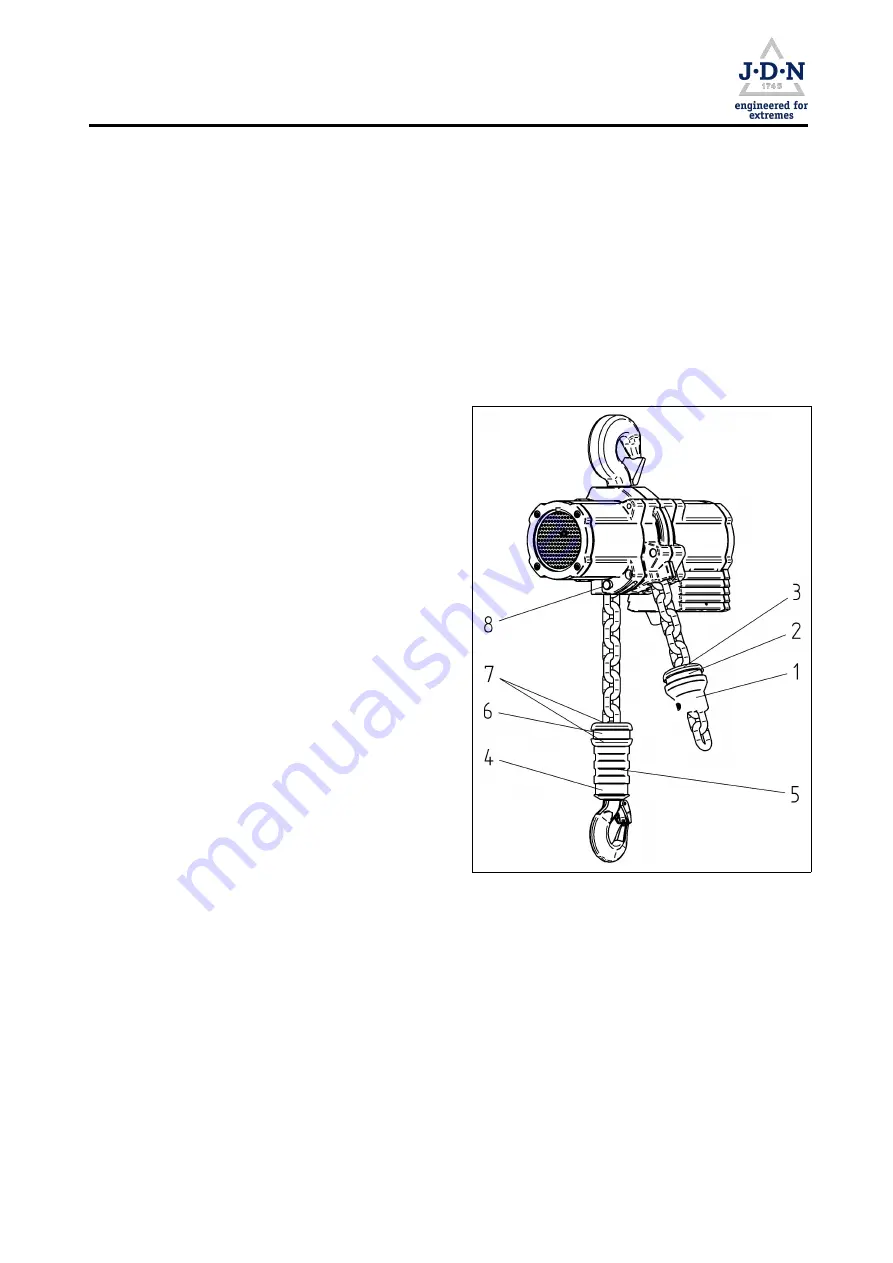
6. Mount the load sleeve
(4)
and buffer
(6)
:
a) Push the buffer discs (edge encloses
buffer) and the buffer onto the chain.
b) Insert the chain end link into the chain
pocket of the load sleeve
(4)
(ensure cor-
rect position of the weld seam). Drive
new dowel pin
(5)
into the load sleeve
(4)
to secure the chain end link.
7. Mount the components on the idle chain:
a) Push the buffer discs
(3)
(edge encloses
buffer) and the buffer
(2)
onto the chain.
b) Insert the 12th chain link into the chain
pocket of the clamp sleeve
(1)
(chain
pocket away from the hoist body, facing
outward) and secure with bolted connec-
tion or dowel pin.
c) Fasten the chain end link in the dead end
chain mount.
8. The replacement of the chain for a new chain
is to be entered in the test book.
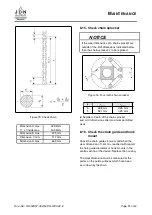
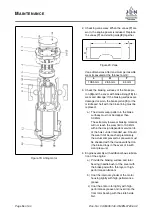
Figure 21: Replace chain
Page
56
of 60
Doc.-No.: VA053957-40-OM-EN-0720-60-2

