28
3.1.4 Using BIOS setup program
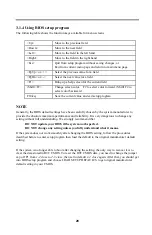
The following table shows the function keys available for menu screens.
<Up>
Move to the previous field
<Down>
Move to the next field
<Left>
Move to the field in the left hand
<Right>
Move to the field in the right hand
<Esc>
Quit from setup program without saving changes, or
Exit from current menu page and return to main menu page
<PgUp> or <+>
Select the previous value for a field
<PgDn> or <->
Select the next value for a field
<F1>
Bring up a help screen for the current field
(Shift)<F2>
Change screen color. F2 to select color forward, (Shift) F2 to
select color backward
F10 key
Save the current value and exit setup program
NOTE
Generally, the BIOS default settings have been carefully chosen by the system manufacturer to
provide the absolute maximum performance and reliability. It is very dangerous to change any
setting without full understanding. We strongly recommend that
DO NOT update your BIOS if the system works perfect.
DO NOT change any setting unless you fully understand what it means.
If the system does not work smoothly after changing the BIOS setting, follow the procedures
described before to enter setup program then load the default to the original manufacturer default
setting.
If the system is no longer able to boot after changing the setting, the only way to recover it is to
clear the data stored in RTC CMOS. To reset the RTC CMOS data, you need to change the jumper
cap of JP1 from 1-2 close to 2-3 close, then set to default 1-2 close again. After that, you should get
into BIOS setup program and choose LOAD SETUP DEFAULTS to get original manufacturer
default setting in your CMOS.

