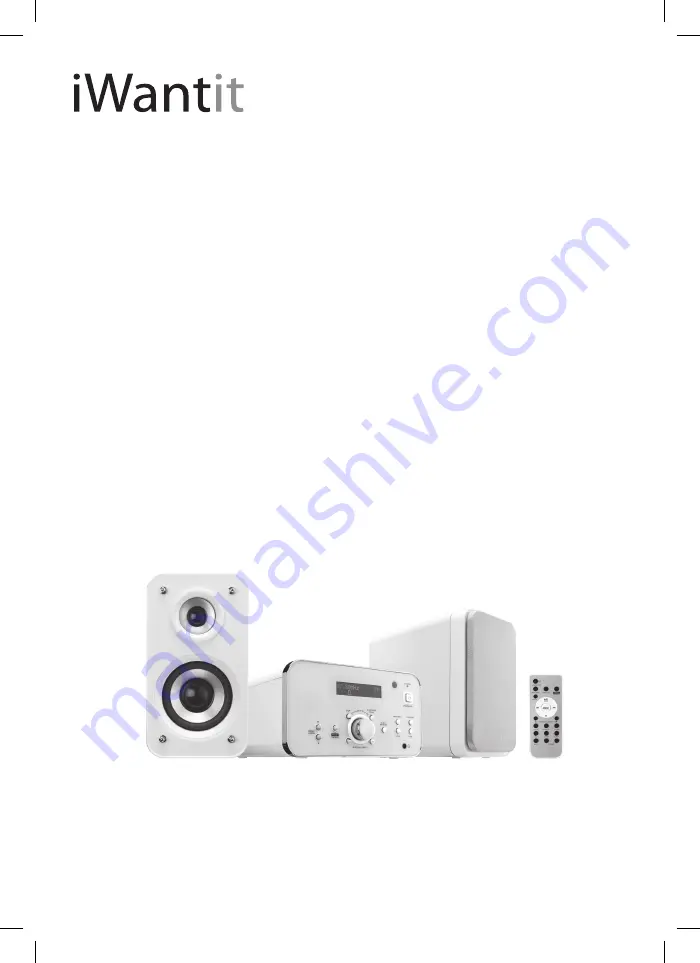
hi-fi with DAB radio &
dock for iPhone and iPod
iDABHF12
instruction manual
(iPod and iPhone are not included)
iDABHF12_IB_RC_120928_Annie.indd 1
28/09/2012 5:20 PM
Page 1: ...hi fi with DAB radio dock for iPhone and iPod iDABHF12 instruction manual iPod and iPhone are not included iDABHF12_IB_RC_120928_Annie indd 1 28 09 2012 5 20 PM ...
Page 2: ...iDABHF12_IB_RC_120928_Annie indd 2 28 09 2012 5 20 PM ...
Page 3: ...nit on off 13 selecting modes 13 adjusting the volume 13 mute function 13 auto setting the clock 13 manually setting the clock 14 setting the daily timer 14 to cancel the daily timer 14 setting the sleep timer 15 EQ control 15 DAB operation 16 full scan 16 manual tuning 16 secondary services 16 storing stations 17 recalling a stored station 17 DAB display modes 18 FM operation 19 auto scan 19 manu...
Page 4: ...el 22 random playback 22 intro playback 22 iPhone iPod operation 23 inserting the iPhone iPod and selecting iPod mode 23 control iPhone iPod menu 24 charging your iPhone iPod 24 LINE IN operation 24 maintenance 25 handling discs 25 cleaning discs 25 storing discs 25 cleaning the unit 25 hints and tips 26 specifications 28 safety warnings 29 iDABHF12_IB_RC_120928_Annie indd 4 28 09 2012 5 20 PM ...
Page 5: ...N PRESET MEMORY CLOCK PRESET ARROW TIMER INTRO EQ RANDOM FUNCTION SLEEP MUTE VOLUME STANDBY ON Thank you for purchasing your new iWantit Hi Fi with DAB Radio Dock We recommend that you spend some time reading this instruction manual in order that you fully understand all the operational features it offers You will also find some hints and tips to help you resolve any issues Read all the safety ins...
Page 6: ...10 PRESET MEMORY Button 11 STOP Button Press to stop playing a disc 12 SKIP TUNE SEARCH Button Press to skip backwards to the beginning of the track or the previous track Press and hold to perform fast reverse playback 13 VOLUME Control Turn to adjust the volume 14 SKIP TUNE SEARCH Button Press to skip forwards to the next track Press and hold to perform fast forward playback 15 PLAY PAUSE SCAN Bu...
Page 7: ...rear view 1 FM Aerial 2 Speaker Sockets 3 LINE IN Socket 4 ON OFF Button Switch the unit ON OFF 1 CD Compartment 2 OPEN CLOSE button 3 iPhone iPod Dock top view OPEN CLOSE 1 2 3 iDABHF12_IB_RC_120928_Annie indd 7 28 09 2012 5 20 PM ...
Page 8: ...n Press to start or resume playback of a disc Press to scan to a radio station 13 SELECT MONO ST Button Press to confirm selections on the menu screen Press to switch between auto and mono mode 14 Button Press to skip forwards to the next track Press and hold to perform fast forward playback 15 PRESET ARROW Button Press to select next preset number Press to move down on the menu screen in iPod mod...
Page 9: ... your remote control Remove the insulating mylar strip from the remote control if the battery is being used for the first time It is located at the bottom back side of the remote control 2 Pull out the battery holder and remove the old battery 3 Replace with a new battery 4 Insert the battery holder back into the remote control iDABHF12_IB_RC_120928_Annie indd 9 28 09 2012 5 20 PM ...
Page 10: ...ls away from young children and make sure that the battery holder tray is secure in the remote control Seek medical advice if you believe a cell has been swallowed handling the remote control If you find it difficult to open the battery cover use a paper clip to help you slide the tab Do not drop or cause impact to the remote control Do not spill water or any liquid on the remote control Do not pl...
Page 11: ...r This unit was designed to operate with an AC 230 240V 50Hz power supply Connecting the unit to any other power source may cause damage to the unit Unwind the mains cable to its full length Connect the mains plug to a mains socket Make sure the mains plug is fully inserted into the mains socket The unit is now connected and ready to use To switch the unit off completely switch the ON OFF button t...
Page 12: ...re connecting the earphones Slowly raise the volume with the earphones on until you reach your desired volume When earphones are connected the speaker is automatically muted SKIP TUNE SEARCH STANDBY STANDBY ON FUNCTION TIMER MENU INFO STOP PLAY PAUSE SCAN SELECT FM MO ST PRESET ARROW CLOCK PRESET MEMORY MULTI FUNCTION DISPLAY VOLUME Long term exposure to loud music may cause hearing damage It is b...
Page 13: ...rease the volume mute function Press the MUTE button on the remote control to temporarily stop the speakers emitting sound The display will show MUTE To cancel mute and restore the sound turn the VOLUME control on the unit or press the MUTE button again or press the VOLUME buttons on the remote control auto setting the clock When you first turn on your radio it will automatically set the time by s...
Page 14: ...nd then press the TIMER button to confirm The minute digits will flash on the display 4 Press the SKIP TUNE SEARCH buttons to adjust the minute digits and then press the TIMER button to confirm 5 When setting the On Timer Clock the display will show Off Timer and the hour digits will flash 6 Press the SKIP TUNE SEARCH buttons to adjust the hour digits and then press the TIMER button to confirm The...
Page 15: ...LEEP 50 2 The system is now set to turn off after the number of minutes you have set The display will show S e g S10 SLEEP 10 indicates 10 minutes sleep timer S20 SLEEP 20 indicates 20 minutes sleep timer and so on 3 Press the SLEEP button repeatedly to cancel the sleep timer until SLEEP OFF shows on the display and S will disappear from the display EQ control This system supports a variety of equ...
Page 16: ...elect manual tuning As well as the auto tune function you can manually tune the receiver This can help you when aligning your aerial or when adding stations that were missed while auto tuning 1 Press and hold the SELECT FM MO ST button until display shows Manual tune 2 Press the SKIP TUNE SEARCH buttons to cycle through the DAB channels which are numbered from 5A to 13F 3 After your desired channe...
Page 17: ...will then show Preset Stored recalling a stored station 1 Once you have saved a station to one of the preset buttons you can recall it by pressing the PRESET MEMORY button 2 Press the PRESET ARROW buttons repeatedly to select your desired preset station number 3 Press the PRESET MEMORY button to confirm the selection The stored stations will be saved into the memory and power off will not erase it...
Page 18: ... radio stations and transmits them on one frequency signal strength The display will show a slide bar to indicate the signal strength the stronger the signal the longer the bar will be from left to right time date The broadcaster Radio station provides clock and date information automatically so there s no need to manually set this information If the information is not available the display will s...
Page 19: ...f the aerial or try moving the radio to another location audio mode Press the SELECT FM MO ST button to toggle between the Auto or Mono selection The unit will automatically switch between stereo and mono in auto mode but you can override this and switch this function manually This is helpful when receiving poor signal reception storing stations You can store up to 20 of your favourite stations to...
Page 20: ...y to Reset on the LCD display and then press the SELECT FM MO ST button to confirm FM display modes Every time you press the MENU INFO button the display will cycle through the following display modes Frequency Auto Mono Signal Strength Frequency Auto Mono Signal Strength frequency This shows the frequency of the current station auto mono While in FM mode the display will show if the station being...
Page 21: ...n t be read No Disc will show on the display to pause playback 1 Press the PLAY PAUSE SCAN button to pause the playback 2 To resume playback press the PLAY PAUSE SCAN button again to stop playback Press the STOP button to stop playback skipping to another track Press the SKIP TUNE SEARCH buttons to skip backwards to the beginning of the track or previous track or skip forwards to the next track Pr...
Page 22: ...EP 1 will show on the display The CD will play the current track repeatedly Press the REPEAT button twice REP ALL will show on the display The CD will play all tracks repeatedly Press the REPEAT button once more again the REPEAT function will turn off random playback All tracks on the disc can be played in a random order During stop or playback mode press the RANDOM button on the remote control Th...
Page 23: ...the volume e Press the MENU INFO button to go to the previous iPhone iPod menu f Press the PRESET ARROW buttons to select the iPhone iPod menu and then press the SELECT FM MO ST button to enter the selected menu g Press the REPEAT button on the remote control to play soundtracks repeatedly Some of the older iPod versions do not support this function h Press the RANDOM button on the remote control ...
Page 24: ...using the TUNER mode It may interfere with the reception To avoid damaging your iPhone iPod or the unit please take care when inserting and removing your iPhone iPod from the dock The unit does not support charging 1st 2nd 3rd Generation iPods LINE IN operation There is a LINE IN socket located on the rear of the unit Analogue audio sound signals from other sources can be input to the unit 1 Conne...
Page 25: ...ers or antistatic spray They may damage the disc storing discs Do not store discs in places subjected to direct sunlight or near heat sources Do not store discs in places subjected to moisture and dust such as a bathroom or near a humidifier Storing discs vertically in a case stacking discs or placing objects on discs outside of their cases may cause warping cleaning the unit Ensure the unit is fu...
Page 26: ... on again to reset the unit CD The disc does not play There is no disc inside the unit No Disc appears on the display Insert the disc correctly with the label side facing up Clean the disc PAUSE mode may be activated deactivate it A non valid disc has been inserted or the disc region number does not match the region number of the unit Condensation may have formed inside the unit due to a sudden ch...
Page 27: ...properly before docking Please refer to your iPhone iPod manual for details The unit doesn t play iPhone iPod files or doesn t function as expected Make sure the iPhone iPod is connected properly Standby mode may be activated press the STANDBY ON button again Make sure the iPhone iPod is switched on Vibrations may have caused the iPhone iPod to come loose from the docking station Check iPod mode o...
Page 28: ...Disc Optical Pickup 3 Beam Laser Power Adapter Power Supply Power Consumption AC 230 240V 50Hz 23W Output Power 5W x 2 Net Weight 3 5kg Dimensions Unit Speaker 180mm W x 220mm D x 100mm H 100mm W x 190mm D x 180mm H Features and specifications are subject to change without prior notice iDABHF12_IB_RC_120928_Annie indd 28 28 09 2012 5 20 PM ...
Page 29: ...at the mains immediately Withdraw the mains plug and consult your dealer Ventilation To prevent the risk of electric shock or fire hazard due to overheating ensure that curtains and other materials do not obstruct the ventilation vents Do not install or place this unit in a bookcase built in cabinet or in another confined space Ensure the unit is well ventilated Safety Always disconnect the unit f...
Page 30: ...a risk of electric shock The exclamation point within an equilateral triangle is intended to alert the user to the presence of important operating and maintenance servicing instructions in the manual accompanying the unit Service To reduce the risk of electric shock do not remove screws The unit does not contain any user serviceable parts Please leave all maintenance work to qualified personnel Do...
Page 31: ...iDABHF12_IB_RC_120928_Annie indd 31 28 09 2012 5 20 PM ...
Page 32: ...cal authority or your retailer where you purchased the product All trademarks are the property of their respective owners and all rights are acknowledged 227 0203LK 023 Visit Partmaster co uk today for the easiest way to buy electrical spares and accessories With over 1 million spares and accessories available we can deliver direct to your door the very next day Visit www partmaster co uk or call ...