5-1
5.
Scan To PC Manager
With the Scan To PC Manager, you can easily scan photos and save the scanned
images directly to the connected PC. You can also choose the location where the
scanned images will be saved.
5.1
Starting the Scan To PC Manager
1.
Connect the scanner to your computer with a USB cable. If successfully
installed, a Removable Disk (F:) (the drive letter may change depending on
your system) will be shown in the Windows Explorer. If a memory card is
inserted to the scanner, the Removable Disk will be show the name of the
memory card.
2.
From the Start Menu, go to programs, BulletScan, and launch the Scan to PC
Utility. The Scan To PC Utility will launch and you will see the icon
in the
system tray.
3.
Right click the icon
in the system tray and select
Setting
to launch the
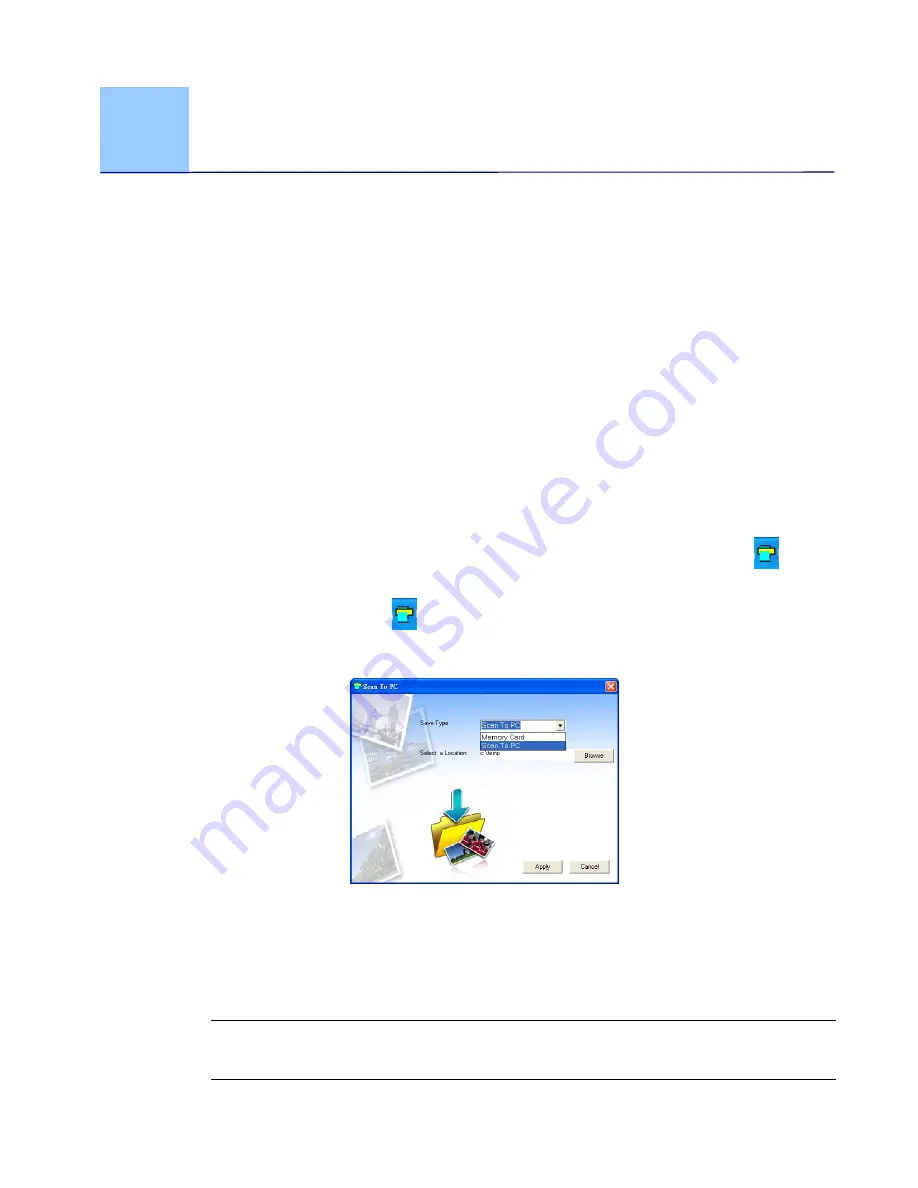
Scan To PC Utility screen, as shown below:
4.
To save the scanned images to your computer, select Scan To PC in the drop-
down menu of Save Type.
To save the scanned images to your memory card connected to the scanner,
select
Memory Card
in the drop-down menu of
Save Type
.
Important:
Once you have installed the Scan To PC Manager and you wish to
save your scanned images to a memory card, you still need to use Scan To PC
Manager and select Memory Card in the drop-down menu of Save Type.
Summary of Contents for BulletScan M40
Page 1: ...iVina M40 Portable Photo Scanner User Manual Regulatory model FS 0913B...
Page 16: ......
Page 20: ......
Page 26: ......


