41
www.iskomed.de
5.3
Assembly of the wooden side rails (without assembling tools)
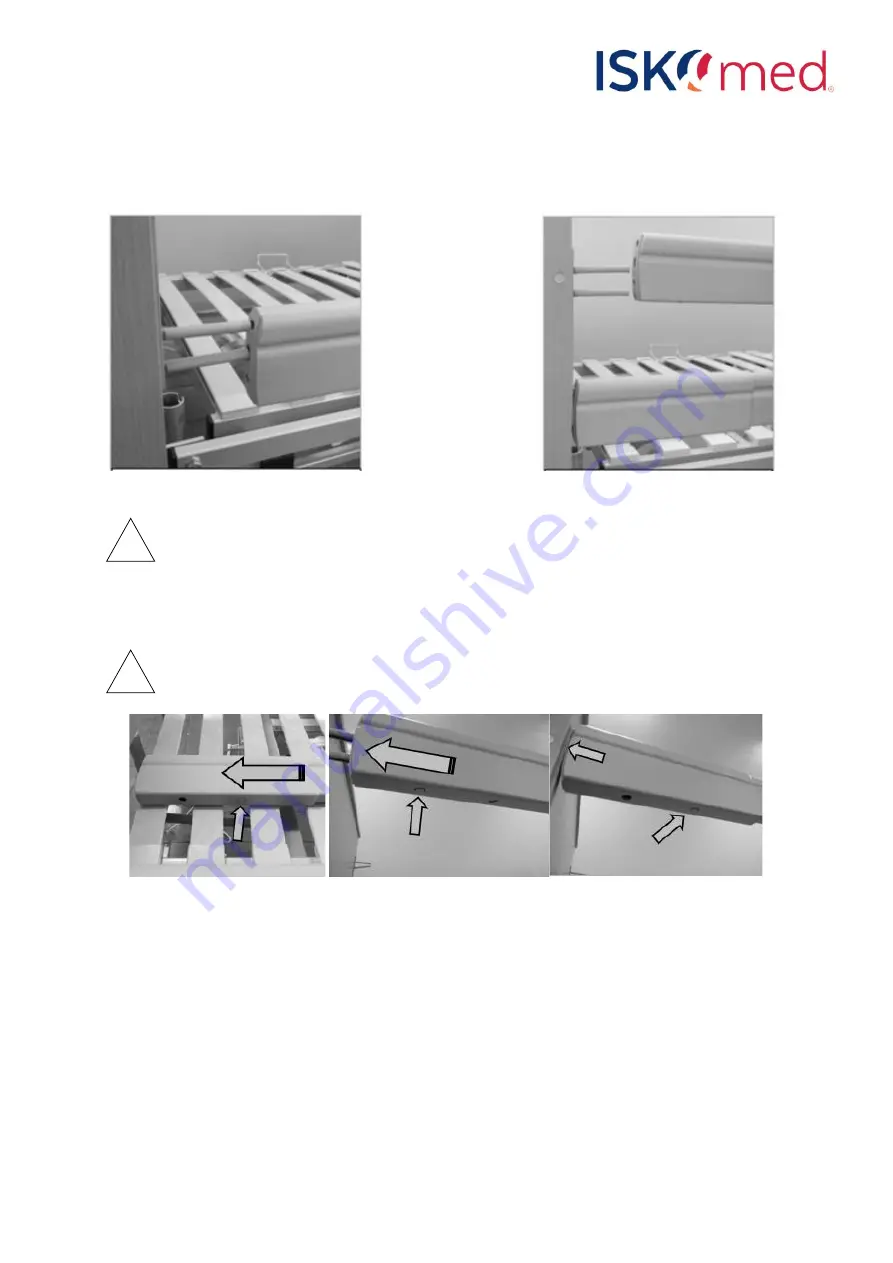
When fitting the wooden side rails, always ensure that the lower side rail is fitted with the upper and
middle holes. In contrast, the upper side rail must be mounted using the lower and middle hole. (c.f.
Figure 5)
Figure 5: Assembly lower and upper side rail
Please ensure that the upper and lower side rails are not interchanged during assembly.
Before mounting the side rail, the plastic length adjuster must be pushed out on one side. As shown in
pic. 4.7, please press the locking button - move the plastic cover until the button engages in the second
hole. In this way the side rail can be pushed onto the locating pins on one side.
Please pay attention to the correct drillings.
Figure 6: Sequence assembly extendable side rail
Now, by also pressing the locking button there and pushing the plastic length compensation in the
direction of the wooden case, the side rail can also be installed on the opposite side. The locking button
must engage in the second hole. The length compensation parts are spring-loaded to the silk spars and
must be installed so that no air gap is visible between the wooden case and the side rails, either at the
head end or at the foot end. The locking knobs must engage in the holes.
5.4
Disassembling the care bed
If necessary, e.g. for transport, the care beds can be dismantled with little effort as described but in
reverse order. Reassembly after dismantling the bed should be carried out by authorised personnel.
!
!


