IPU 40060 Issue 9
Page 4 of 27
NOTE:
•
A set of 4 AA batteries will power the IRISYS IRI 1011 Universal Thermal Imager for
approximately 8 hours.
CAUTION: If the IRI 1011’s red LED starts flashing it means that the
batteries are running low and need to be replaced immediately.
1.2.2
Using AC Mains Power
1.
Make sure the Thermal Imager is turned off.
2.
Connect the provided 12V power supply into the socket on the side of the IRI
1011 imager, see
Figure 4
.
3.
Attach the appropriate supplied regional adapter to the power supply.
4.
Plug the power supply into a mains socket.
5.
Switch on the thermal imager.
CAUTION: When using AC mains, use only the power supply included with
the IRI 1011. Using other power supplies may damage the IRI 1011
Thermal Imager.
NOTE:
•
It is recommended that the IRISYS Universal Thermal Imager (not the ‘Pocket PC’/Palm)
should be switched on approximately 2 minutes before use. This is to allow the internal
electronics to warm up and stabilise, so as to achieve optimum performance.
•
The mains power supply included with the IRI 1011 is only for powering the IRI 1011; it will
not recharge the batteries.
1.3
Connecting the IRI 1011 to a ‘Pocket PC’ or Palm
•
This section tells you step by step how to get the Thermal Imager up and
running with a ‘Pocket PC’/Palm.
1.
Make sure the IRI 1011 is powered by either 4 AA size batteries or the 12V
power supply.
2.
Make sure the Thermal Imager software has been installed onto the ‘Pocket PC’
or Palm, see Section
2.3.1.1
or Section
2.4.1.1
respectively.
3.
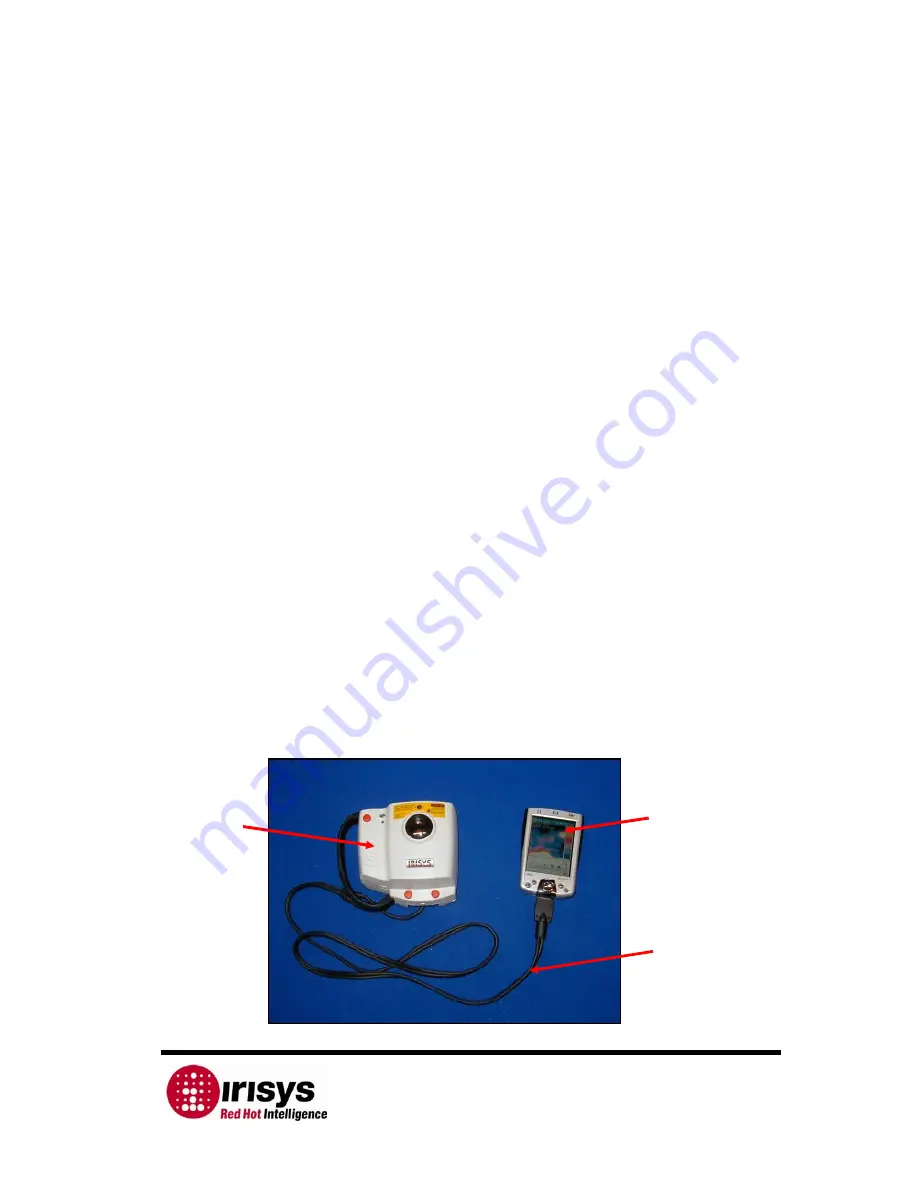
Connect the Pocket PC’s/Palm’s RS232 serial sync cable into its socket and the
other end into the IRI 1011 RS232 socket, see
Figure 3
.
Figure 3: The IRI 1011 Thermal Imager connected to a ‘Pocket PC’,
configured for two handed operation
Pocket PC,
not
supplied
with IRI
1011
IRI
1011
Therm
al
Imager
Pocket PC
Manufactur
er’s RS232
Serial Sync
Cable


