Page
11
of
18
4.
Connect Cables:
a.
Determine if the scanner is connected to a Windows
®
PC by USB cable or via a network
by Ethernet cable.
i.
Ethernet is the preferred connection method
due to a higher data transfer rate
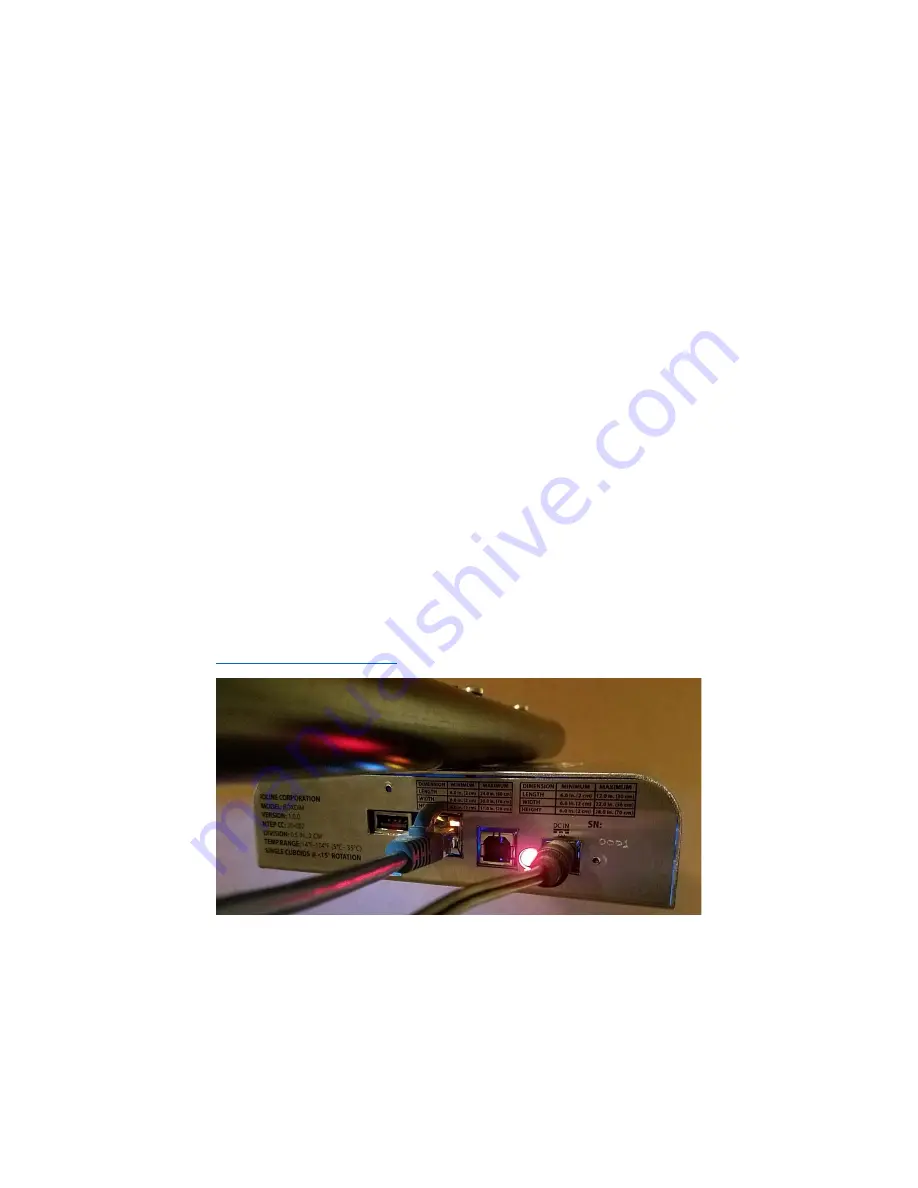
and longer allowable connection distance. If using Ethernet, connect the
scanner to a network switch with an ethernet cable plugged into the RJ45 port
on the back of the scanner.
ii.
A USB connection is possible if no network connection is available and the
Windows
®
based PC is 15 feet or less from the scanning device. If using a USB
connection, insert the square ‘
B’
end of the USB cable into the USB port on the
back of the scanner. Connect the other end of the USB cable to an available USB
port on the Windows
®
10 PC.
b.
Insert the male end of the power extension cord into power input port on the back of
the scanner.
c.
Use one of the included Velcro straps to secure both the communication cable and the
power extension cord to the scanner pole so that the cables do not hang down near the
scanner.
d.
Connect the female end of the power extension cable to the male connector on the
power supply.
e.
Use two Velcro straps in different places to secure the communication and power cables
to the upright stand poles so that the cables do not bulge out into the scanning area.
f.
Plug the power supply into a wall outlet. The power light on the back of the scanner
should illuminate red. If it does not, check all connections to confirm that everything is
plugged together. If the light still does not illuminate then call Ioline customer service
using the contact information on the Ioline support website at
https://ioline.com/support
.


