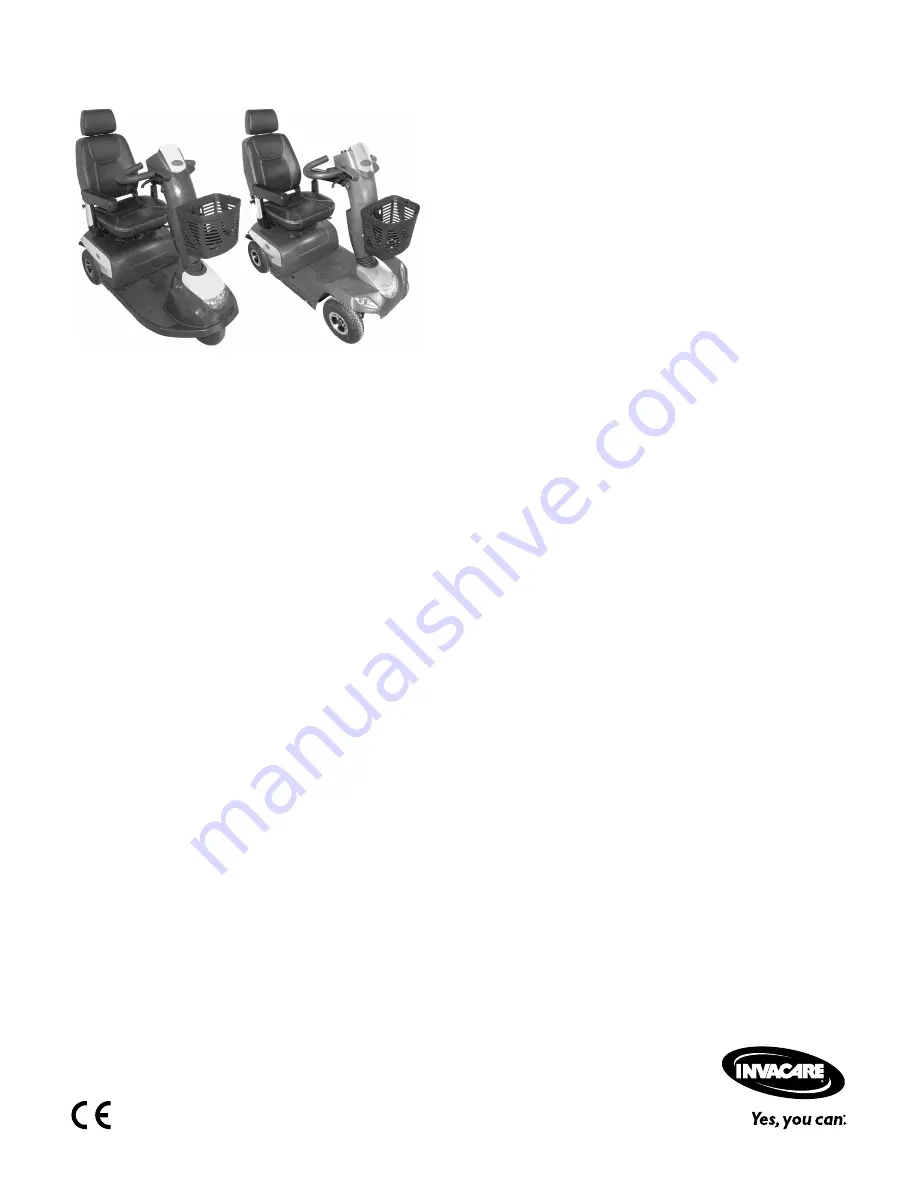
Orion
METRO
,
PRO
en Scooter
Service Manual
DEALER: Keep this manual.The procedures in this manual MUST be performed by a qualifiedtechnician.
Page 1: ...Orion OrionMETRO OrionPRO en Scooter Service Manual DEALER Keep this manual The procedures in this manual MUST be performed by a qualified technician ...
Page 2: ...le or in part is prohibited without prior written permission from Invacare Trademarks are identified by and All trademarks are owned by or licensed to Invacare Corporation or its subsidiaries unless otherwise noted Invacare reserves the right to alter product specifications without further notice ...
Page 3: ... 4 7 1 Replacing headlight 17 4 7 2 Replacing front direction indicators 17 4 7 3 Replacing center brake light 18 4 7 4 Replacing rear lights direction indicators 19 4 8 Wheels 20 4 8 1 Replacing wheel suspension 20 4 8 2 Replacing shock absorber 20 4 8 3 Replacing swing arm 21 4 8 4 Replacing front axle 21 4 8 5 Replacing steering column 22 4 8 6 Replacing fork 3 wheel 23 4 8 7 Replacing front wh...
Page 4: ...about the product for example product safety notices and product recalls contact your local Invacare representative For address and website see back page of this manual The mobility device may only be maintained and overhauled by qualified personnel The minimum requirement for service technicians is suitable training such as in the cycle or orthopedic mechanics fields or sufficiently long term job...
Page 5: ...rs to cool down before commencing work on them CAUTION Injury hazard and risk of damage to vehicle due to improper or incomplete maintenance work Use only undamaged tools in good condition Some moving parts are mounted in sockets with PTFE coating Teflon Never grease these sockets Never use normal nuts instead of self locking nuts Always use correctly dimensioned washers and spacers When reassembl...
Page 6: ...Before repair or reconditioning Use saturated towel to apply cleaning detergent Nücosept special and remove residues after 5 min impact Cleaning and disinfection Disinfection Surface of used device Before repair or reconditioning Use saturated disinfectant wipes and clean the device surface Cleaning and disinfection Invacare uses detergent Nücosept special 1 5 in water ml ml Disinfection tools One...
Page 7: ...er manual for main fuse position Check cable between modules for loose connections or damage See 4 5 4 Replacing power module page 12 Status display on operating console does not illuminate Operating console defective Replace operating console See 4 5 1 Replacing operating console page 10 Scooter will not start Status display on operating console flashing Various causes Assess error code See contr...
Page 8: ...here is a defect in the braking coil or in the cabling Check the magnetic brake and cabling for open or short circuited circuitry Contact your Invacare provider 6 No neutral position when switching scooter on Stops driving Drive lever is not in neutral when the keyswitch was turned Put the drive lever in neutral turn the power off and then turn on again It may be necessary to replace the drive lev...
Page 9: ...necessary Check front wheels for tight fit float and side play Adjust replace Check pneumatic tire Repair or replace if damaged See user manual Tighten screws Wheel suspension and wheels Check tracking and steering link Check tracking and steering Brake Check brake function in pushing mode Adjust or replace brake Shock absorber Check shock absorber Adjust or replace shock absorber Check functions ...
Page 10: ...urns if power cable is shorted Turn off the power completely before removing any power supply components of mobility device Therefore take out batteries Avoid bridging of contacts during measurements on live electrical components Risk of damage to operating console circuit board by instant high current voltage Unplug battery cable before removing installing operating console Make sure all pins are...
Page 11: ...y connected 1 Unplug battery connector 2 Remove operating console as described in chapter 4 5 1 Replacing operating console page 10 3 Replace circuit board 4 Make sure all pins are correctly connected 5 Plug in battery connectors 6 Install parts in reverse order 7 Test circuit board function 4 5 3 Replacing potentiometer CAUTION Risk of burning if power cable is shorted Turn off the power complete...
Page 12: ... device can roll away out of control Place mobility device s rear frame on a supporting wooden block before you remove wheels CAUTION Risk of burning if power cable is shorted Turn off the power completely before removing any power supply components of the mobility device Therefore take out batteries Avoid bridging of contacts during measurements on live electrical components CAUTION Any changes t...
Page 13: ...wooden block To adapt the drive program programming software or hand programming device and electronic system installation manual available from Invacare 1 Secure mobility device against rolling away 2 Place supporting wooden block under frames at battery holder height 3 Remove seat 4 Remove shroud 5 Disconnect battery cable 1 6 Loosen and remove rear wheel fixing screws 7 Remove rear wheels 8 Rem...
Page 14: ...gs the scooter to a standstill If you do not drive your scooter for a while the batteries will recuperate and allow a further but short journey However after a very brief journey the battery reserve symbol will illuminate again and the electronic system will beep three times This procedure leads to battery damage and should be avoided if possible Battery capacity 25 Reduced driving range Recharge ...
Page 15: ...edure leads to battery damage and should be avoided if possible Battery capacity 25 Reduced driving range Recharge the batteries at the end of your journey Battery capacity 20 Battery reserve severely restricted driving range Recharge batteries immediately 80 80 65 50 35 25 20 Entering setup LCD Display This chapter applies for mobility devices with LCD display 1 Turn key to switch mobility device...
Page 16: ...ng console Set value according to wheel diameter 11 12 13 14 or 15 for correct display of speed 1 Press key to increase value 2 Press key to decrease value 3 Press key to save and leave setup settings Entering setup LED Display This chapter applies for mobility devices with LED display 1 Turn key to switch mobility device off 2 Press and hold keys 3 Turn key to switch mobility device on Mobility d...
Page 17: ... 4 6 2 Replacing front shroud 10 mm socket wrench Phillips screwdriver 1 Remove shroud See 4 6 1 Removing shroud page 17 2 Remove four caps A 3 Loosen and remove screws B 4 Take off front shroud 5 Install parts in reverse order 4 7 Lighting unit 4 7 1 Replacing headlight Phillips screwdriver 1 Remove seat 2 Remove shroud 3 Disconnect battery cable A 4 Remove screw 1 or A on headlight under front s...
Page 18: ...om wiring harness 5 Remove screws 3 on glass 6 Remove glass 7 Loosen screws 4 on orange colored cap 5 and remove cap 8 Replace lightbulb 9 Install parts in reverse order 10 Test function 4 7 3 Replacing center brake light CAUTION Risk of burning if power cable is shorted Turn off the power completely before removing any power supply components of the mobility device Therefore take out the batterie...
Page 19: ...oving any power supply components of mobility device Therefore take out batteries Avoid bridging of contacts during measurements on live electrical components When disassembling note the position of small parts such as screws and washers Put small parts down so that they can be reassembled in the right sequence Phillips screwdriver 1 Remove seat 2 Remove shroud 3 Disconnect battery cable A 4 Remov...
Page 20: ... in reverse order Tighten screw 1 to 25 Nm 9 Adjust camber See 4 9 3 Replacing steering link coupling rod page 26 10 Test function trial run 4 8 2 Replacing shock absorber CAUTION Risk of accident When parking mobility device on antitippers it is no longer slowed by motor brake The mobility device can roll away out of control Place mobility device rear frame on a supporting wooden block before you...
Page 21: ...right side of the mobility device 6 Remove and replace swing arm 7 Install parts in reverse order 8 Apply thread locking adhesive to screw A and tighten to 25 Nm 9 Tighten screws 4 8 4 Replacing front axle CAUTION Risk of accident Accidental rolling can lead to accidents Secure mobility device against rolling away When disassembling note the position of small parts such as screws and washers Put s...
Page 22: ... sequence 10 mm wrench 17 mm wrench 19 mm wrench 32 mm wrench Phillips screwdriver Supporting wooden block 1 Remove seat 2 Remove shroud 3 Disconnect battery cable 4 Place a supporting wooden block under the front part of the frame so that front wheel is no longer touching floor Replacing steering column 1 Remove drive lever screws C 2 Remove drive lever B 3 Loosen and remove screws A on operating...
Page 23: ...knurled screw 3 9 Replace fork 10 Install parts in reverse order 11 Apply brake and tighten axle bolts at same time 12 Test functions trial run 4 8 7 Replacing front wheel suspension 4 wheel CAUTION Risk of accident Accidental rolling can lead to accidents Secure mobility device against rolling away When disassembling note the position of small parts such as screws and washers Put small parts down...
Page 24: ... tire by pressing in the center valve pin CAUTION Risk of explosion The wheel explodes if the air pressure has not been released from the wheel before the wheel rim is removed Always let all the air out of the tire before removing the rim 3 Loosen and remove 4 screws 1 4 Remove both wheel rim halves out of tire and remove inner tube 5 Repair inner tube and refit in wheel or replace it with new inn...
Page 25: ... See 4 9 2 Replacing brake cable page 25 2 Disconnect brake cable at wheel 3 Loosen axle bolts A simultaneously on both sides 4 Pull front axle slowly out 5 Replace brake lining or complete brake 6 Reassemble wheel and brake 7 Push axle through 8 Apply brake and tighten axle bolts at same time 9 Install parts in reverse order 10 Adjust braking force on wheel using brake lever setting screw 11 Test...
Page 26: ...ve steering column and chassis See 4 8 5 Replacing steering column page 22 Replacing steering link coupling rod 1 Remove circlip 1 on steering link 2 2 Replace steering link 3 Adjust length of steering link using setting screws 3 4 Remove circlip 4 on coupling rod 5 5 Replace coupling rod 6 Install steering link and or coupling rod in reverse order 7 Test function trial run Adjusting camber 1 Loos...
Page 27: ...e fork screw Check 1 Turn steering completely to right and then left 2 When steering is turned to its limit the 3 regulating unit switches should be visible 3 Install parts in reverse order 4 Check functions trial run 4 10 Drive components 4 10 1 Replacing drive unit CAUTION Risk of accident When parking mobility device on antitippers it is no longer slowed by motor brake Mobility device can roll ...
Page 28: ...der height 3 Remove seat 4 Remove shroud 5 Disconnect battery cable A 6 Unscrew rear wheel fixing bolts 7 Remove rear wheels 8 Cut cable ties 9 Disconnect plugs from power module Disconnect motor plug Disconnect plug for electromagnetic brake Disconnect speedometer plug 10 Remove screws A on mud guard 11 Remove mud guard B 12 Remove screws 1 on drive holder 2 13 Remove drive holder 2 14 Remove scr...
Page 29: ...duced function when clutch is mounted incorrectly Make sure to mount clutch A with inscription M facing motor CAUTION No breaking efficency without feather key Make sure to mount feather key B on motor shaft A when reassembling 2 Apply thread locking adhesive for example Locktite 243 to screw B on swing arm and tighten to 25 Nm 3 Test all functions trial run 4 10 2 Replacing carbon brushes Always ...
Page 30: ...obility device 6 Allow motors to run for an hour in forward direction 7 Allow motors to cool down for 30 minutes 8 Allow motors to run for an hour in reverse direction 9 Lift mobility device off wooden blocks 4 11 Seat system 4 11 1 Replacing seat suspension spring CAUTION Risk of accident Accidental rolling can lead to accidents Secure scooter against rolling away When disassembling note position...
Page 31: ...rs and tighten 4 12 Accessories 4 12 1 Accessories list Mirror right or left Safety vest Warning triangle OrionMETRO solid tires without rim 11 inch black OrionPRO solid tires without rim 12 inch black Seat lifter kit electrical 12 cm Seat suspensions Front bumper Rear bumper Personal key Crutch cane holder right or left Lockable storage box front Lockable storage box rear incl clutch holder brack...
Page 32: ... 222 Fax 0800 807 788 sales invacare co nz www invacare co nz United Kingdom Invacare Limited Pencoed Technology Park Pencoed Bridgend CF35 5AQ Tel 44 0 1656 776 222 Fax 44 0 1656 776 220 uk invacare com www invacare co uk Eastern Europe Middle East CIS Invacare EU Export Kleiststraße 49 D 32457 Porta Westfalica Germany Tel 49 0 57 31 754 540 Fax 49 0 57 31 754 541 webinfo eu export invacare com w...