11BChapter 12: Recording
76
TruVision NVR 71 User Manual
TL-Lo
(Bright green): Low quality time lapse. It records low quality continuous video. This could be
used, for example, for night recordings when few events or alarms are expected. Saving the video in
low quality helps save resources on the HDD.
Event
(Yellow): It records only events, such as motion detection.
Alarm
(Red): It records only alarms. It has priority over constant and event recording.
None
(White): No recording during this period.
8. Timeline: There is a 24-hour timeline for each day. Up to eight recording periods can be scheduled
during the 24-hour period.
9.
Edit schedule window
: Enter the recording type, and time for the recording period.
10.
Copy to Camera:
Click to copy recording schedules between cameras.
Define a recording schedule
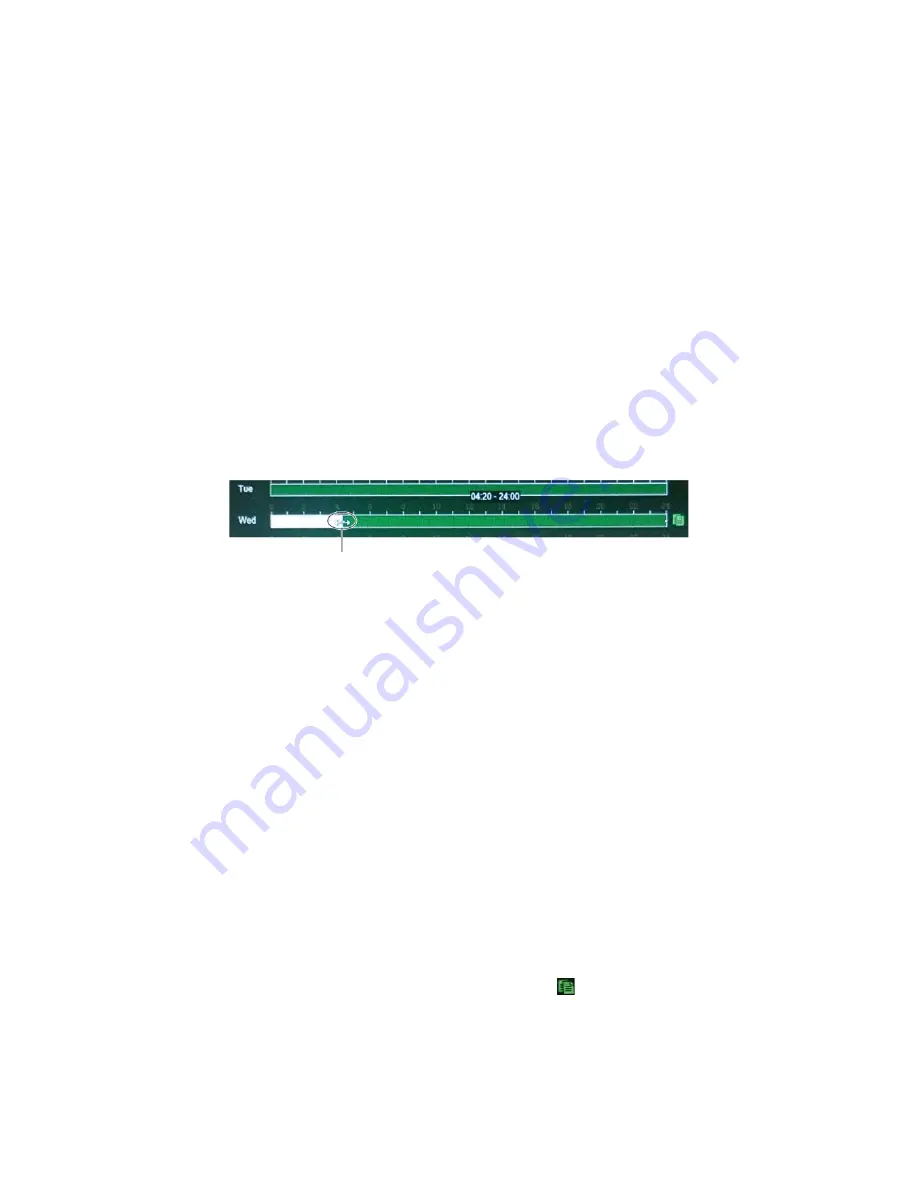
There are a couple of ways to define the recording schedule. You can use the
Edit schedule
pop-up window, which appears when you click a schedule period on a timeline. You can also
drag the start or end of the schedule period bar and move it to the desired time. The time period
of the bar appears above so it is easy to adjust it to a specific time period.
Drag the start or end of the schedule period bar and move it to the desired time.
The Edit schedule pop-up menu does not appear if you click a “No Recording” time period.
However, you can drag the mouse along the white “No recording” zone on the timeline to create
a new recording period. Before creating the new recording period on a timeline, select the
recording type from the drop down list (see item 2, Figure 19).
To set up a daily recording schedule:
1. From the menu toolbar, click
Configuration
>
Remote Configuration
>
Recording
>
Recording Schedule
.
2. Select a camera.
3. Check the
Enable Recording
box.
4. Click the timeline of the desired day of the week. The
Edit schedule
window pops up.
Select the desired recording type, and enter the start and end times of the recording
schedule. Click
Save
.
You can define up to eight different periods during a day, and a different schedule for each
day of the week.
Note
: The time periods defined cannot overlap.
5. To copy a day’s schedule to another day of the week click
, which appears at the end of
the day’s timeline. The
Copy to
pop-up menu appears. Select the day or days of the week
to which to copy this day’s schedule and click
OK
.
6. To copy a camera’s recording schedule to another camera, or several cameras, select the
desired cameras under “Copy to Camera”.


