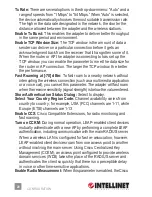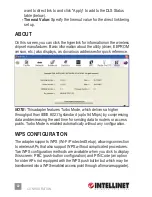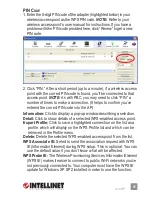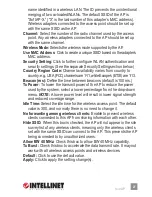
pBC (p
ush
-B
utton
C
onFiguration
)
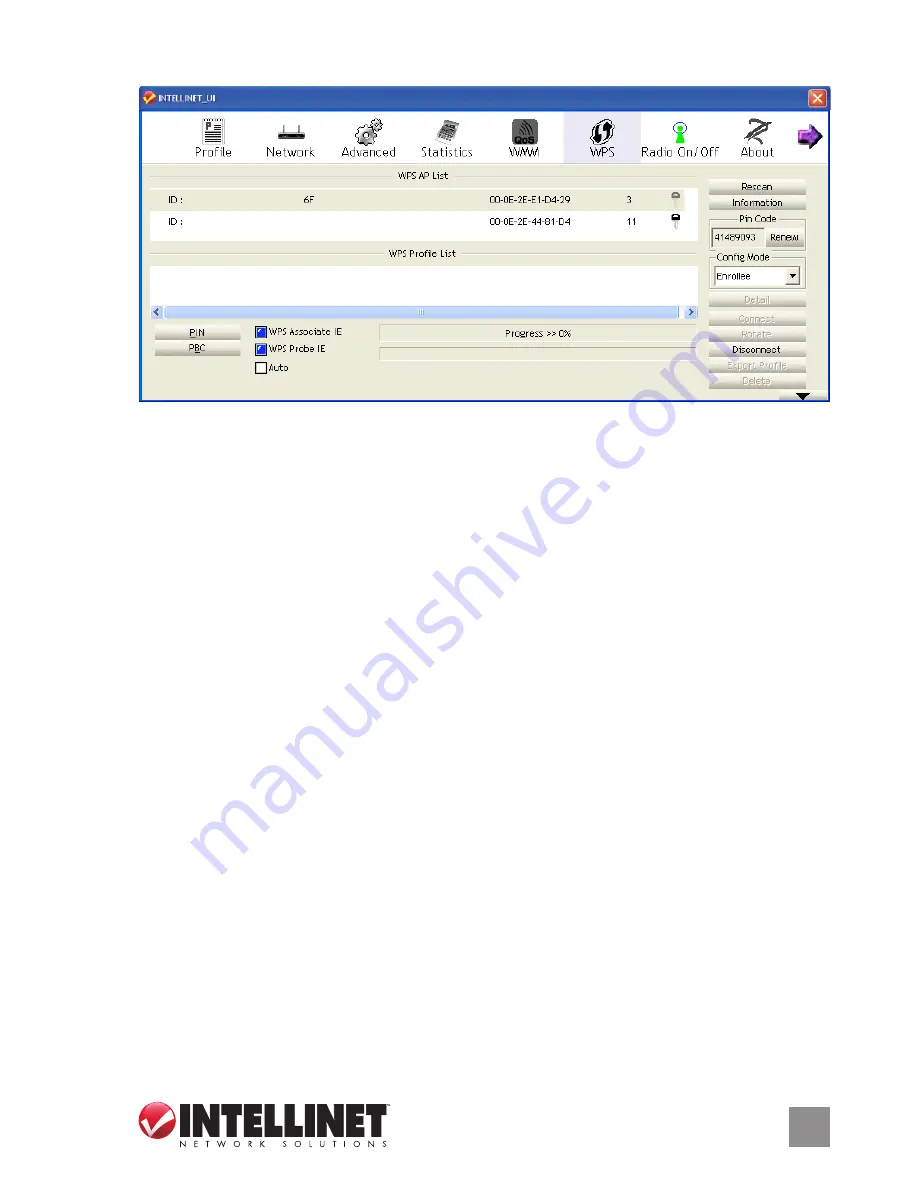
1. From the “Config Mode” drop-down menu, select “Enrollee,” then press
the WPS button (or whichever button is used to activate the WPS
Standby mode) on your wireless access point.
NOTE:
Refer to your
wireless access point’s user manual for the specific procedure(s).
Alternatively, you can select “Registrar,” in which case this adapter
will wait for other WPS-enabled access points to send WPS pairing
requests.
NOTE:
Refer to your wireless access point’s user manual
to understand how to send WPS requests.
2. Before you start to establish the wireless connection using WPS, you
can click “Rescan” to search again for WPS-enabled access points
near you in order to make sure the WPS function of your access point
is activated. All access points with the WPS function enabled will be
displayed in the WPS AP List field. If the access point you want to
connect to isn’t listed, click “Rescan” a few more times.
3. Begin the PBC pairing procedure on the access point side (again,
refer to your access point’s manufacturer’s instructions), then click
“PBC” to establish a wireless connection via WPS.
NOTE:
This may
require as much as a full minute to complete. When the “WPS status
is connected successfully” message displays, the connection between
the adapter and the access point has been successfully established
through WPS and information about the access point you connected
to will be displayed.
CONFIGURATION
23


