154
Chapter 6 Server Resources
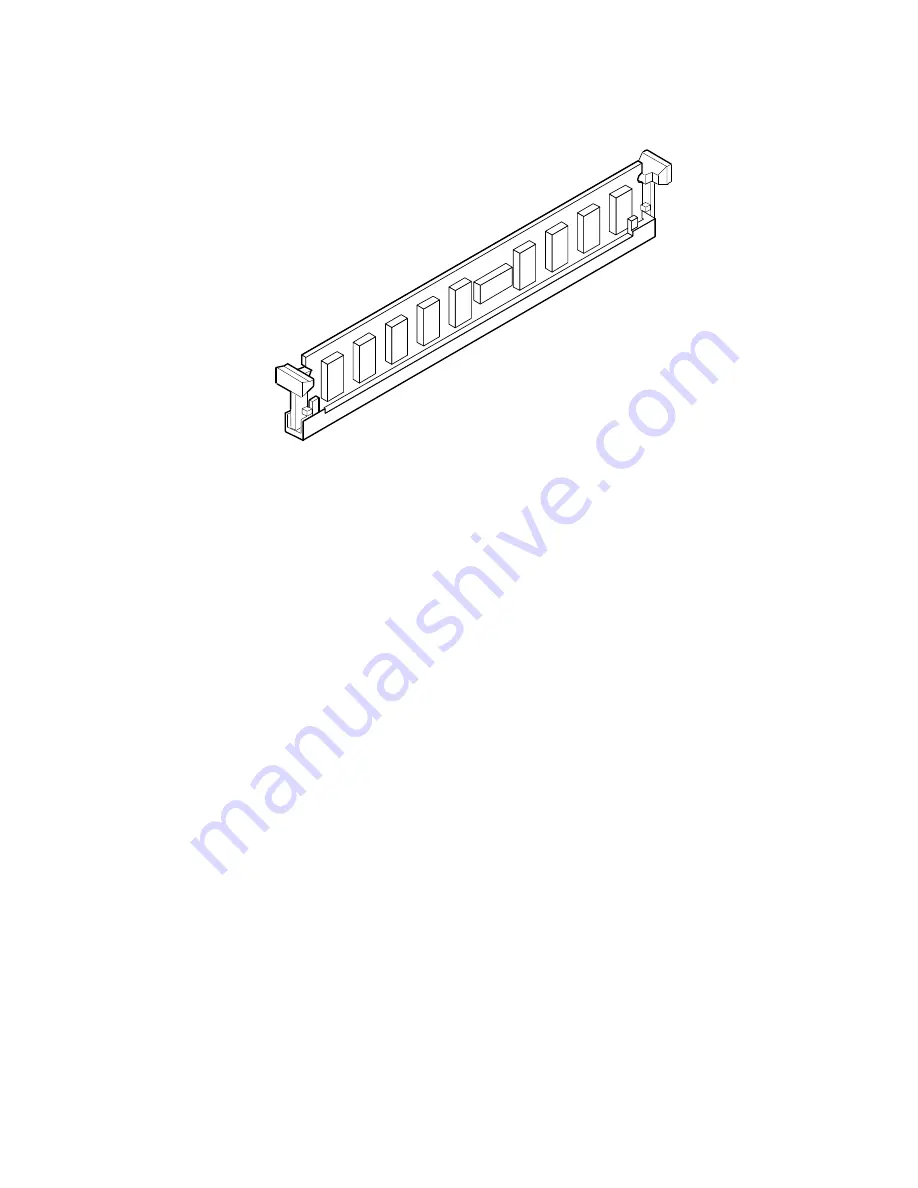
7. Gently push the plastic ejector levers (Figure 6-3) on the socket ends to
the upright position.
OM05273
Figure 6-3. Properly Seated DIMM
8. Repeat the above steps to install more DIMMs. Always install them in
sequence by installing the next DIMM in bank 1, socket J2, and so on
with the last one in bank 7, socket J8.
9. Install the memory module and the left side cover as described in
Chapter 4, "Working Inside Your System."
10. Connect all external cables and the power cord(s) to the system.
11. Turn on the monitor and then the system.
12. Run the System Configuration Utility (SCU) to configure the system and
to properly attribute ECC memory. Failure to do so may degrade the
performance of your system. For information about running the SCU,
see Chapter 3, "Configuring The System."
Summary of Contents for MB440LX
Page 1: ...Intel MB440LX System Installation Guide...
Page 6: ...1 6 Your Chapter Title Goes Here...
Page 16: ...16 Contents...
Page 26: ...26 Chapter 1 Server Description OM05793 Figure 1 4 Security Padlocks...
Page 48: ...48 Chapter 2 Installing The System...
Page 78: ...78 Chapter 3 Configuring The System...
Page 114: ...114 Chapter 4 Working Inside Your System OM05791A 1 2 3 Figure 4 19 Lithium Back up Battery...
Page 116: ...116 Chapter 4 Working Inside Your System OM05268 Figure 4 20 Removing the Front Panel Board...
Page 118: ...118 Chapter 4 Working Inside Your System OM05278 Figure 4 21 Front Panel Fans...
Page 127: ...M440LX Server System Product Guide 127 OM05771 Figure 4 26 Removing the Power Share Backplane...
Page 132: ...132 Chapter 4 Working Inside Your System...
Page 137: ...M440FX Server System Product Guide 137 OM06470 1 2 Figure 5 2 Installing a Hard Disk Drive...
Page 200: ...200 Chapter 9 I O Ports and Connectors...
Page 224: ...224 Chapter 10 Solving Problems...


