background image

Page 8 of 16                                                                            


2342-242/2444A3, 2342-442, 2342-542 Rev: 1/21/2014 7:24 AM


LED Behavior 

Mini Remote has a two-color LED (Green & Red) which momentarily indicates whether an on or an off is 
being sent. 

LED State 

Meaning 

Blink Green (Once) 

On Sent 

Blink Red (Once) 

Off Sent 

Blink Red  (for a few 
seconds) 

One or more scene members did not acknowledge (note: scene members 
may still have heard the scene command and adjusted their settings) 

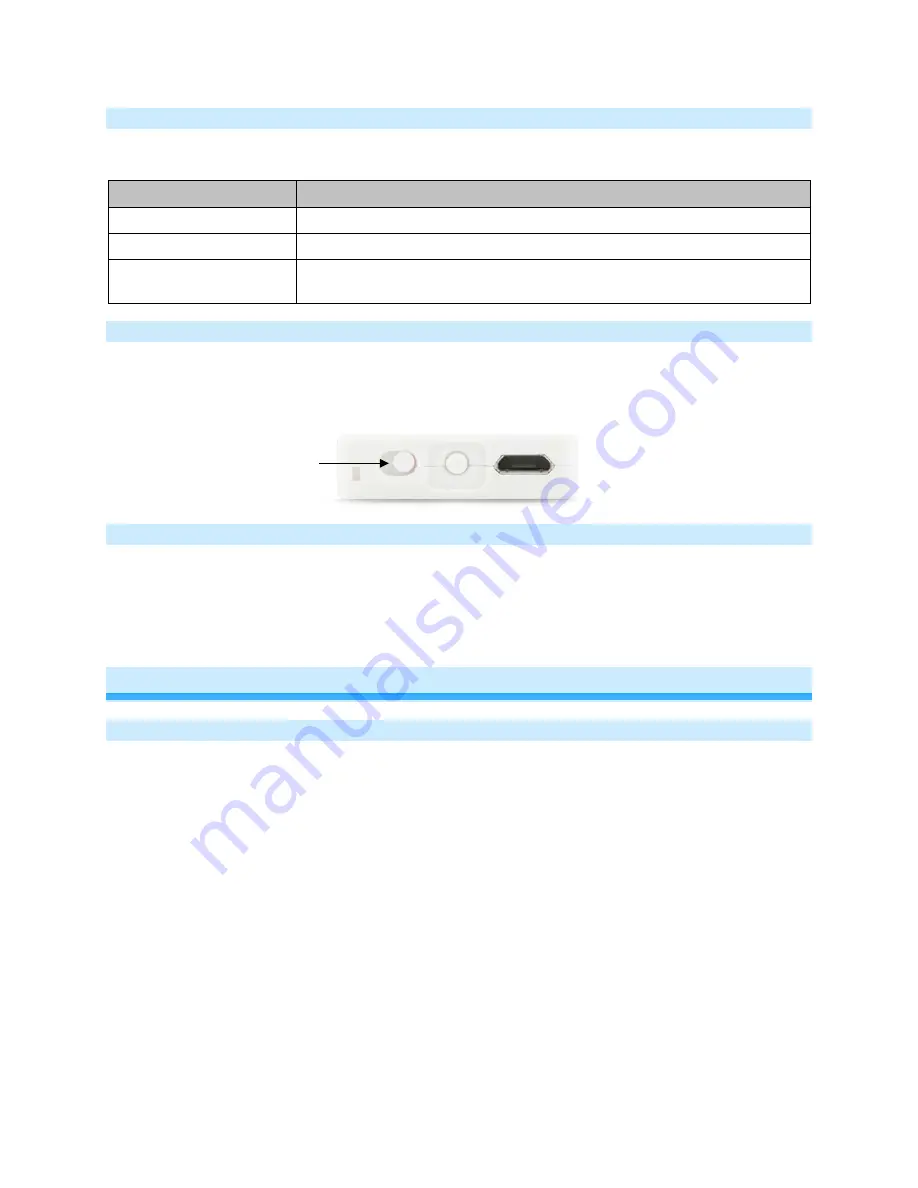
Turn Unit On/Off (Pocket Mode) 

 
The Mini Remote features a power switch located next to the Set button. If you plan on carrying the Mini 
Remote in your pocket it is recommended that you turn it off to prevent buttons from accidentally being 
pressed. This is also recommended if your RemoteLinc will not be in use for long periods of time. 


Stuck button 

 
If a button on Mini Remote is held for more than 4 minutes, the RemoteLinc will automatically stop 
transmitting to preserve battery life. The Mini Remote will automatically turn back on when the button that 
was depressed is no longer being pressed. 
 

Advanced Features 

Add Multiple Responders to a Scene (Multi-Link) 

1)  Tap the Mini Remote paddle (top or bottom) – if in 2 scene mode, tap the top of the paddle for scene 

1 or the bottom for scene 2 

2)  Press & Hold Set Button for 3 seconds - until you hear a beep 

Mini Remote’s LED will blink green


3)  Tap Set Button  

Mini Remote’s LED will double-blink green


4)  Adjust Each Responder you wish to add to scene, then Press & Hold its Set Button until Mini Remote 

Double-Beeps  

Mini Remote’s LED will continue to double-blink green


5)  When all your devices have been added, tap Mini Remote’s Set Button  


Mini Remote double-beep and its LED will turn off 

Power Switch 

(right On, left Off) 

Summary of Contents for Mini Remote 2342-442

Page 1: ...Page 1 of 16 2342 242 2444A3 2342 442 2342 542 Rev 1 21 2014 7 24 AM Mini Remote INSTEON Remote Control Switch formerly RemoteLinc 2 Owners Manual 2342 242 2444A3 US 2342 442 EU 2342 542 AUS NZ...

Page 2: ...7 LED Behavior 8 Turn Unit On Off Pocket Mode 8 Stuck button 8 Advanced Features 8 Add Multiple Responders to a Scene Multi Link 8 Remove Multiple Responders from a Scene Multi Unlink 9 Change Paddle...

Page 3: ...n wall with no trim plate wireless keypad Mounted on wall in a single gang Decorator trim plate wireless keypad built in look Mounted on wall in a multi gang Decorator trim plate add to the number of...

Page 4: ...e Stuck Button Mode saves battery life by going to sleep if button stuck down Beeper for setup ease Recharges with standard USB charger with via Micro USB Plug 5VDC Battery life exceeds 3 months Batte...

Page 5: ...ee table USB Power Adapter 2444B6 For use with Mini Remote USB Charging Cable and any other device that charges via USB cable Wall Mount Bracket 2444B4 Wall mount your Mini Remote anywhere Gang two or...

Page 6: ...emote Button to a Scene as a Controller Follow the steps below to control a scene one or more INSTEON devices 1 Tap the Mini Remote switch top or bottom paddle if in 2 scene mode tap the top of the pa...

Page 7: ...ode Default The switch controls scene members as follows Paddle Tap Press hold Double tap Top Turn scene on Brighten scene members until released Turn scene members full bright instantly Bottom Turn s...

Page 8: ...periods of time Stuck button If a button on Mini Remote is held for more than 4 minutes the RemoteLinc will automatically stop transmitting to preserve battery life The Mini Remote will automatically...

Page 9: ...i Remote will double beep and its LED will turn off Change Paddle Scene Configuration e g Change to 2 Scene Mode 1 Press Hold Set Button for 3 seconds until you hear a beep Mini Remote s LED will blin...

Page 10: ...e for the desired button scene configuration Desired LED Mode Button to Press LED Off Bottom LED On default Top Mini Remote will double beep and its LED will turn off Turn Beeper On During Usage or Ba...

Page 11: ...Setup Mini Remote has a two color LED Green Red which displays helpful information LED State Meaning Blinking Green slowly Add Responder Setup Mode or LED on off Setup Mode Blinking Red slowly Remove...

Page 12: ...442 EU 2342 542 AUS NZ UPC 813922011616 813922012606 813922012972 FCC ID SBP2444A Patent Number 7 345 998 US International Patents Pending Warranty 2 Years Limited INSTEON Scenes 1 default configurabl...

Page 13: ...over Contact Switches Optional Hardware Wall Mount Tabletop Stand Visor Clip Operating Environment Indoors 32 F to 104 F up to 85 relative humidity Electrical Battery type 3 7 VDC Lithium Polymer Rec...

Page 14: ...nds to a responder s that is no longer in use Remove all unused Responders from the Mini Remote HINT If you are using home automation software you can easily check scene membership and eliminate unnec...

Page 15: ...equirements and other relevant provisions of the following Directives 1 Electromagnetic Compatibility Directive 2004 108 EC 2 Hazardous Substance Directive 2005 95 EC Technical data and copies of the...

Page 16: ...ovided for above shall be the full extent of Seller s liability with respect to this product For repair or replacement during the warranty period call the INSTEON Gold Support Line at 866 243 8022 wit...

Reviews: