


Page 7 of 16
2342-242/2444A3, 2342-442, 2342-542 Rev: 1/21/2014 7:24 AM
1) Tap the Mini Remote switch (top or bottom paddle) - if in 2 scene mode, tap the top of the paddle for
scene 1 or the bottom for scene 2
The responder will respond
2) Press & hold the Mini Remote’s Set button until it beeps
Mini Remote’s LED will blink green
3) Press & hold the Mini Remote’s Set button until it beeps again
Mini Remote’s LED will blink red
4) Press & hold the Responder’s Set button until it double-beeps (or LED blinks)
Mini Remote will double-beep and its LED will stop blinking
5) Confirm that Unlinking was successful by tapping on/off on your Mini Remote
The responder will not respond
6) If you wish to remove multiple responders from Mini Remote, repeat steps 1-5 for each additional
responder (or see
Remove Multiple Responders from a Scene
)
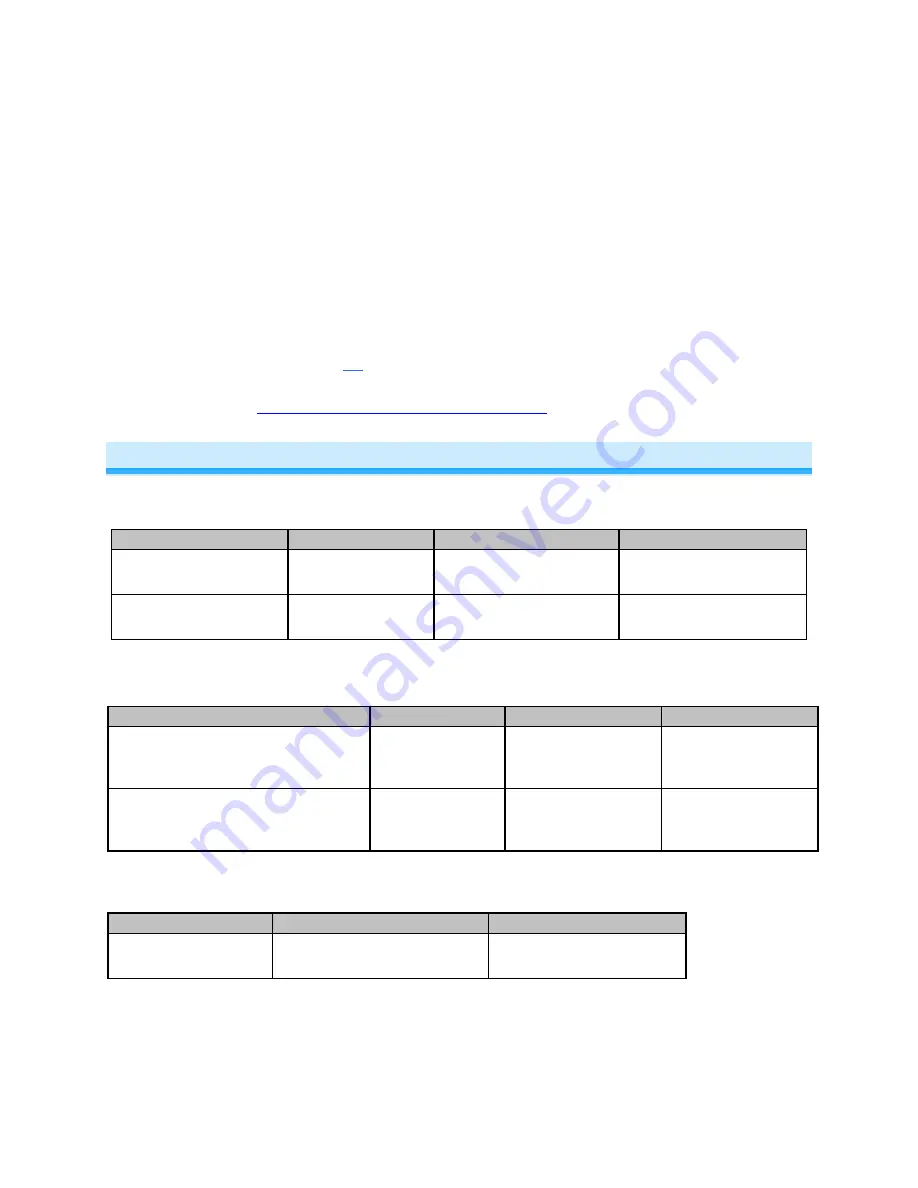
Using Mini Remote
1 Scene Mode (Default)
The switch controls scene members as follows:
Paddle
Tap
Press & hold
Double-tap
Top
Turn scene on
Brighten scene members
until released
Turn scene members full-
bright instantly
Bottom
Turn scene off
Dim scene members
until released
Turn scene members off
instantly
2 Scene Toggle Mode
The top and bottom paddle will control all its scene members as follows:
Last Command Sent
Tap
Press & hold
Double-tap
Off or Dim
Turn scene on
Brighten scene
members until
released
Turn scene
members full-bright
instantly
On or Bright
Turn scene off
Dim scene members
until released
Turn scene
members off
instantly
2 Scene Non-Toggle Mode
(Always On)
Each button will control all its scene members as follows:
Tap
Press & hold
Double-tap
Turn scene On
Brighten scene members until
released
Turn scene members full-
bright instantly
Note: Devices in scenes that respond to the scene trigger by turning off do not respond to scene dim and
brighten. Devices in Scenes that only support On/Off (such as switches and relays) do not respond to
scene dim and brighten.


