


6
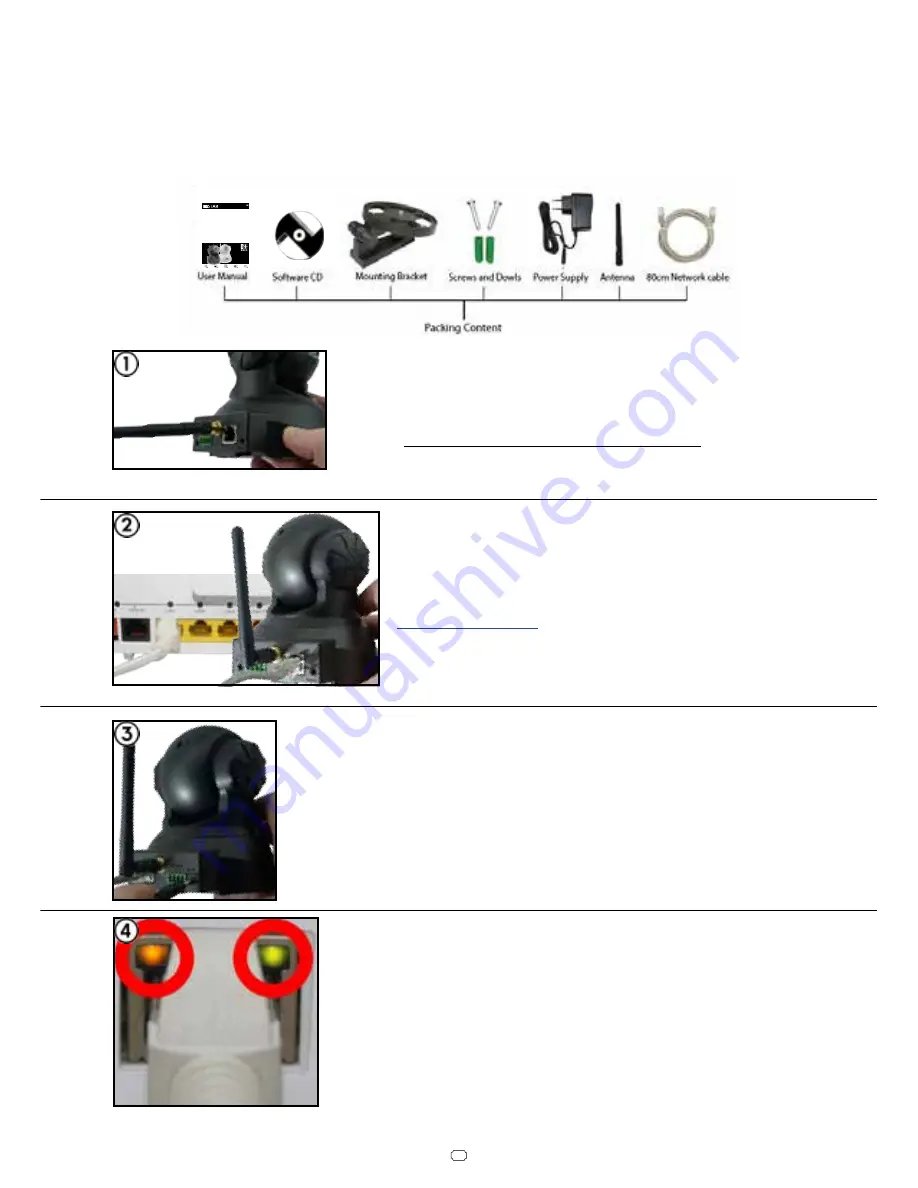
The
green LED
signals a hardware link to your router and
therefore should be on continuously. The
orange LED
should be flashing irregularly indicating network traffic.
The green status LED on the powersupply has to be on con-
tinuously indicating a steady power supply. Please plug the
powersupply directly into a wall socket. Using it on a multi
power strip or an extension cord is not recommended.
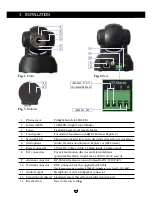
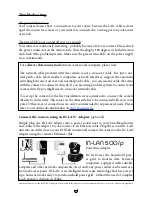
Connect the camera to your Network
Connect the
WiFi antenna
to the SMA connector on the
back of camera (see #9, page 5), align it vertically to your
router and place the camera close to your Wifi router for
the rest of the installation process. Please be aware that the
camera has to be installed via LAN cable first before it can
be used in your wireless network. You can skip this step in
case of the
PoE model
.
Connect the
power adapter
to the camera cable (see #7, page 5)
and plug it into a suitable power outlet. Both network indicator
LEDs on the network port will light up showing that the cam-
era is connected to your network. The white network status LED
will start flashing showing network activity (can be deactivated
in the web user interface) and the camera will execute a pan&tilt
calibration.
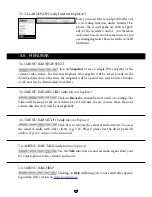
Plug the
ethernet cable
to the RJ45 LAN port on
the camera case (see #10, page 5) and use it to con-
nect the camera to a free LAN port of your network
router. For a direct connection to your Windows PC
or Mac, please refer to our online FAQ section on
www.faq.instar.de
. We recommend to connect the
camera to your network router for the initial instal-
lation.
Take out the package content from the box: the camera, a CAT5e LAN cable, a 2.4 dBi
RP-SMA WiFi antenna (not for the PoE model), mounting bracket and the software CD.
Android
iPhone
LINUX
Mac OS
Windows
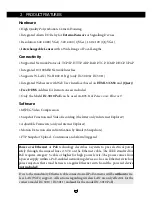
/ Zeitgesteuerte Bewegungserkennung per Bildvergleich
/ Alarmierung per Email und Schnappschuss Upload per FTP
/ Aufzeichnung des Videos über den Internet Explorer
/ Setzen aller Kameraparameter direkt über die Weboberfläche
/ Mehrstufige Benutzerverwaltung und Zugriffskontrolle
/ Zugriff auf die Kamera aus dem Internet (DDNS)
/ Einbindung der Kamera in Ihr Smartphone (iPhone & Android)
/ Einfache Integration in Ihr bestehendes WLAN/LAN Netzwerk
/ MJPEG Videokomprimierung für Plugin-freie Video-Wiedergabe
IN-3010/3011
Bedienungsanleitung
Summary of Contents for IN-2904
Page 2: ......
Page 36: ...PERSONAL NOTES 34...


