background image


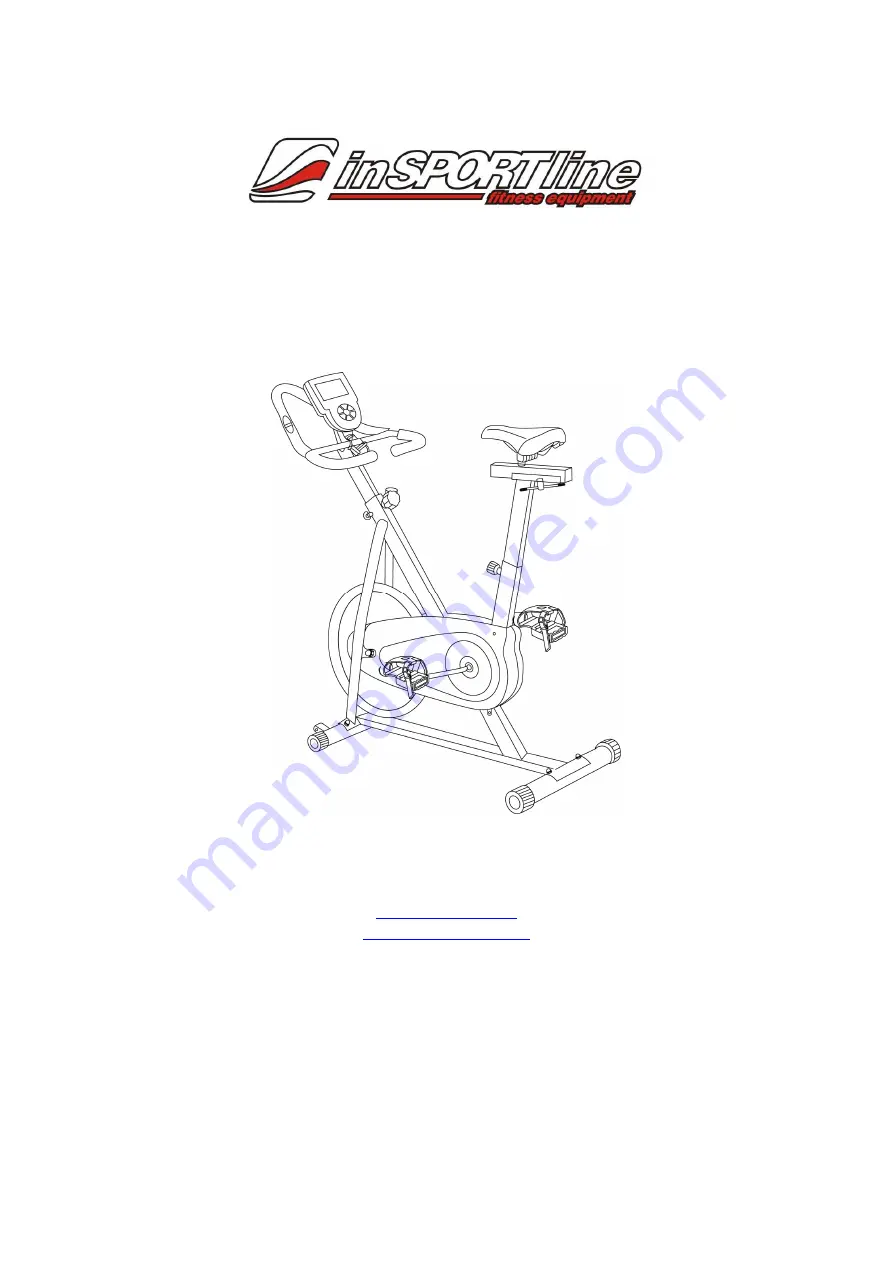
CZ - Návod na použití  IN 68 

MAG - MASTER 


Dodavatel: 

SEVEN SPORT s. r. o. 

Dělnická 957, Vítkov 749 01 

www.insportline.cz


[email protected]


Tel.: 556 770 190 


Maximální nosnost 100kg 
Tento produkt je určen POUZE pro domácí užití, nikoli pro lékařské účely 

Summary of Contents for MAG - MASTER

Page 1: ...t IN 68 MAG MASTER Dodavatel SEVEN SPORT s r o D lnick 957 V tkov 749 01 www insportline cz obchod insportline cz Tel 556 770 190 Maxim ln nosnost 100kg Tento produkt je ur en POUZE pro dom c u it nik...

Page 2: ...tk d ch n studen pot patn od aludku to en hlavy apod Pokud se v m toto stane zkonzultujte to se sv m l ka em p ed dal m cvi en m 4 Nepou t jte d ti a dom c zv ata na stroj Tento stroj je ur en pouze p...

Page 3: ...3 sti kola...

Page 4: ...4 roub 22 M8 20mm roub 36 M5 48mm roub 3 M8 70mm roub 28 M5 20mm Kulovit matice 4 M8 roub 29 M5 10mm Imbusov kl roubov k Podlo ka 5 M8 roub 8 M8 60mm...

Page 5: ...c roub 1 14 Podlo ka 1 15 Horizont ln sedlov ty 1 16 Ov ln obj mka 1 17 Spodn kabel senzoru 1 18 Ty id tek 1 19 Vrchn kabel senzoru 2 20 id tka 1 21 Ov ln z str ka 2 22 roub 2 23 Dr k id tek 1 24 Dr k...

Page 6: ...1 P ipevn te zadn stabiliza n ty 2 k z kladn sti 1 pomoc 2 set kulovit ch matic 4 podlo ek 5 a roubu M8 3 2 P ipevn te p edn stabiliza n ty 7 k z kladn sti 1 pomoc 2 set kulovit ch matic 4 kruhov podl...

Page 7: ...te roub a znovu dot hn te r hovanou st P ipevn te z t ov roub 34 pomoc 1 setu kulat ch podlo ek 5 a roubu 36 4 Nasu te sedlovou ty 15 na rove pru n ho roubu P ipojte vertik ln sedlovou ty 12 na konec...

Page 8: ...ek na vrchu ty e Povolte pru n roub na r hov sti a pot hn te roub dozadu zat mco um st te ty do vhodn d ry a d te ty do z kladn sti 7 P ipevn te id tka 20 a dr k computeru 24 do dr ku id tek 23 pomoc...

Page 9: ...ly 27 jsou ozna eny L lev a R prav P ipevn te je k p slu n m klik m Pr v klika je na prav stran kola kdy sed te Prav ped l se dotahuje ve sm ru hodinov ch ru i ek a lev ped l proti sm ru hodinov ch r...

Page 10: ...bolest ve svalech Navrhujeme n sleduj c zah vac a protahovac cviky Prot hnut vnit n strany stehen Sedn te si tak aby va e chodidla byla u sebe a kolena sm ovala ven P it hn te va e chodidla k t sl m...

Page 11: ...knut se prst u noh Pomalu se ohn te v pase p i em ponechejte va e ramena a z da v klidu Pokuste se dost t jak nejd l jen m ete a dotknout se prst Vydr te do patn cti Prot hnut bok Zvedn te ruce nad hl...

Page 12: ...ne kdy l pnete do ped l nebo zm knete jak koliv tla tko na computeru Pokud computer nedostane dn sign l po dobu 4 minut automaticky se vypne a vyma e v echny hodnoty na nulu SCAN zm kn te tla tko MODE...

Page 13: ...ekvenci kterou nechcete p ekro it Pokud p ekro te tuto hodnotu computer bude p pat Pokud computer nedostane dn sign l po dobu 16 sekund na displeji se uk e P Pro restartov n funkce tepov frekvence zm...

Page 14: ...tu s tekutinami i potem E Computer adapt r z str ka a cel rotoped se nesm dostat do styku s vodou F Computer nevystavujte slune n mu z en a kontrolujte funk nost bateri aby nedo lo k vyte en bateri a...

Page 15: ...robku zp soben v robn z vadou nebo vadn m materi lem v robku tak aby v c mohla b t dn u v na Reklamace se uplat uje z sadn p semn s p esn m popisem o z vad a potvrzen m dokladem o zakoupen Z ruku lze...

Page 16: ...05 Tren n Tel 421 32 6526704 Supplier for PL inSPORTline PL ul Kantorowicka 400 Krak w 31 763 Tel 48 012 4173850 Supplier for HU inSPORTline Hungary Kft Kossuth Lajos u 65 Esztergom 250 0 Tel 36 33 3...

Page 17: ...continuing with your exercise program 4 Keep children and pets away from the equipment The equipment is designed for adult use only 5 Use the equipment on a solid flat level surface with a protective...

Page 18: ...18 Explore drawing DM 4620...

Page 19: ...19 Screw 22 M8 20mm Bolt 36 M5 48mm Key Head Bolt 3 M8 70mm Screw 28 M5 20mm Domed Nut 4 M8 Screw 29 M5 10mm Allen Wrench Tool Tool Washer 5 M8 Bolt 8 M8 60mm...

Page 20: ...ost 1 13 Adjusting knob 1 14 Washer 1 15 Horizontal seat post 1 16 Oval bushing 1 17 Lower sensor wire 1 18 Handlebar post 1 19 Up sensor wire 2 20 Handlebar 1 21 Round plug 2 22 Screw 2 23 Handlebar...

Page 21: ...1 Attach the Rear stabilizer 2 to the main frame 1 using two sets of dumed nuts 4 round washer 5 and key head bolts M8 3 2 Attach the front stabilizer 7 to the main frame 1 using 2sets of domed nuts 4...

Page 22: ...Release the knob and retighten the knurled portion Fix the tension knob 34 with 1 set of round washer 5 bolt 36 4 Slide the horizontal seat post 15 into position using the spring knob Tap the Vertica...

Page 23: ...ken the spring knob by the knurled section by hand and pull he knob back whilst locating the post in a convenient hole when positioning the post in the main frame 7 Attach the handlebar 20 and compute...

Page 24: ...and R let and right Connect them to their appropriate crank arms The right crank arm is on the right hand side of the cycle as you sit on it Note that the Right pedal should be threaded on clockwise a...

Page 25: ...25...

Page 26: ...s to reduce sore muscle problems We suggest the following warm up and cool down exercises Inner Thigh Stretch Sit with the soles of your feet together with your knees pointing outward Pull your feet a...

Page 27: ...rom your waist letting your back and shoulders relax as you stretch toward your toes Reach down as far as you can and hold for 15 counts Side Stretch Open your arms to the side and continue lifting th...

Page 28: ...on the strap then lock it back around the buckle now mount the cycle and turn the pedals the tension control knob can now be used for a finer adjustment if you find it is now too tight to back to the...

Page 29: ...e of exercise will be displayed on the main screen by pressing UP or DOWN key SPEED Current speed will be shown on the main screen by pressing UP or DOWN key DISTANCE The distance of each workout will...

Page 30: ...een FAT BODY FAT RATIO The monitor will calculate the data of gender height weight and age to show your BODY FAT RATIO The will show on screen from 5 55 HOW TO INSTALL BATTERIES 1 Place two batteries...

Page 31: ...it at suitable collecting points or containers with a view to saving the environment 18 DO NOT pull out the seat tube over the warning line max which showing on the tube when you adjust the height of...

Reviews: