USER MANUAL – EN
IN 6937 Motorized Treadmill inSPORTline Aluvis
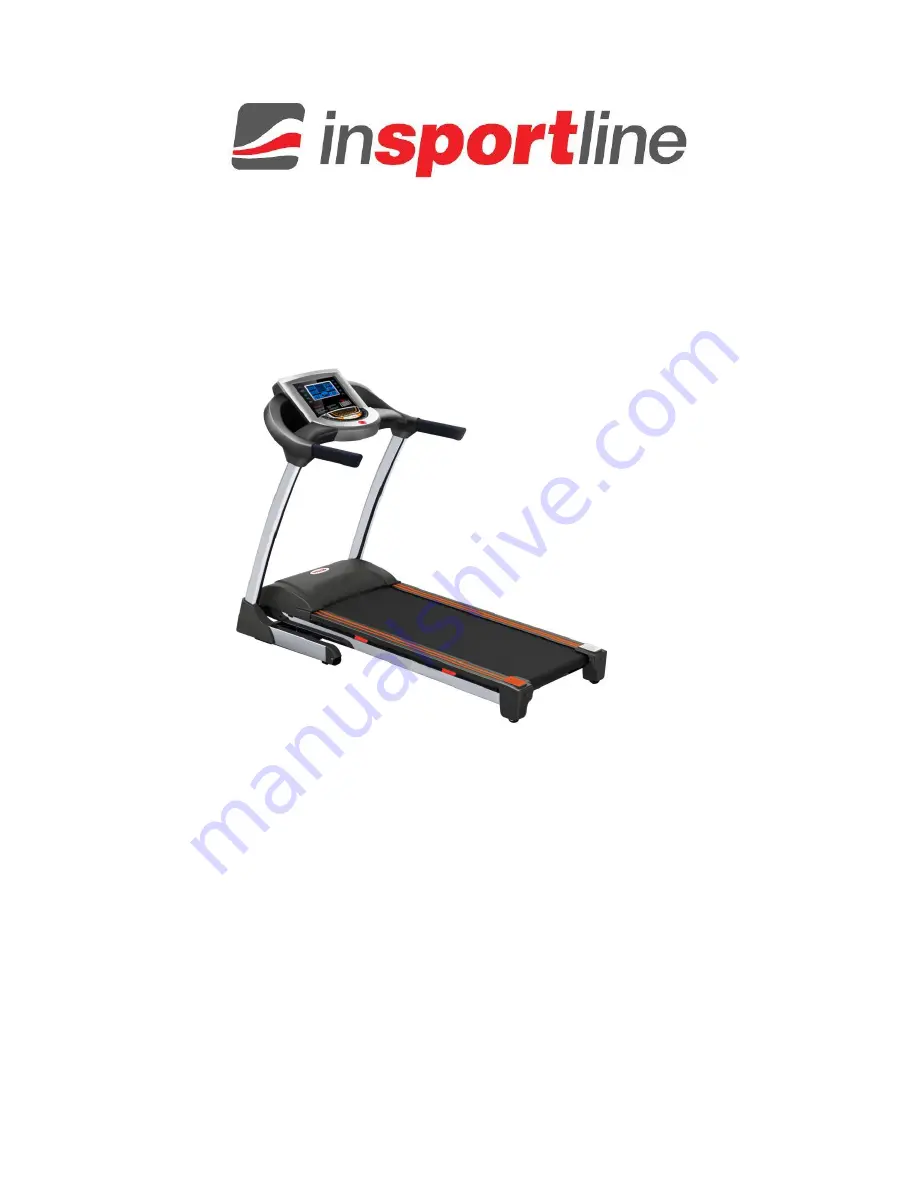
Page 1: ...USER MANUAL EN IN 6937 Motorized Treadmill inSPORTline Aluvis ...
Page 2: ...STRUCTURE 5 ASSEMBLY INSTRUCTIONS 5 USAGE 7 POWER SWITCH 7 SAFETY KEY 7 FOLDING UNFOLDING 7 INSTRUCTION FOR CONSOLE 9 DETAILED INSTRUCTIONS 12 MAINTENANCE 13 RUNNING BELT ADJUSTMENTS 13 CLEANING 15 CAUTIONS DEPOSITING 15 GUIDES FOR MALFUNCTION 15 TERMS AND CONDITIONS OF WARRANTY WARRANTY CLAIMS 17 ...
Page 3: ...ot suitable for medical If any damage for power wire please ask manufacturer or professional service to replace it in case of any danger Please check all the parts before using Make sure that all the nuts or screws are fastened Place your treadmill on the clean flat and solid floor Make sure that there is not anything pointy water or hot near to the machine Please stop exercising immediately and c...
Page 4: ...nstallation Operate in accordance with procedures 2 Check components in the package 3 Remove all paper boxes and foams used as fasteners 4 Check all the following components If there is missing or problematic parts please contact the dealer Frame Meter Decorating cover at base Decorating cover for meter Hardware tool bag Hardware tool bag Multi wrench 1 pcs Homemade wrench 1 pcs Nut 4pcs Umbrella ...
Page 5: ...3 EXPLODED VIEW These are all the components used in installation All components are listed in the following form ...
Page 6: ...12 PCB 1 39 Heart rate sensor 2 13 Incline motor 1 40 Upper control board 1 14 Running belt 1 41 Loudspeaker 2 15 Running board 1 42 Photoelectric line 1 16 Multislot belt 1 43 Upper line of communication 1 17 Upper cover of motor 1 44 Lower line of communication 1 18 Decorative bead 2 45 Red connecting line 1 19 Left running belt adjustor 1 46 Red connecting line 1 20 Right running belt adjustor ...
Page 7: ...on the base frame a Make the communication line through the right meter tube b Set meter tube on the base frame Use 2 pcs of Screw M8 20 with 2 pcs of washer and 2pcs of Screw M8 60 with 2 pcs of washer 2 pcs of nut to solid the meter tube Don t fasten screw at first ...
Page 8: ...ter tube Use 4 pcs of Screw M8 20 with 4 pcs of washer 2 pcs of nut to solid the meter Don t fasten screw at first d After the machine is power on push Start If everything goes well then fasten screws mentioned in front steps e Use 4 pcs of Screw ST4 2 15 to solid decorating cover for meter Step 3 Install decorating cover at base Use 4 pcs of Screw M4 20 to solid left and right decorating cover at...
Page 9: ...end of the safety key has been nipped to your clothes In this way you can pull the safe key for the machine s sudden stop under the dangerous condition Then you will not be injured If you need to reuse the machine you could put safety key back FOLDING UNFOLDING Folding Folding will help to save space Before folding please switch off and pull off the plug Use your hand to lift the running board unt...
Page 10: ...8 ...
Page 11: ...N FOR CONSOLE TECH INFO Time 00 00 99 59 Min Speed 1 0 20 0 km h Incline 0 20 Distance 0 00 99 9 km Calorie 0 999 KCAL Heart rate 50 200 Min Program Preset Program P1 P99 Body Fat Test BMI Customized program U1 U3 ...
Page 12: ...s Start to start it MODE Key Under ready condition Press MODE you could select 30 00 1 0 or 50 30 00 is time countdown 1 0 is distance countdown 50 is calorie countdown When you have selected you have to press Start to start it SPEED Key Under ready condition it is used for setting some data Under running condition it is used for setting speed speed difference is 0 1 km h for each time When we pre...
Page 13: ...set incline for 5 10 15 directly DISPLAYED WINDOW A INCLINE Display the incline data B DISTANCE Display the distance data C TIME Display the time data D SPEED Display the speed data E PULSE Display the pulse data F Display mock runway G Display program picture H Display reminding data Calorie WEIGHT AGE HEIGHT SEG MEN WOMEN BMI DATE ...
Page 14: ...EED SPEED to adjust speed and incline Press Stop the machine will stop slowly Built in Program There are 99 built in programs P1 P99 Under ready condition press PROG Key continuously Window PROGRAM will display P1 P99 FAT in turn P1 P99 are built in programs After selecting specific program press MODE Window Time displays 30 00 and shining you could press INCLINE INCLINE SPEED SPEED to set exercis...
Page 15: ... Age 10 99 Height 100 200 Weight 20 150 BMI 19 Underweight 20 25 Normalweight 25 29 Overweight 30 Obesity Power save mode Our machine has power save function When you turn on power switch for 10 minutes and don t press any key the machine will come into power save mode and there is no light on the screen You could press any key into ready condition Setting of date and time Insert the magnetic safe...
Page 16: ...g belt deflection The running belt will be deflected more or less under using Then it needs to be adjusted The steps are as follows a Place the treadmill on a horizontal floor turn the speed to be 6 km h for running b If the running belt is deflected to the right adjust the bolt on the right by turning it for half a turn clockwise then adjust the bolt on the left by turning it half an anti clockwi...
Page 17: ...ry it for use d Please take the protecting cover off every two month use vacuum dust collector to suck the dust remaining inside of the protecting cover The dust will make the components of circuitry board short circuit CAUTIONS DEPOSITING Cautions Please make sure that the plug has been pulled out before cleaning or maintenance Depositing The treadmill should be deposited indoor in case of being ...
Page 18: ...well or whether it is broken 10 Displayed E02 on the screen The PCB problem Change the PCB 11 Displayed E03 on the screen The speed problem If find it when speed is exceed 8km h it is overweight or the broken of running board running belt Check the running board and running belt If it is the problem of running belt try to add some oil for the running belt at first If speed is not exceed 8km h chan...
Page 19: ...ing to valid legal regulations it depends whether the Buyer is the End Customer or not The Buyer who is the End Customer or simply the End Customer is the legal entity that does not conclude and execute the Contract in order to run or promote his own trade or business activities The Buyer who is not the End Customer is a Businessman that buys Goods or uses services for the purpose of using the Goo...
Page 20: ...s arising from the repair The cost shall be calculated according to the valid price list of services and transport costs If the Seller finds out by testing that the product is not damaged the Warranty Claim is not accepted The Seller reserves the right to claim a compensation for costs arising from the false Warranty Claim In case the Buyer makes a claim about the Goods that is legally covered by ...