


57
39" 1080p, 60Hz, LED Roku TV
www.insigniaproducts.com
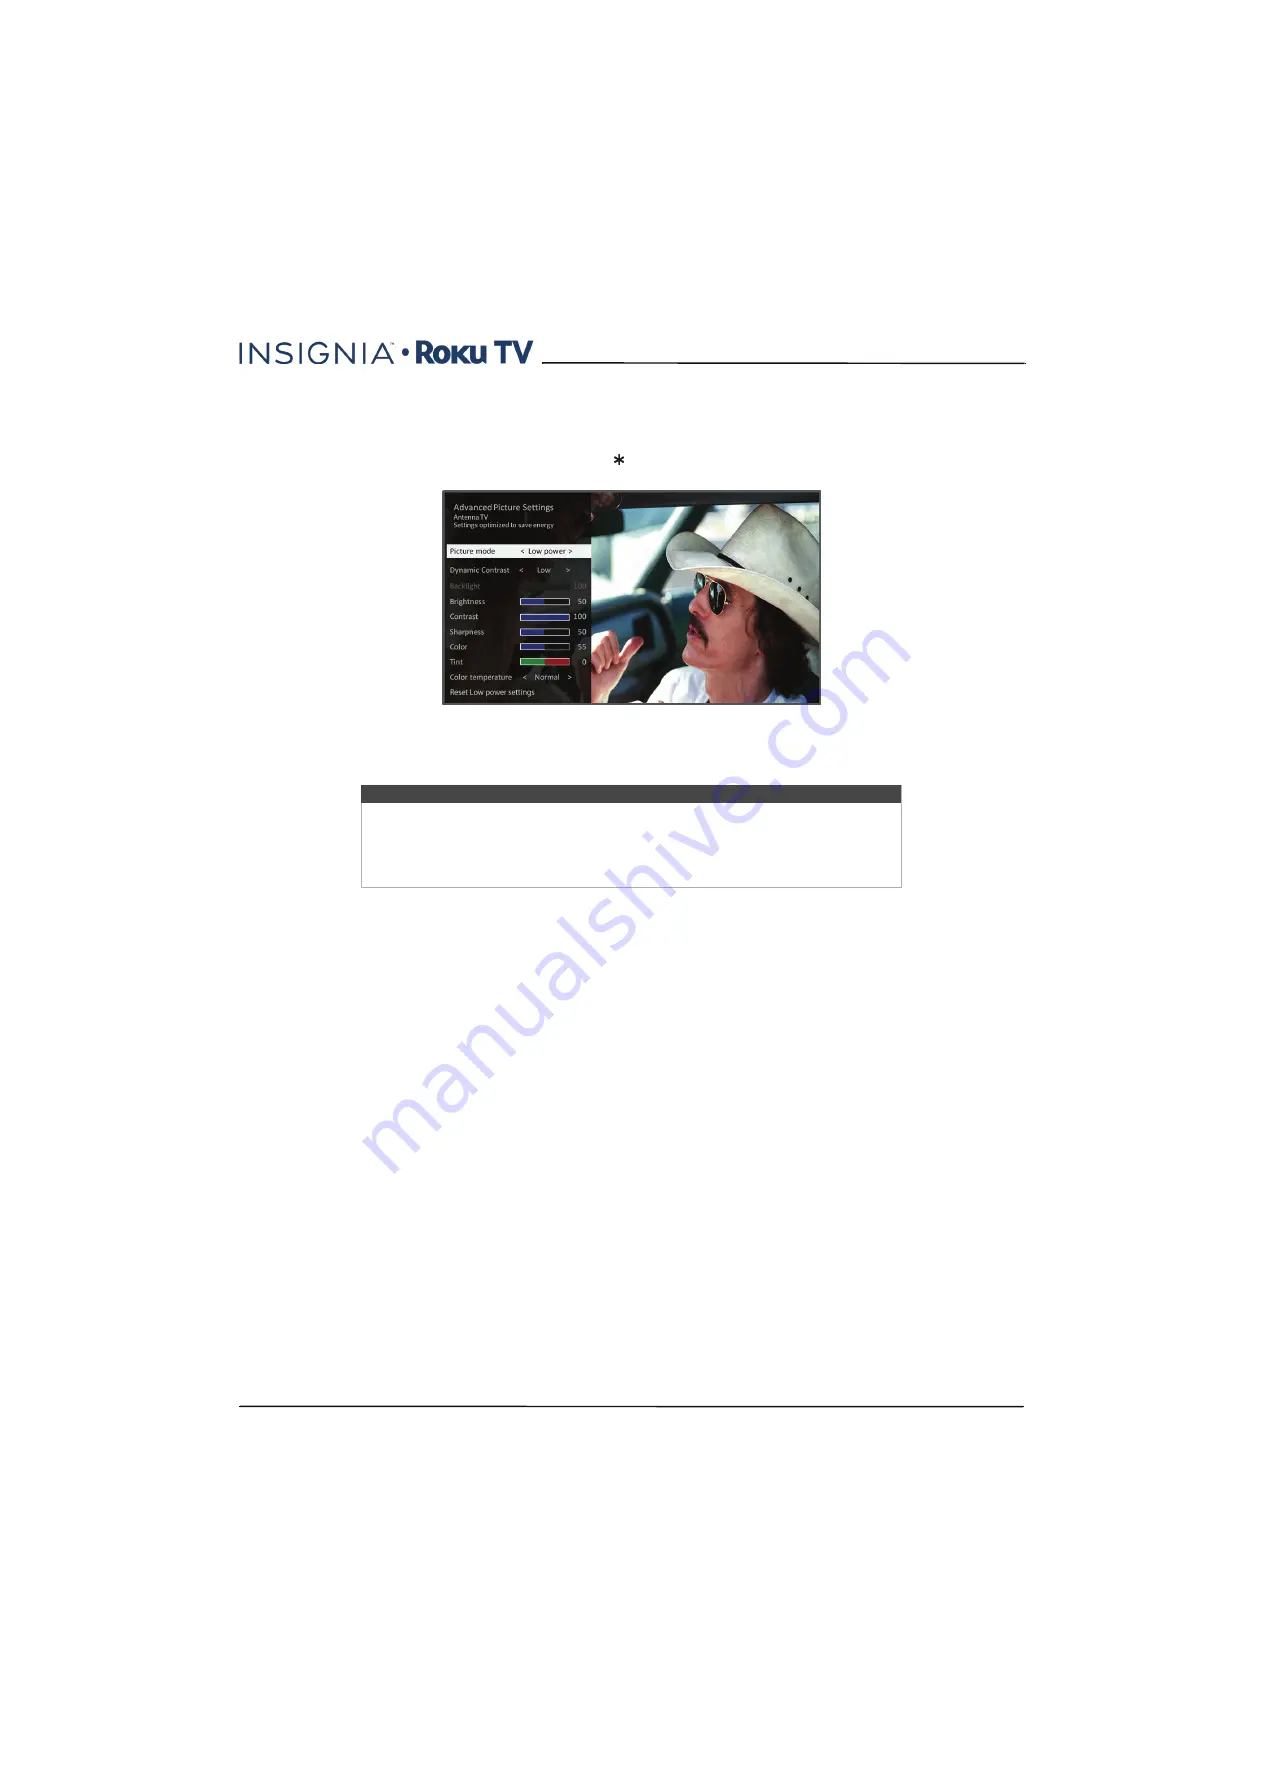
Advanced picture settings
The
Advanced Picture Settings
menu for each TV input provides settings for fine tuning the appearance of the picture. All
of the settings in this menu apply only to the currently-selected input.
To use the
Advanced Picture Settings
menu, first press to display the
Options
menu. Then select
Advanced picture
settings
.
To adjust the settings on the
Advanced Picture Settings
menu, press the
UP
or
DOWN
arrow to highlight a setting, and
then press the
LEFT
or
RIGHT
arrow to change the setting. You’ll notice the changes you make right away in picture
appearance.
Advanced Picture Settings menu options
•
Picture mode
—Provides picture presets for various viewing preferences. This setting duplicates the one on the
Options
menu. When you change the
Picture mode
, other picture settings adjust accordingly.
For example, setting the
Picture mode
to
Vivid
sets
Brightness
,
Contrast
,
Sharpness
, and other values to produce a
very vibrant picture. Setting
Picture mode
to
Movie
changes these same settings to produce a picture suitable for
enjoying movies in a darkened room.
If you make changes to the individual picture settings—for example,
Contrast
or
Sharpness
—these settings are
saved for the current input
and
the current picture mode. In this way, the
HDMI 1
input's
Movie
picture mode can be
customized and different than the
HDMI 2
input’s
Movie
picture mode and Antenna TV’s
Movie
picture mode.
Low power
is a power-saving picture mode that reduces power consumption. When you use
Low power
, you'll notice
that your TV's picture is a little dimmer than the brightest picture modes (
Vivid
and
Normal
).
Use
Reset picture settings
, described below, to return the input’s current picture mode to its original values.
•
Dynamic Contrast
—Automatically adjusts the backlight level to achieve the optimum contrast and prevent
excessive differences between light and dark areas of the screen. The
Backlight
option is disabled when
Dynamic
Contrast
is enabled.
•
Backlight
—Adjusts the overall light intensity of the screen.
•
Brightness
—Adjusts the dark level of the black areas of the picture.
•
Contrast
—Adjusts the white level of the light areas of the picture.
•
Sharpness
—Adjusts the sharpness of the edges of objects in the picture.
•
Color
—Adjusts the intensity of colors in the picture. A setting of 0 removes all color and displays a black and white
picture.
•
Tint
—Adjusts the color balance from green to red to obtain accurate colors in the picture.
•
Color temperature
—Adjusts the overall colors in the picture from
Normal
to slightly more bluish (
Cool
) to slightly
more reddish (
Warm
).
Tip
When you highlight a setting, the header text explains the effect of its current value.
When you begin to adjust a setting, the other options are hidden so you can see
more of the screen. Even though the other settings are hidden, you can move the
highlight up or down to adjust the other settings. As soon as you press the
UP
or
DOWN
arrow, the other settings become visible again.


