— 11 —
set a value, and then 4)
push
again to accept the selection
and lock it into non-volatile memory and to return to nor-
mal menu navigation.
In setup menus, any parameter that can be edited will begin
blinking when the knob is pushed. Blinking indicates that a
different option or value may be selected. Turn the knob to
make your choice, and then push once again to transfer that
selection to memory.
Each INOmini 661 menu screen will be discussed separately
and in order, except that the last menu is discussed first, as
it could hinder your progress.
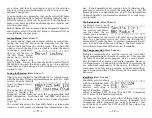
Locked Menus
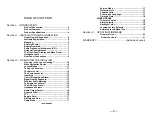
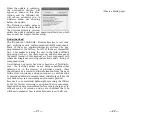
(Menu Screen 21
To guard against inadvertent menu editing or casual tam-
pering, the very last menu in the sequence lets the user
lock-out the knob from the editing mode. If you find that
when you push the knob you are unable to enter the menu
to change a setup selec-
tion, go all the way to
the last Menu Screen,
shown here. Push the
knob and
Menus
will
start to blink. You can then turn the knob to select
Menus:
Unlocked
and push the knob again to set this selection.
From there you may navigate back to whichever screen you
wanted to edit.
Tuning the Receiver
(Menu Screen 1)
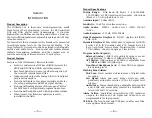
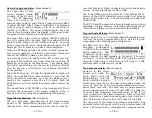
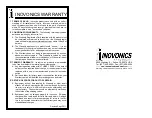
When power is applied to the INOmini 661, a ‘splash screen’
with the product ID pops up immediately on the LCD. With-
in a few seconds this will
revert to Menu Screen 1,
shown here.
The upper line of Menu
Screen 1 displays the
frequency of the broadcast and the corresponding DAB
block designation. Push the knob and
FREQ
will begin to
blink. Turn the knob to tune-in the desired frequen-
cy/group.
The second line shows the Ensemble Label, a service name
common to all broadcasts sharing this transmission chan-
— 12 —
nel. If the Ensemble Label overruns this 11-character dis-
play area it will scroll to reveal the complete text. The
FQ
bargraph gives a rough indication of FIC (Fast Information
Channel) Quality, a representative measure of overall recep-
tion integrity.
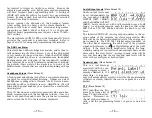
The Service List
(Menu Screen 2)
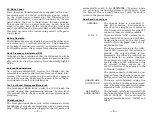
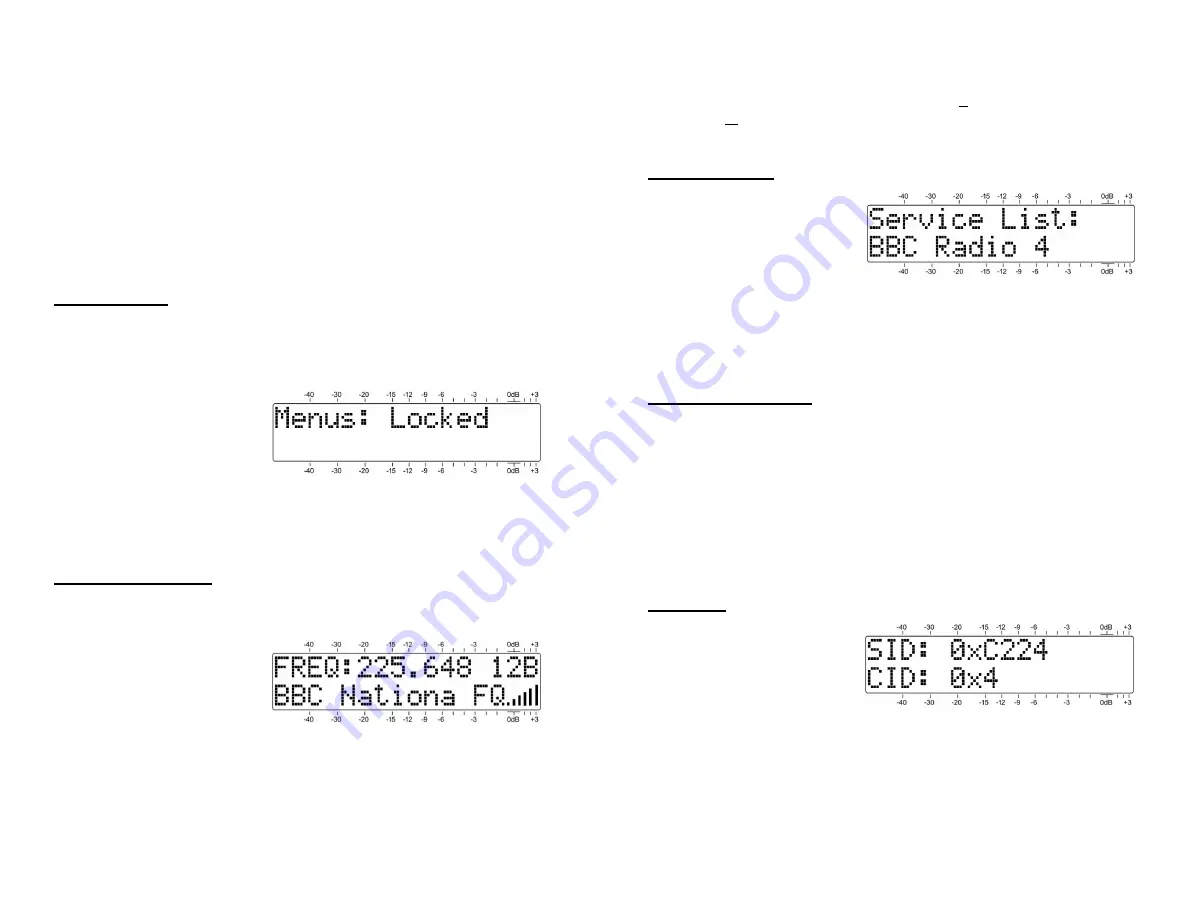
On
Menu Screen 2, push
the knob to scroll among
the
services
(broadcast-
ers) that share the
en-
semble
you are tuned to.
The
label
(name) of the service will show up on the second
line. For a particular service you select, the INOmini 661
automatically picks
the first, or primary
component
(broad-
cast) to supply the audio you will hear. The next menu se-
lects other components of that service, if available.
The Component List
(Menu Screen 3)
Multiple components of a specific service can carry addi-
tional programming by the same broadcaster. This can take
the form of another audio program, data or even pictures.
The INOmini 661 supports only audio programs, however.
On Menu Screen 3, push and turn the knob to scroll among
any additional components of the service, if offered. If a
component is not an audio program, its name will still ap-
pear on the second line of this screen, but no audio will be
delivered.
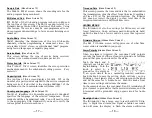
Identifiers
(Menu Screen 4)
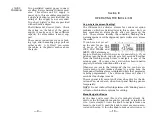
Ensemble services, along
with the individual com-
ponents within those
services, each carry a
digital identifier. Menu
screen 4 displays
SID:
(Service ID) and
CID:
(Component
ID) 32-bit or 16-bit hexadecimal codes.
You may use the knob to enter either of these fields as an
alternate means of selecting the Service (Ensemble) and
Component (audio program) you want to monitor. Just
push the knob to enter the
SID:
and
CID:
hex values, one
character at a time.


