LL1000P® Plate printer
Copyright © 2003-20016 InfoSight Corporation All Rights Reserved
Page 3
PRINTER INITIALIZATION
1. Start LabeLase® Producer™ software on your PC. This manual assumes you have version 2.0 or higher.
2. Load a pre-existing tag layout, or design a new tag layout. NOTE: designing or changing a tag layout
requires SUPERVISOR login. Several sample templates for the LL1000P Plate Printer are provided on
your installation CD, and may also be downloaded from www.infosight.com.
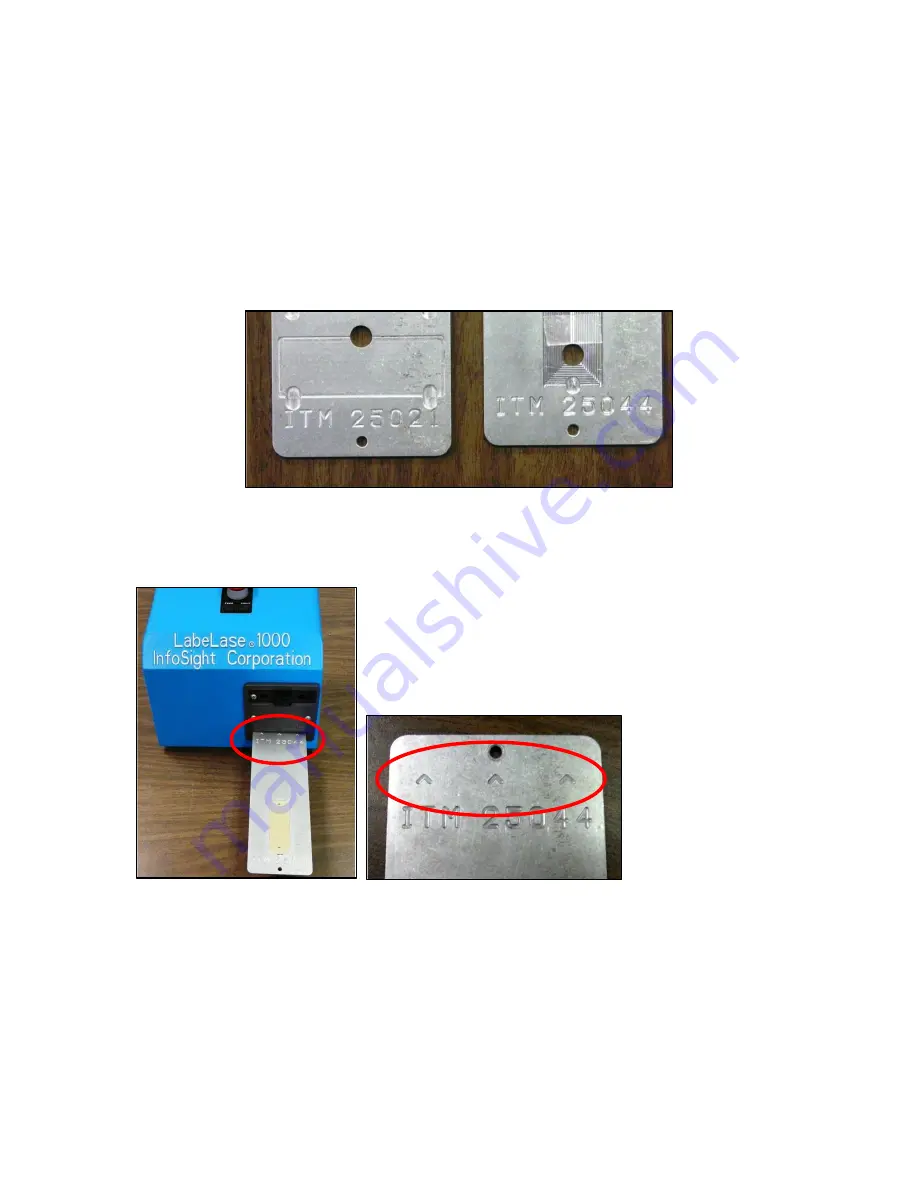
3. Choose a plate with a tag pocket that corresponds to the tag layout (i.e., matching tag size, orientation &
placement on the plate, as well as plate length). Each plate is marked with a unique ITM number which can
be included in the filename for the tag layout for future convenience in selecting the proper plate for
printing.
Plates are individually labeled with a unique ITM part number
4. Carefully insert the plate into the front slot of the Plate Printer, in the direction of the arrows on the plate.
NOTE: it is not necessary to place a tag in the plate pocket, unless the AUTO PRINT feature is enabled
(see below).
5. The plate will be drawn automatically into the printer and positioned at the “out and ready” position,
ready for printing. NOTE: if the AUTO PRINT feature is enabled, the plate will fully enter the printer,
printing will begin, and when finished printing the plate will be fully ejected (see below).


