22
23
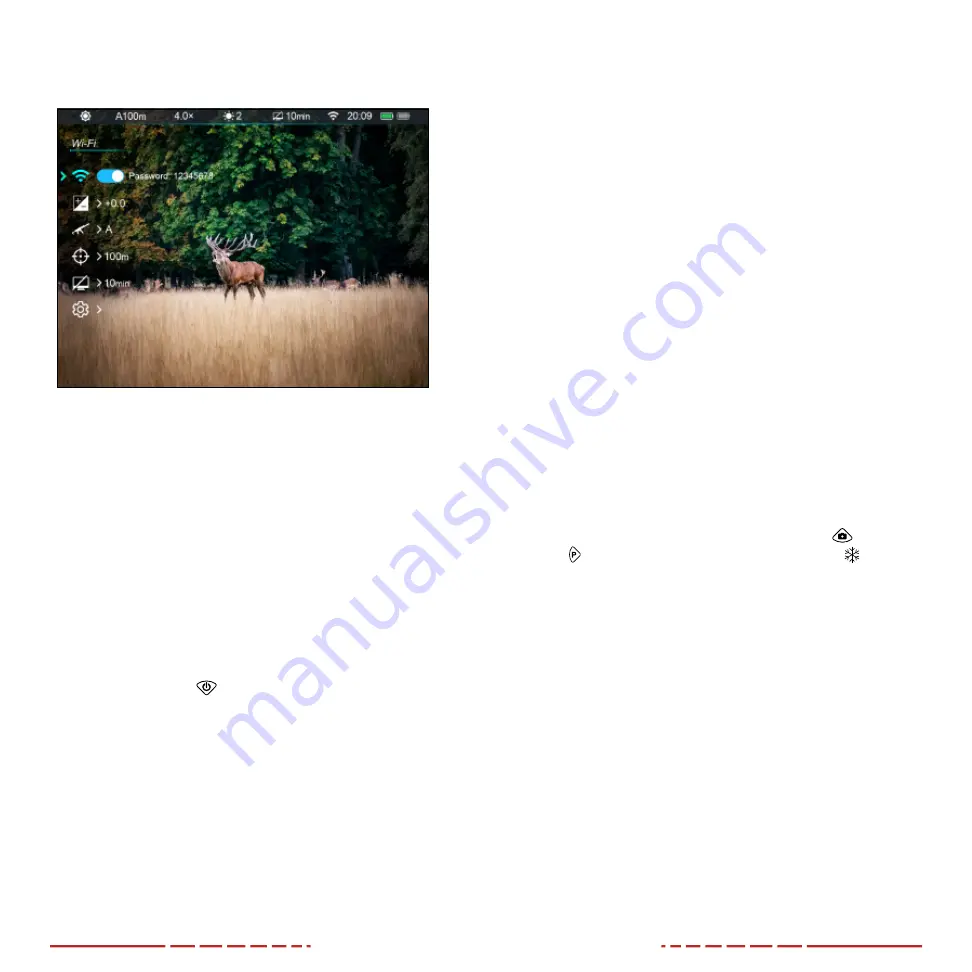
Navigating the Main Menu
From the home screen, long press the
Control Turret
to enter the
main menu.
In all menu interfaces:
• Menu icons turn blue to indicate the current position in the main
menu.
• Submenu options are back-highlighted blue to indicate the
current position in the submenu.
• Use the
Control Turret
to navigate the menu:
•
Rotate
to move up and down through the menu to switch
between the menu options.
•
Short press
to change the current parameters for the
selected menu option, enter the submenu, or confirm
submenu changes.
•
Long press
to save any changes and exit to the home
screen.
• Short press the
Power
Button
to return to the previous menu
without saving.
• After 15 seconds of inactivity, the menu will automatically close
and the interface will return to the home screen.
• Changes (except a change to the Wi-Fi on/off toggle) are
NOT saved automatically.
• Upon exiting from the main menu the cursor location is stored
for a single working session (until the BOLT TD50L is turned off).
After restarting the BOLT TD50L and entering the menu, the
cursor position will be at the first menu item.
18. ZEROING THE BOLT TD50L
BOLT TD50L Series features the “freeze” zeroing method. To zero
the BOLT TD50L rifle scope:
1. Set a suitable target at the desired zero distance.
2. Confirm that the rifle is empty, safe, and pointed in a safe
direction, with no ammunition near the weapon.
3. Adjust the image and device settings following the steps in the
Quick Start Guide, if you have not done so already. See
4. Select the zeroing profile, A, B, or C. See
5. Based on the distance to the target you wish to zero, select
a preset zero distance, OR customize one of the preset zero
distances to match. The BOLT TD50L supports custom zeroing
distances of 1 to 999 meters or 1 to 999 yards. See
6. Ensure a stable platform and natural shooting position is
achieved behind the rifle.
7. Load ammunition, aim, and take one good shot at the target.
8. Make your rifle safe and observe the location of impact on the
target.
9. If the point of impact does not match the point of aim (the center
of the reticle):
a. In the Reticle Zeroing interface, keep the reticle centered on
the point of aim, and long press the
Photo
and
Palette
Buttons
at the same time until the freeze icon appears
below the X/Y coordinates. The image is now frozen. See
Zeroing Menu > Reticle Zeroing
b. In the Reticle Zeroing interface, adjust the X/Y position of the
reticle. See
Zeroing Menu > Reticle Zeroing
10. Take a confirmation shot—the point of impact should now match
the point of aim. If not, adjust the X/Y position of the reticle
again.


