


5
Chapter V PTZ Camera Operation
Before attempting to operate the PTZ camera, please make sure that
address and baud rate have been set correctly.
5.1 System Initiation
Once powered, the PTZ camera will automatically perform an
initiation sequence to start configurations and check the system
status. They will pan, tilt and zoom to verify the correctness of
system parameters as well as the normal operation of the PTZ
camera drive.
When the initiation is finished, the PTZ camera stop and the
following on-screen information will be displayed.
INFINOVA
CAMERA ID : 001
PROTOCOL : I-D-P
BAUD RATE : 2400
VERSION : XXXXX-XXXXX
CHECK SUCCESS
The overlay text displays the camera ID number, the selected
protocol, the baud rate, the version of the embedded software, and
indicates the success of the auto detection.
The information will remain on screen until PTZ camera operation
starts.
Note:
Before operating the PTZ camera, please make sure that the
PTZ camera is correctly installed and the address and baud rate
has been rightly set.
Users can set the address and baud rate via either software or DIP
switch. When setup via software is selected; the address and baud
rate can be set in the submenu “SET CAMERA ID”. Refer to
section “6.3 Camera Information” for setting method. Please reboot
the PTZ camera after setting is finished.
For address ID and baud rate setup via DIP switch, please refer to
Appendix IV.
Default setting: Address ID is 1; Baud rate is 2400 bps.
5.2 Basic Operations
The High-speed PTZ cameras can be easily controlled via the
keyboard controllers. Listed below (see Table 1) are some guidelines
for basic operations of the PTZ camera using Infinova V2117
keyboard.
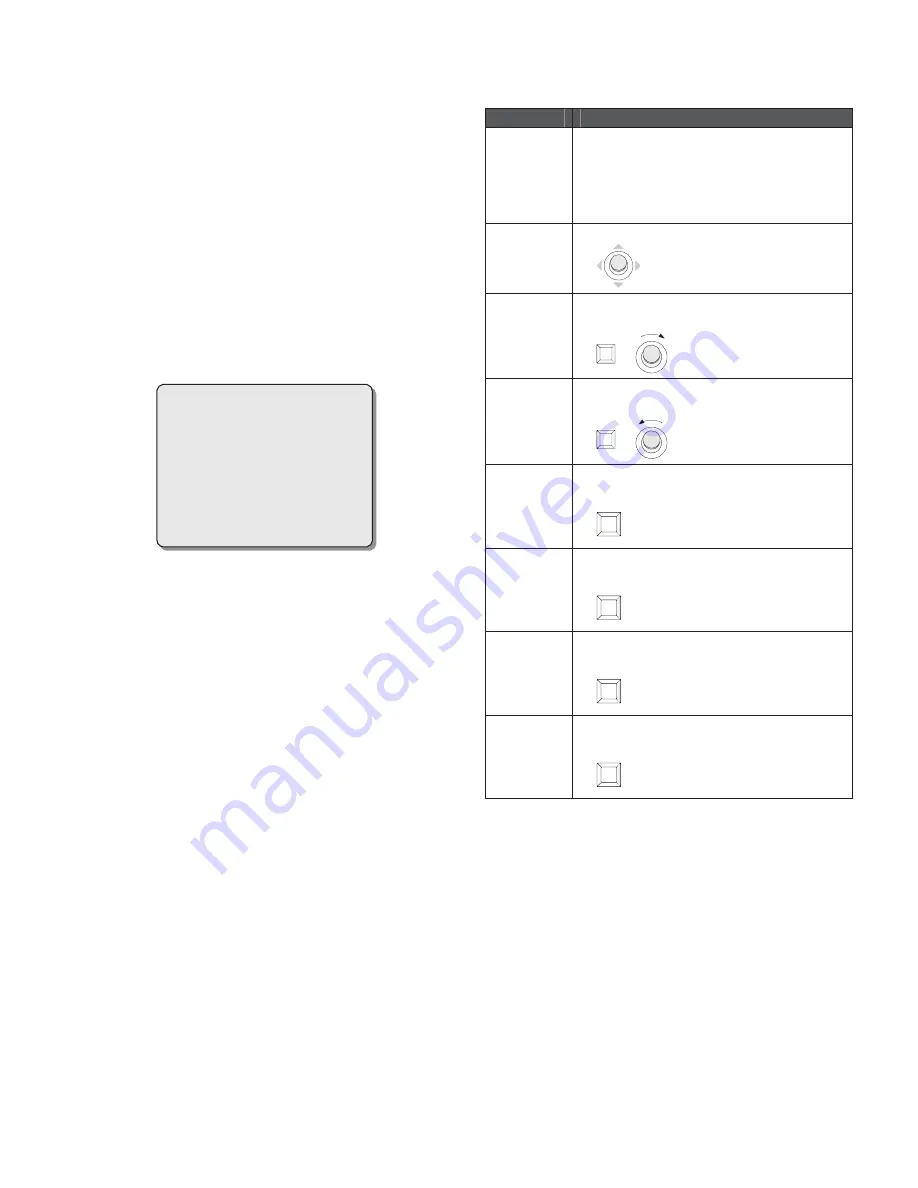
Table 1
Operations
Instructions
Camera
Call-up
Note:
The PTZ cameras must be called up to
(put under the control of) a keyboard before
operation or programming.
To call up a camera, enter the camera ID
number, and press the CAM key.
Pan & Tilt
Move the joystick in the desired direction.
Zoom
In
Press the TELE key, or turn the joystick
clockwise for a close view of distant objects.
TELE
or
Zoom
Out
Press the WIDE key, or turn the joystick
counterclockwise for a wide scene.
WIDE
or
Iris Open
Press the OPEN key to manually increase the
aperture to make the image brighter.
OPEN
Iris Close
Press the CLOSE key to manually decrease the
aperture to make the image darker.
CLOSE
Focus Near
Press the NEAR key to manually adjust focus on
near objects.
NEAR
Focus Far
Press the FAR key to manually adjust focus on
distant objects.
FAR
For more details on camera control and video switching operations,
please refer to relevant manuals supplied with your matrix
switching system. Operations concerning some particular features of
the PTZ camera will be further discussed in the next chapter, Menu
Programming.
5.3 Setting and Calling up a Preset
Presets enable users to pre-define and save specific PTZ camera
positions such as pan/tilt angle and zoom, which can be called up
for display either automatically (upon home position) or manually
(via keyboard commands). The High-speed PTZ cameras are
capable of storing up to 254 such camera views.
The following is a brief introduction on how to define and call up a
preset using the V2117 system keyboard. For preset instructions on


