a
b
c
d
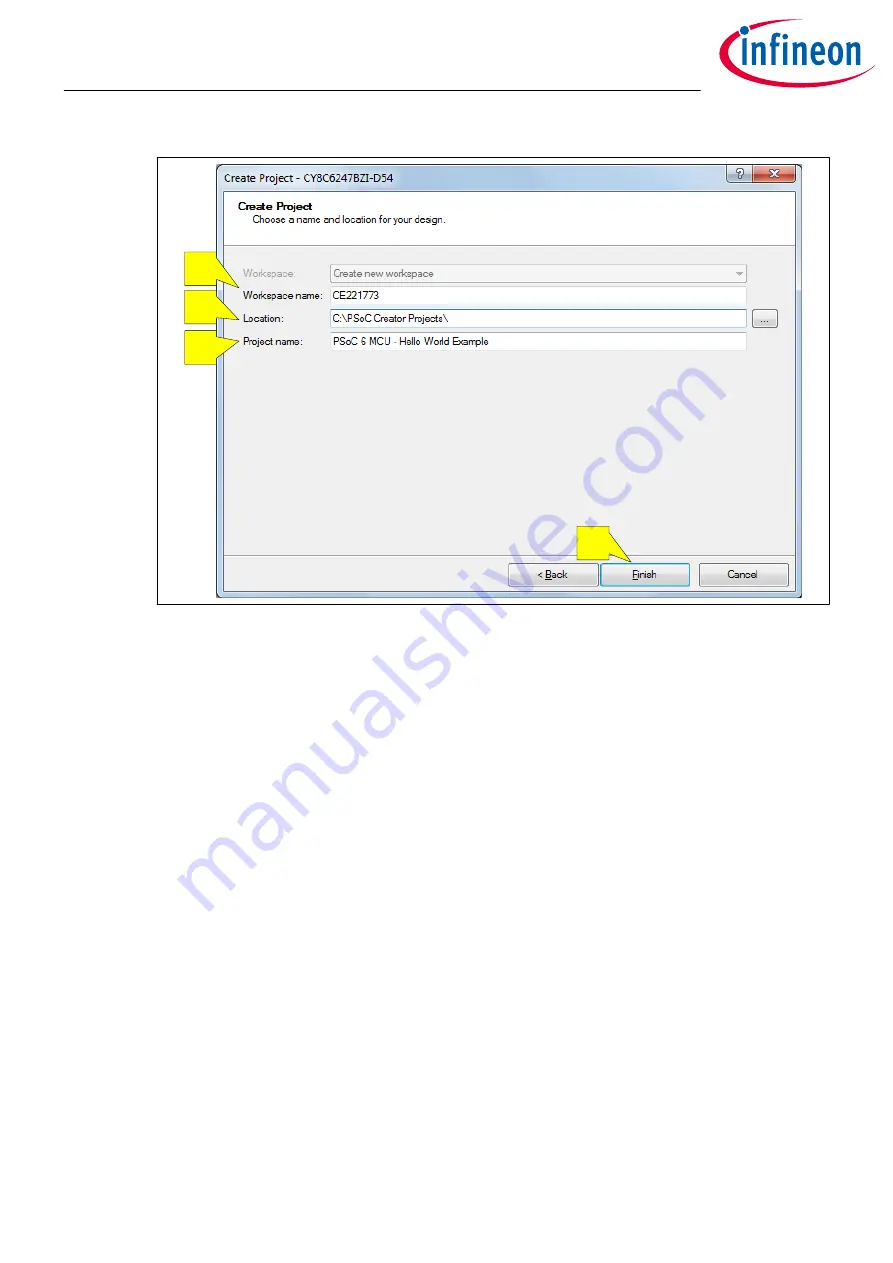
Figure 12
Project naming and location
You have successfully created a new PSoC
™
Creator project.
4.4
Part 2: Implement the design
Now that you have a project file, it is time to implement the hardware design using PSoC
™
Creator Components.
If you are using the code example directly, you already have a complete design.
Before you implement the design, a quick tour of the PSoC
™
Creator interface is in order.
shows the PSoC
™
Creator application displaying an empty design schematic.
The project includes a project folder with a base set of files. You view these files in the Workspace Explorer
pane to the left. The project schematic opens by default. This is the
TopDesign.cysch
file. Double-click the file
name in the explorer pane to open the schematic at any time. In a new project, the schematic is empty. If you
are using the code example, this is the schematic for the design.
The Component catalog is on the right side of the window. You can open it with the View > Component
Catalog menu item. You can search for a particular Component by typing the name of the Component in the
Search for… text box and then pressing the enter key. See
.
Getting started with PSoC
™
6 MCU on PSoC
™
Creator
4 My first PSoC
™
6 MCU design using PSoC
™
Creator
Application Note
18
002-21774 Rev. *G
2022-07-21


