


24
USER GUIDE
© Copyright Imerge Ltd 2009
Page
MS5000 MediaServer
MP1000 MediaPlayer
RECORDING
You can make new recordings onto the MediaServer’s
hard drives from CDs and DVDs, using the disc tray.
Your equipment can access the internet, using a
broadband internet connection, to automatically retrieve
information about the disc. CD information, such as
artist, album, track names and CD cover illustrations,
and DVD information, such as movie rating, director and
chapter titles are automatically downloaded and saved.
Note
: In some countries the copying of material
protected by copyright law may require permission of
the copyright owners.
The system will only record unencrypted DVDs.
AUDIO RECORDING QUALITY
The system allows you to record music and store it in a
number of different formats:
MPEG-layer 3 (MP3)
You can record to MP3 at a number of different bit rates.
Higher bitrates give better quality but take up more
space on your MediaServer’s hard drives. By default, the
unit records music at 192Kb VBR MP3.
WAV (lossless uncompressed)
The WAV format is uncompressed, which gives the
highest possible quality, but takes up the most space.
Windows Media Audio (WMA)
WMA is a compression format similar to MP3. Again,
higher bitrates give better quality but larger files. WMA
Lossless is not supported.
Advanced Audio Encoding (AAC standard)
This compression format usually gives better quality than
MP3 at similar bitrates. AAC Lossless is not supported.
RECORDING sETTINGs
The units can be configured so that CDs & DVDs can be
recorded with minimal user interaction.
Press the
•
J
Menu
key to display the
Home Page
.
Use the
•
S
and
T
keys to highlight
‚
Set Up
and
press
O
Select.
Then choose
Switch to Admin UI.
You will be prompted for a PIN, which is 1234 by default,
after which the display will switch to the Admin UI. The
PIN can be changed from the
‚
Set Up
menu or in the
Admin UI.
Use the
•
U
or
V
keys and press the
O
Select
key to
display the
Set Up
screen.
Choose User
•
Settings
and press
O
Select
.
Choose
•
Recording Settings
and press
O
Select
.
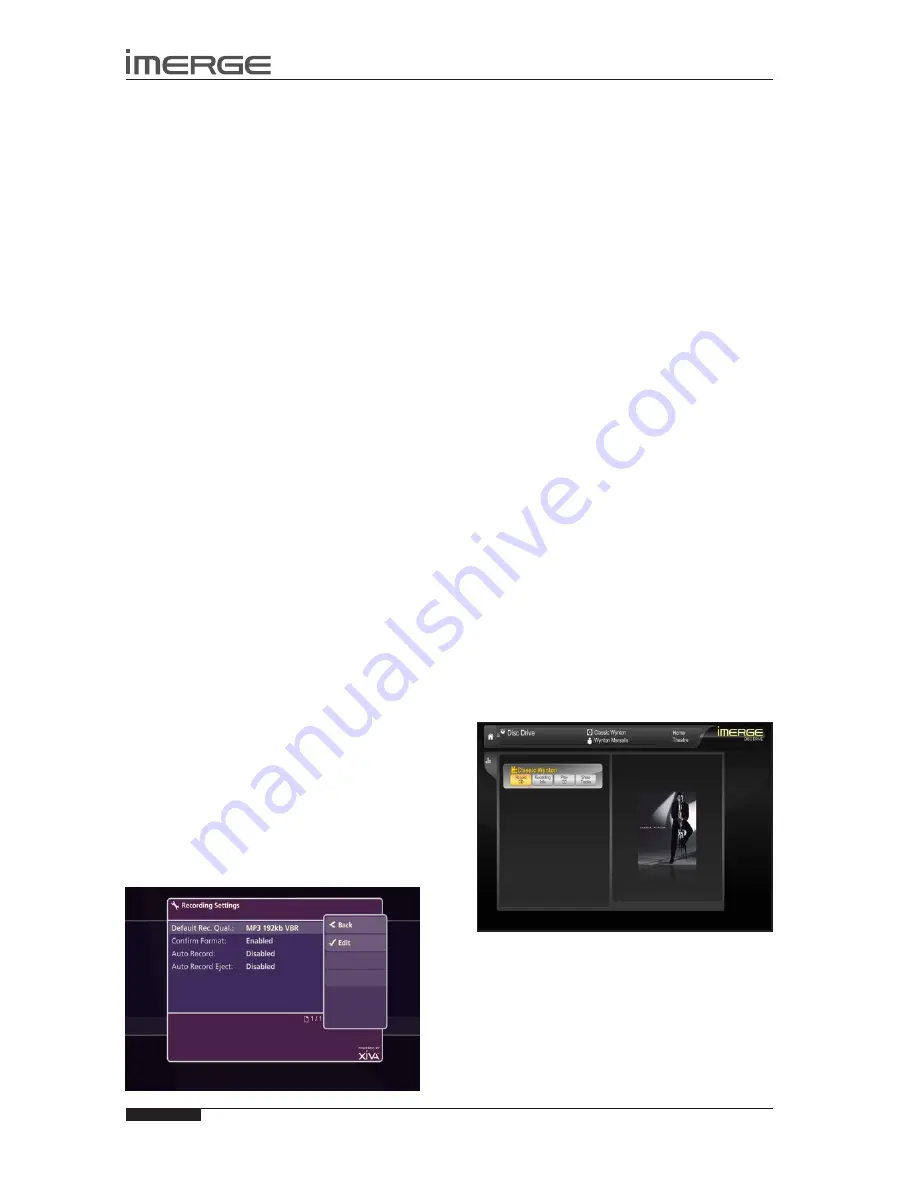
To enable fully automatic recording, the following
settings need to be configured:
Default Recording Quality
Choose between
Uncompressed, MP3 128kb VBR, MP3
192kb VBR, MP3 320kb CBR, WMA 96kb
and
WMA 128kb
as the default recording quality for CDs.
Confirm Format
This option allows you to specify whether the unit
displays the
Recording Quality
options each time a CD is
recorded. By default this option is
disabled
.
Auto Record
Enable
Auto Record
so that each time you insert a disc
into the tray it will begin recording automatically.
Auto Record Eject
Enable the
Auto Record Eject
function to have discs
automatically ejected once recording has finished.
Note:
Please ensure there are no obstructions in front of
the unit. If the tray is obstructed when the unit tries to
eject a disc, the drive can be damaged.
Your unit is now configured for automatic recording.
Place a CD or DVD in the slot.
•
The unit will begin recording automatically. When the
recording is complete, the disc will be ejected from the
unit. To record another disc, simply place it in the tray.
The unit will automatically attempt to retrieve
information about the disc from the internet. If you do
not have an internet connection or if information is not
available for a particular disc, the movie or album will
be assigned a name such as Album 21 or Movie 7 etc.
Accurate information can be entered manually at a later
time.
RECORDING A CD OR DVD
Place a CD or DVD in the tray.
•
The
Disc Drive
screen will display information about the
disc you have inserted.
Highlight the Record button and press
•
O
Select.


