40
Installing the Driver & Software
E
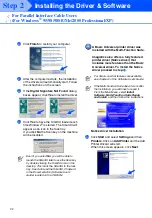
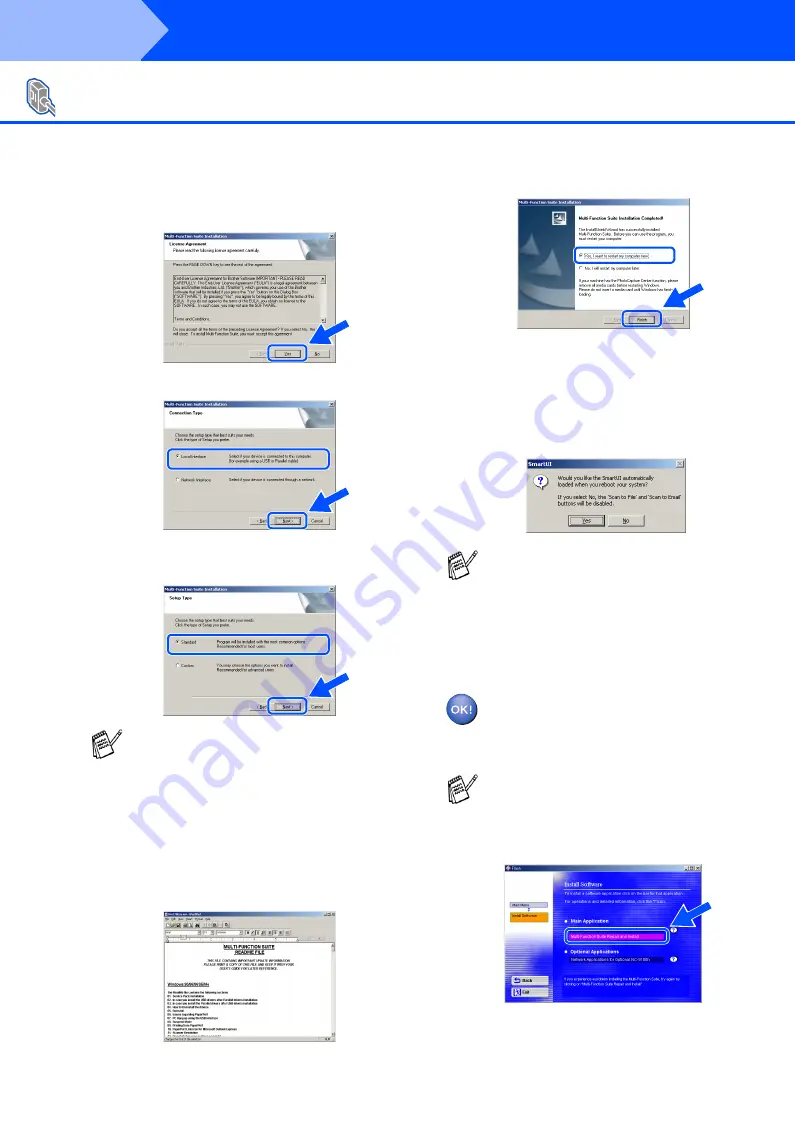
When the Software License Agreement
window appears, click
Yes
If you agree to it
and go to next screen.
F
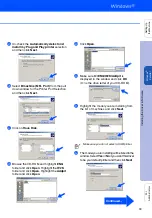
Select
Local Interface
, and then click
Next
.
G
When the Setup Type window appears,
select
Standard
, and then click
Next
.
H
The README file will be displayed.
Please read this file for troubleshooting
information and then close the file to
continue installation.
I
Click
Finish
to restart your computer.
J
After the computer restarts, click
Yes
to
have the SmartUI load each time Windows
®
is started. The SmartUI will appear as an
icon in the task tray.
If you click
No
the Scan key on the machine
will be disabled.
The PC-FAX, Printer and Scanner
drivers have been installed and the
installation is now complete.
For Windows NT
®
Workstation Version 4.0 Users
If you want to install the PS (PostScript
®
)
driver, select
Custom
and then follow the
on-screen instructions. When the
Select
Components
screen appears, check
PS
Printer Driver
, and then continue following
the on-screen instructions.
Even if you select
No
, you will be able to
launch the SmartUI later to use the Scan
key by double-clicking the SmartUI icon on
the desktop. This loads the SmartUI to the
task tray. See AutoLoad the SmartUI,
Chapter 4 in the Documentation (Software
User’s Guide) located on the
CD-ROM.
If the Multi-Function Suite doesn’t work after
the installation, you will have to repair it.
From the Main Menu, select
Install
Software, Multi-Function Suite Repair
and Install
, and then follow the instructions.
Step 2
Summary of Contents for sx2100
Page 61: ......


