Ilumen
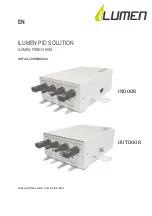
Installation Manual Ilumen PIDbox Mini v2.0
4.
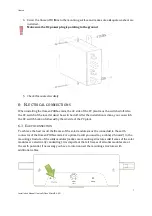
Screw the Ilumen PID M
installed.
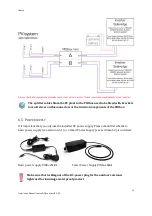
Make sure the DC power plug is pointing to the ground
5.
Check if mounted securely
6
E
LECTRICAL CONNECTION
When installing the Ilumen PIDbox mini
the DC switch of the inverter must be switched off.
the DC switch back on followed by the
6.1
E
ARTH CONNECTION
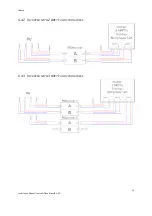
To achieve the best result, the frames of the solar modules must be connected to the
connector of the Ilumen PIDbox mini
mounting structure of the solar modules (make sure mounting structures and frames of the solar
modules are electrically conducting). It is important that all fr
the earth potential, if necessary you have to interconnect the mounting str
additional cables.
Ilumen PIDbox Mini v2.0-EN
Mini to the mounting surface and make sure adequate washers are
Make sure the DC power plug is pointing to the ground
ck if mounted securely
ONNECTIONS
PIDbox mini, the AC side of the PV plant must be switched off
the DC switch of the inverter must be switched off. After the installation is done,
the DC switch back on followed by the AC side of the PV plant.
the frames of the solar modules must be connected to the
PIDbox mini. For optimal result you must lay a cable (
mounting structure of the solar modules (make sure mounting structures and frames of the solar
conducting). It is important that all frames of all solar modules are at
potential, if necessary you have to interconnect the mounting structures with
7
and make sure adequate washers are
, the AC side of the PV plant must be switched off. Also
After the installation is done, you can switch
the frames of the solar modules must be connected to the earth
cable (2.5-4mm
2
) to the
mounting structure of the solar modules (make sure mounting structures and frames of the solar
ames of all solar modules are at
uctures with

