background image

 24

ZK840 Grading Application User Instructions

Supervisor menu

6 Supervisor menu

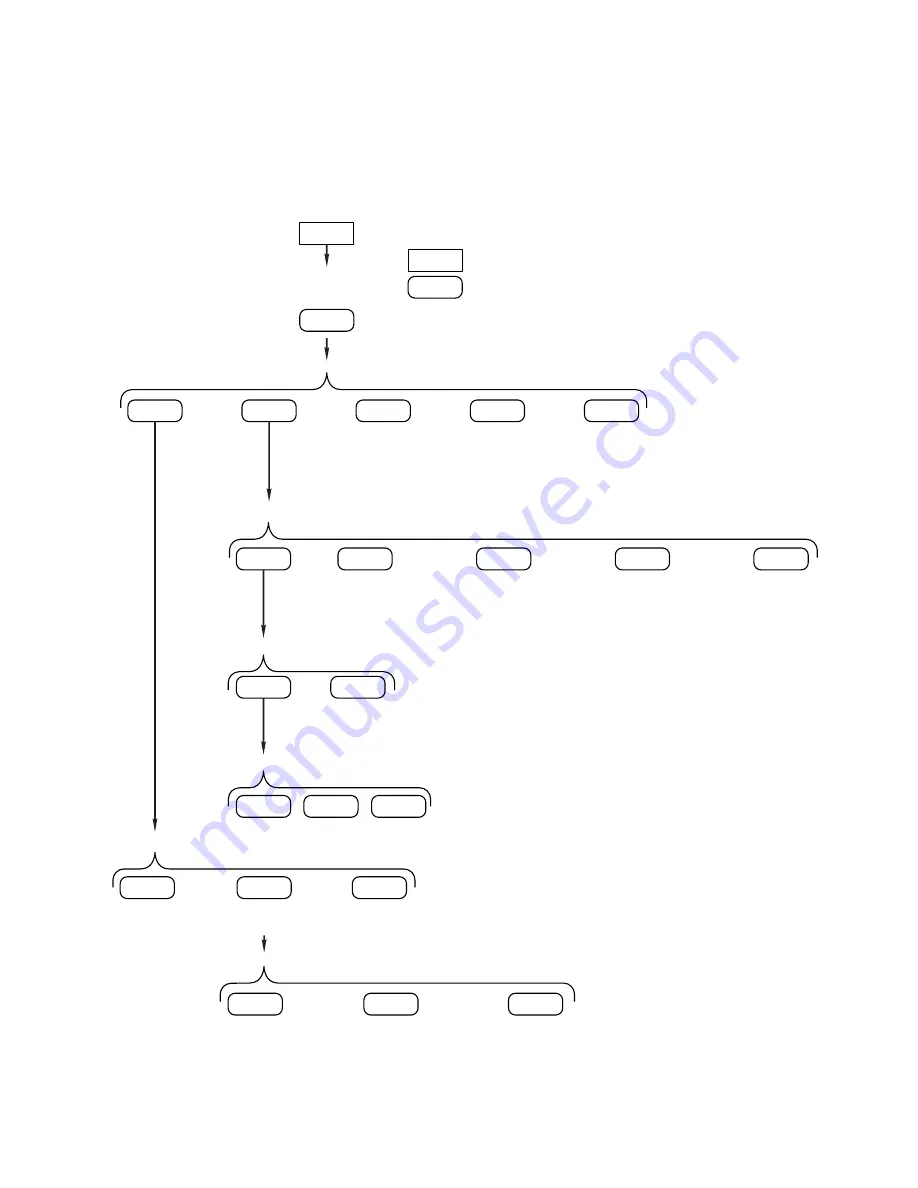
The supervisor menu, shown in 

Figure 6.1

 allows access to the items related to the 

indicator’s function and the Grading application that you can set or enable/disable. 
Follow the steps below to access the menu items described.

Figure 6.1  Supervisor menu

Supervisor Setup

CONFIG

Totals

Battery

IMPORT

EXPRT

RESET

PLU

= Softkey

= Front panel key

SETUP

Press and hold

Key in 1793

password and

press 

Enter

Database Select Action

DBASE

EDIT

Database Select Record Type

Configuration Setup

System

BACK

Return to

previous screen

BACK

Return to

previous screen

PLU

Setup PLU fields

BASIC

Extend

BACK

Return to

previous screen

EXIT

Return to 

start screen

BACK

Return to

previous screen

PLU Setup

EDIT

ADD

DELETE

See 

System 

key on page 26

See 

PLU key 

on page 26

See page 

27

See page 

27

See page 

28

 for all three.

See 

IMPORT 

key on page 28

See 

RESET 

key on page 29

Se

EXPORT 

key on page 28

See 

Battery 

key on page 29

See 

Totals key 

on page 29

Summary of Contents for Avery Weigh-Tronix ZK840

Page 1: ...ZK840 Grading Application User Instructions AWT35 501769 Issue AA ...

Page 2: ... of a two dimensional work and the making of a copy in two dimensions of a three dimensional work stored in any medium by electronic means or transmitted in any form or by any means including electronic mechanical broadcasting recording or otherwise without the prior written consent of the copyright owner under license or as permitted by law This publication was correct at the time of going to pri...

Page 3: ...ng up a ZK840 indicator 10 Menu access and navigation 11 Escaping or exiting from a menu 12 Adjusting screen contrast 12 Touch screen calibration 12 Chapter 3 Operating Instructions 13 Power up 13 Printing 13 Grading application 13 Web access 18 Chapter 4 Menus 19 User menu 19 About menu 20 Audit menu 22 Chapter 5 Error messages 23 Printing errors 23 Copying to or from USB errors 23 BSQ errors 23 ...

Page 4: ...4 ZK840 Grading Application User Instructions Chapter 7 Print formats 31 ...

Page 5: ... may be referred to by its alternate function Displayed messages appear in bold italic type and reflect the case of the displayed message Annunciator names appear as italic text and reflect the case of the annunciator 1 1 2 Special messages Examples of special messages you will see in this manual are defined below The signal words have specific meanings to alert you to additional information or th...

Page 6: ...rotection provided by the socket is suitable for the environment 1 3 Routine maintenance Always isolate the indicator from the power supply before starting any routine maintenance to avoid the possibility of electric shock CAUTION Danger of explosion if battery is incorrectly replaced Replace only with the same or equivalent type recommended by the manufacturer Dispose of used batteries according ...

Page 7: ...isfactory to the user Take frequent breaks during prolonged usage 1 6 Sharp objects Do not use sharp objects such as screwdrivers or long fingernails to operate the keys Table 1 1 Cleaning DOs and DON Ts DO DO NOT Wipe down the outside of standard products with a clean cloth moistened with water and a small amount of mild detergent Attempt to clean the inside of the machine Use harsh abrasives sol...

Page 8: ...nd an expansion card slot for 1 of 2 option cards l 802 Wireless card l 5V Analog scale card Other options available are a stack light kit for visual confirmation of outputs two columns for mounting the indicator above the BSQ base battery packs and scanners The ZK840 allows five bases to be used one local BSQ base two remote BSQ bases and two analog platforms Other base combinations are available...

Page 9: ...owering up a ZK840 indicator The indicator is always active as long as power is received Power must be 100 240 VAC with a frequency of 50 or 60 Hz or 9 36 VDC The SAMPLE key accesses a screen showing the grade points for the active PLU Press the TARE key to perform a pushkey tare function or with zero weight on the scale press the TARE key to enter a known tare To clear a tare press and hold the T...

Page 10: ... a list of items to set You will see on screen lists with instructions on how to choose and set an item in each menu list On screen prompts guide you as you move through the menus When icons are on screen the bold box around an icon means it is the highlighted icon See the example below When a text list appears on screen the highlighted item is shown by a green bar over the text See the example be...

Page 11: ...ll reboot and return to the startup screen 2 5 Adjusting screen contrast To adjust the screen contrast press and hold the middle key on the left side of the ZK840 and repeatedly press the SAMPLE key to increase contrast or the TARE key to decrease the contrast You may need to press the key many times until the change is visible 2 6 Touch screen calibration If you need to calibrate the touchscreen ...

Page 12: ...ft keys Touch the User area of the screen and a keyboard pops up so that you can enter your desired user name Press Enter to accept The user name will remain active until changed or deleted Touch the time and date area and enter the requested data i e Year month etc Below are short descriptions of three softkeys functions PLU key Use this key to recall a PLU from the database Clear key Use this ke...

Page 13: ...Final Target 1 5 lbs Weight grades are defined as shown below A weight is judged to be in Grade 1 when it is greater than Target weight 1 but less than or equal to Target weight 2 When the PLU is created it can have a limit to the number of weighments for any Grade This makes filling of cartons or boxes with items of the same weight easy See Creating a PLU entry on page 29 You can perfrom positive...

Page 14: ...U ID you want and press the Enter key The startup screen appears ready to begin grading using the selected PLU 5 Place the item on the scale The weight of the item is shown on the right side and as Last Weight in the lower left corner of the display The grade 6 in this example is also shown on the left The bar graph for Grade 6 shows a bar starting to appear As more grade 6 items are weighed this ...

Page 15: ...is displayed for each grade Repeat until you are done grading items 7 Press the Report key to see the total number of items weighed in each Grade and also the total weight accumulated in each Grade 8 Press the PRINT key to print the totals report Press and hold the PRINT key to clear all the grade totals seen in the report Negative grading process 1 Power up the ZK840 The start up screen is displa...

Page 16: ...s the TARE key The display shows a net weight of 0 00 6 Remove one of the items The weight of the item is briefly shown as the live weight on the right side of the display After the grade is shown the live weight is tared and the weight of this last item is shown as Last Weight in the lower left corner of the display The bar graph for Grade 6 in this example shows a bar starting to appear 7 Contin...

Page 17: ...ber of items weighed in each Grade and also the total weight accumulated in each Grade You can also press the PRINT key to print the totals report Press and hold the PRINT key to clear all the grade totals seen in the report To view all the grading points for the active PLU press the SAMPLE key 3 3 Web access The ZK840 can be accessed from a web browser This allows you to access basic functions of...

Page 18: ...old box around the center image means that is the highlighted menu item 3 Use the Left and Right keys to highlight the menu you want to enter and press the ENTER key Below are the explanations for these menus 4 1 User menu When the User menu is selected these choices appear Use the Left and Right keys to highlight the menu item you want to access and press the ENTER key Time Set Use the numeric ke...

Page 19: ... be used to confirm a weighment if it is ever in dispute Only records that are qualified as a LEGAL record per site motion criteria are considered as entries to this log You can exit the menu by following the instructions in Escaping or exiting from a menu on page 12 4 2 About menu If you access the About menu you will see this menu The date format is how the date is stored internally Printed date...

Page 20: ...rnet Use this to view the network addresses IP Addr See the IP address Subnet See the Subnet address Gateway See the Gateway address MAC See the MAC address DLoad This stands for download Use this to view the following sSerial View the license number that created the configuration file dSerial View the license number that downloaded the configuration file dName View the company name for the licens...

Page 21: ...port through The audit report will contain both Config and Calib information Choices are Port 1 Under Port 1 choose to print to a column or ticket printer Port 2 Under Port 2 choose to print to a column or ticket printer USB Printing to USB requires that a USB flash drive is connected to the indicator host USB Printing to USB will create a folder on the flash drive and a comma separated file with ...

Page 22: ...connections and retry Print Failed Something interfered with the printing process Check connections and retry 5 2 Copying to or from USB errors Failed to Copy File Something interfered with the copy process Check USB device Can t Close database Software error Restart indicator File Not Found File doesn t exist Create the database 5 3 BSQ errors BSQ Error Communications error BSQ XCAL BSQ Calibrati...

Page 23: ...Front panel key SETUP Press and hold Key in 1793 password and press Enter Database Select Action DBASE EDIT Database Select Record Type Configuration Setup System BACK Return to previous screen BACK Return to previous screen PLU Setup PLU fields BASIC Extend BACK Return to previous screen EXIT Return to start screen BACK Return to previous screen PLU Setup EDIT ADD DELETE See System key on page 26...

Page 24: ...s for the PLUs in the database You can also import export or reset the database under this key See DBASE key on page 28 Totals This key lets you choose a report format and to print totals or clear them See Totals key on page 29 Battery Press this to monitor battery activity or to set a shut down timer See Battery key on page 29 6 1 CONFIG key The screen in Figure 6 3 appears when you press the CON...

Page 25: ...rcode Prefix1 3 Input PLU barcode prefix 1 through 3 using the keypad that appears Press Enter to accept Lot Barcode Prefix1 3 Input Lot barcode prefix 1 through 3 using the keypad that appears Press Enter to accept Operator Barcode Prefix1 2 Input Operator barcode prefix 1 through 2 using the keypad that appears Press Enter to accept Next Ticket Input the next sequential transaction value Next Ca...

Page 26: ...riance Not used at this time Piece Weight Uncertainty Not used at this time Units of Measure Enable or disable a unit of measure field in the database Resample Timer Enable or disable a timer which will require a resampling of parts for this PLU Upc Enable or disable UPC number field Ideal for printing if the PLU is a different number than the UPC Name Enable or disable Name Ideal for printing if ...

Page 27: ... See PLU key on page 26 Each item is described below 6 2 1 EDIT key When you select the EDIT key the screen in Figure 6 5 appears Figure 6 5 Select Database Record Type screen Choose the PLU key to edit add or delete a PLU See Creating a PLU entry on page 29 6 2 2 IMPORT key Use this to choose to import a database from a USB stick or via FTP An Abort choice is also available to abort the action 6 ...

Page 28: ...ey in a print format number 1 40 6 4 Battery key Press this to choose the following Battery type Choices are NONE BSQ and OTHER Shutdown Timer Key in the number of minutes of inactivity which will cause the indicator to shutdown 6 5 Creating a PLU entry To create a PLU you must configure or define its contents by enabling fields which will appear in the database See PLU key on page 26 Once the PLU...

Page 29: ... weight ending at the next If you only have five grades you must enter zero for Target weights 6 10 and the Final Target is equal to the highest weight for Grade 5 See the illustration below 5 Next press GradeC to enter the number of items you want in each grade This is handy for box filling with like weighing items 6 Repeat the process of creating a PLU for each of your items 7 To edit an existin...

Page 30: ...cial applications See the Service Manual PF 1 Gross Tare Net w Units PF 2 Preset Tare Header PF 3 Preset Tare FooterS PF 4 Preset Tare Body PF 5 Remote display 1 PF 7 Remote display 2 Gross 0 479 lb Tare 0 453 lb Net 0 026 lb List of Preset Tares ________________________ Tare Name Tare Value ________________________ Tare List Complete xxxxxxx xxxxxxx G 0000000lb 00000lb G ...

Page 31: ... PF 15 Grading Totals Report Header PF 16 Grading Totals Report Body PF 17 Grading Totals Report Footer Pack Grade 0 Total Weight 000000 Total Units 0 PLU 0 PACK ITEM 0 0 0 Grades 0 0 0 0 0 0 0 0 0 0 0 0 0 0 0 0 0 0 PLU 0 PACK ITEM 0 0 0 Description 0 Grading Report Header 04 01 pm 12 14 17 0 0 Count 0 Net Total 0 Grading Footer ...

Page 32: ...ZK840 Grading Application User Instructions 33 PF 18 Grading Grand Total PF 32 Analog output Grand Total Report Grade 0Total 0 0Packs 0 105 000 ...

Page 33: ...34 ZK840 Grading Application User Instructions Print formats ...

Page 34: ......

Page 35: ...SA Tel 507 238 4461 Fax 507 238 4195 Email usinfo awtxglobal com www averyweigh tronix com Avery Weigh Tronix UK Foundry Lane Smethwick West Midlands England B66 2LP Tel 44 0 8453 66 77 88 Fax 44 0 121 224 8183 Email info awtxglobal com www averyweigh tronix com ...

Reviews: