MAINTENANCE
9VX3
Procedures
Note
Adjusting the Main relief valve
Adjusting
If the pressure is lower than the
procedures
specified value, adjust it according to
the following procedure.
(Same procedures as MR1, MR2)
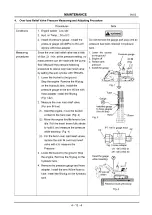
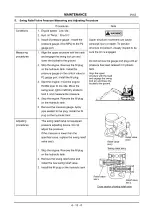
1. Remove the lock nut.
2
. Start the engine and the engine throttle
lever to high idle.
3. Move the lever for measuring main
relief valve, fully pull to hold it, and
adjust the pressure by turning the
adjusting screw with a hexagon bar
spanner, while measuring the pressure.
Adjusting screw turn to clockwise to
raise the pressure. (Adjusting screw 1
turn approx. 9.8 MPa change pressure)
4. Install and tighten the lock nut.
5. After locking, measure the pressure
again.
6
. Stop the engine. Remove the fill plug
on the hydraulic tank.
7. Remove the pressure gauge. Apply
pipe sealant to the plug. Install the
plug. Install the fill plug on the hydraulic
tank.
A
WARNING
Do not remove the gauge port plug until air
pressure has been relieved in hydraulic
tank.
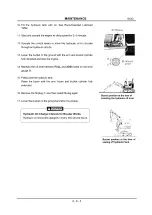
MR
2
MR1
^ | | '£/| \
P1
Gauge ports
Control valve Ass’v
Adjusting
Main valve
screw
4 - 1 3 - 3
Summary of Contents for 9VX3
Page 1: ...Service Guide 9VX3 I H I SERIAL NUMBERS WB004001 up PUB No 1 1205...
Page 21: ...Swing motor...
Page 34: ...A 1 34 6 7 14 15 17 18 10 19 20 25 23 13 35 SECTION...
Page 38: ...3 1 0 Disassembly drawing For part names and numbers refer to the parts catalog...
Page 45: ...Boom Cylinder head details...
Page 51: ...Boom Swing Tightening torque 176 N m M16 x 1 5 19 8 7 6 13 5 DETAIL P DETAIL H...


