iE2P_iE2X User Manual
103
Main menu
Parameter
Remark
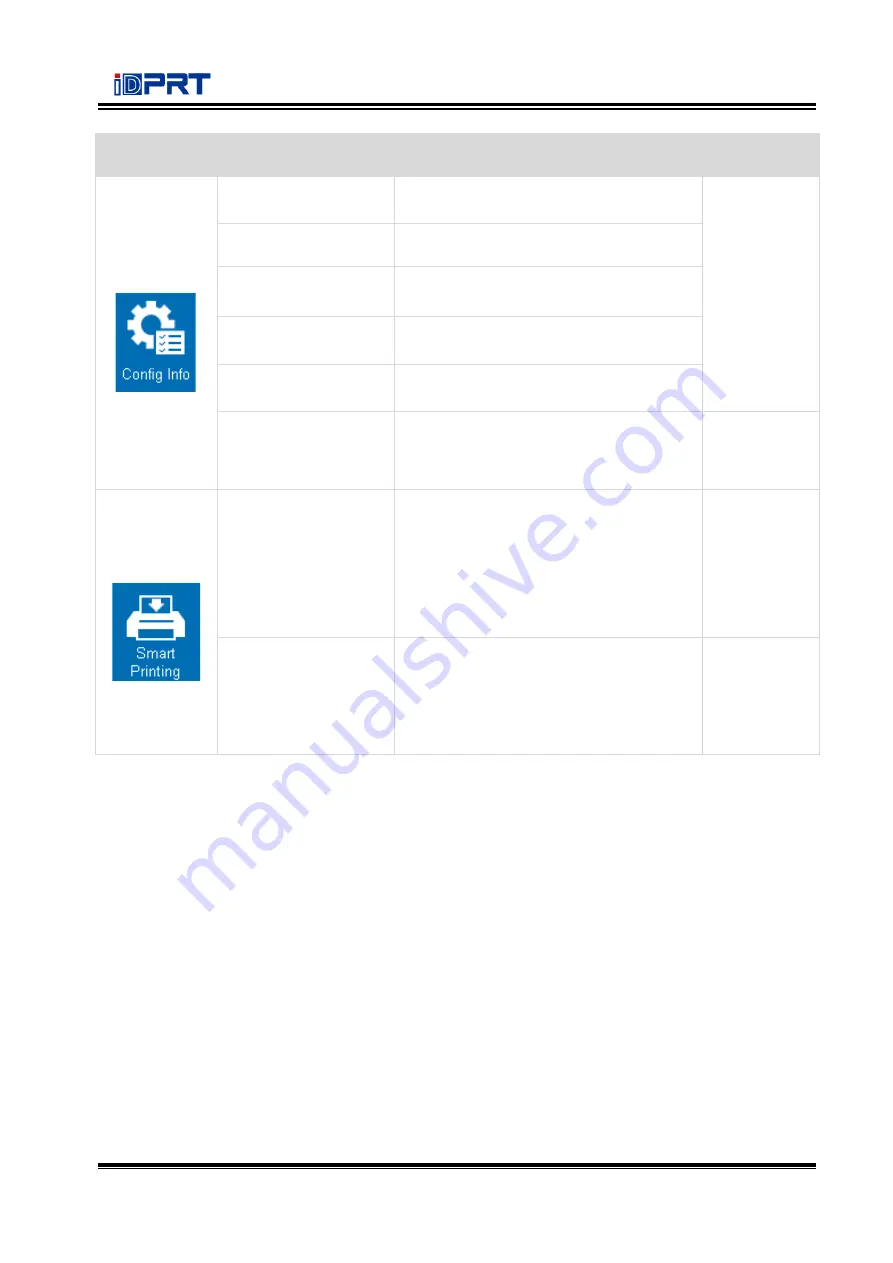
Config Info
Printer settings
information
Print out the current printer settings
information
Built
-
in glyph list
Print out all built
-
in glyph models
built
-
in barcodes list
Print out all barcode models
List of user flash files
Print a list of user flash files
List of user memory
files
Print a list of user memory files
LCD Configuration
System: XX
Version: XX
Title: XX
Smart Printing
File Management
List display/copy/delete/start label
format printing on specified
memory/picture/font/database/firmwa
re
I: \.. (Internal Flash)
U: \iDPRT\... (External USB Storage)
Default: list
Auto Form
The selected label format runs
automatically after the printer is turned
on
0: No
1: Yes
Default: 0
Summary of Contents for iE2P
Page 4: ...iE2P_iE2X User Manual Changes Record Rev Date Description 1 0 2019 12 24 ...
Page 10: ...iE2P_iE2X User Manual 5 1 2 Appearance and Components Front View Rear View ...
Page 12: ...iE2P_iE2X User Manual 7 1 3 Dimension Take printer iE2P as example Unit mm ...
Page 22: ...iE2P_iE2X User Manual 17 Figure 2 ...
Page 24: ...iE2P_iE2X User Manual 19 Figure 5 ...
Page 43: ...iE2P_iE2X User Manual 38 3 Click Get Status and printer status will show in the above ...
Page 47: ...iE2P_iE2X User Manual 42 7 Click Ethernet then click Get to gain the relevant values ...
Page 48: ...iE2P_iE2X User Manual 43 8 Click WIFI then set up the name password and so on ...
Page 52: ...iE2P_iE2X User Manual 47 4 You can set a magnification of the graphic as needed ...
Page 60: ...iE2P_iE2X User Manual 55 5 Choose the installation directory then click Next 6 Click Finish ...
Page 63: ...iE2P_iE2X User Manual 58 10 Click Finish ...
Page 66: ...iE2P_iE2X User Manual 61 2 According to different needs set up the page ...
Page 67: ...iE2P_iE2X User Manual 62 Click Stock Name and choose the paper type ...
Page 69: ...iE2P_iE2X User Manual 64 Choose Orientation or Effects showed in the Preview ...
Page 70: ...iE2P_iE2X User Manual 65 ...
Page 71: ...iE2P_iE2X User Manual 66 Click Preset Name and back to the default settings ...
Page 72: ...iE2P_iE2X User Manual 67 Click Manage and change the settings ...
Page 73: ...iE2P_iE2X User Manual 68 3 Click Graphics and edit the pictures ...
Page 74: ...iE2P_iE2X User Manual 69 4 Click Stock to set the media settings feed mode and feed options ...
Page 75: ...iE2P_iE2X User Manual 70 Set up the print method ...
Page 76: ...iE2P_iE2X User Manual 71 Set up the media type ...
Page 77: ...iE2P_iE2X User Manual 72 Click Feed Mode Mode and choose the method of media handing ...
Page 78: ...iE2P_iE2X User Manual 73 5 Click Options to set the darkness and speed ...
Page 81: ...iE2P_iE2X User Manual 76 3 Click Ports and choose the port needed ...
Page 82: ...iE2P_iE2X User Manual 77 4 Click Advanced to set the available time for printer ...
Page 86: ...iE2P_iE2X User Manual 81 4 Click Next 5 Read and accept the license agreement then click Next ...
Page 90: ...iE2P_iE2X User Manual 85 3 Choose Blank Template then click Next ...
Page 93: ...iE2P_iE2X User Manual 88 6 Edit the side edges then click Next ...
Page 94: ...iE2P_iE2X User Manual 89 7 Choose the item shape then click Next ...
Page 95: ...iE2P_iE2X User Manual 90 8 Edit the template size then click Next ...
Page 96: ...iE2P_iE2X User Manual 91 9 Based on your need edit the template background Then click Next ...
Page 99: ...iE2P_iE2X User Manual 94 3 Click the blank showing the code ...
Page 112: ...iE2P_iE2X User Manual 107 ...
Page 113: ...iE2P_iE2X User Manual 108 ...


