Part 2 - Configuration
49
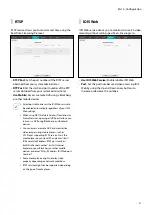
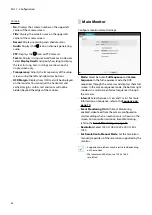
•
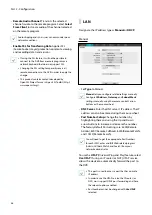
Status
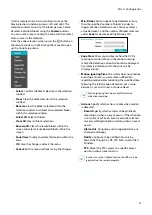
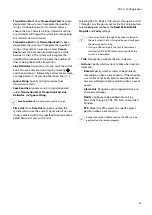
: Indicates the number of the port forwarded
by the IP router (or NAT) to the DVR via UPnP service.
•
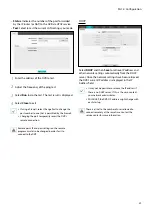
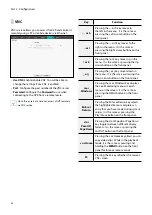
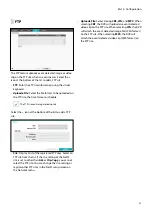
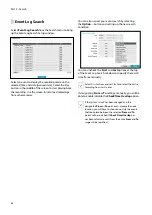
Test
: Select to test the current LAN settings you made.
1
Enter the address of the DVR to test.
2
Adjust the frequency of the ping test.
3
Select
Run
to do the test. The test result is displayed.
4
Select
Close
to exit.
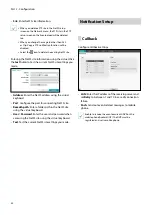
•
If using a firewall, select Change Port to change the
port number to one that is permitted by the firewall.
•
Changing the port temporarily severs the DVR's
remote connection.
Remote point IP and port settings on the remote
program must also be changed in order for it to
connect to the DVR.
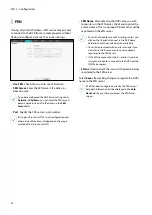
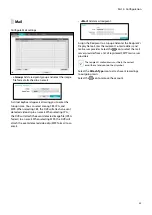
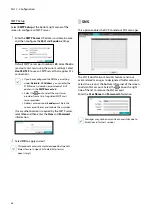
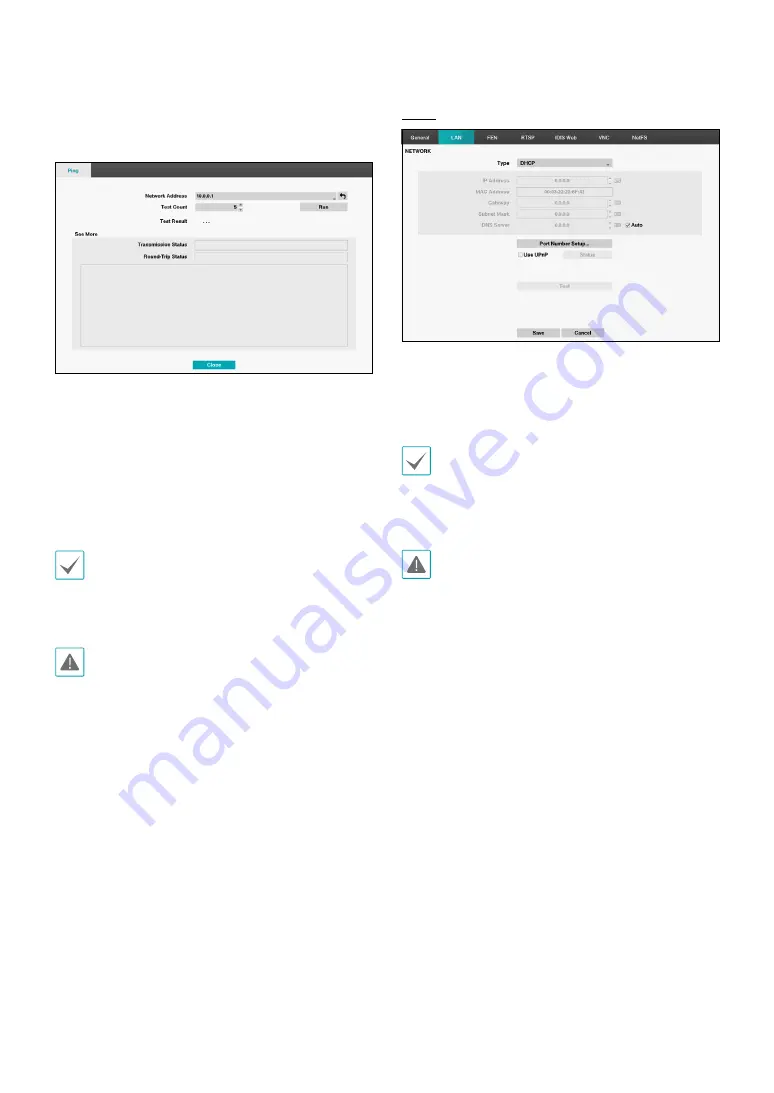
DHCP
Select
DHCP
and then
Save
to retrieve IP address and
other network settings automatically from the DHCP
server. Once the network settings have been retrieved,
the DVR’s current IP address is displayed in the IP
Address field.
•
It may not be possible to retrieve the IP address if
there is no DHCP server. If this is the case, contact
your network administrator.
•
With DHCP, the DVR's IP address might change with
each startup.
There is a limit to the number of users allowed to
connect remotely at the same time. Contact the
service center for more information.

