Exalt
Gas Valve Replacement
3
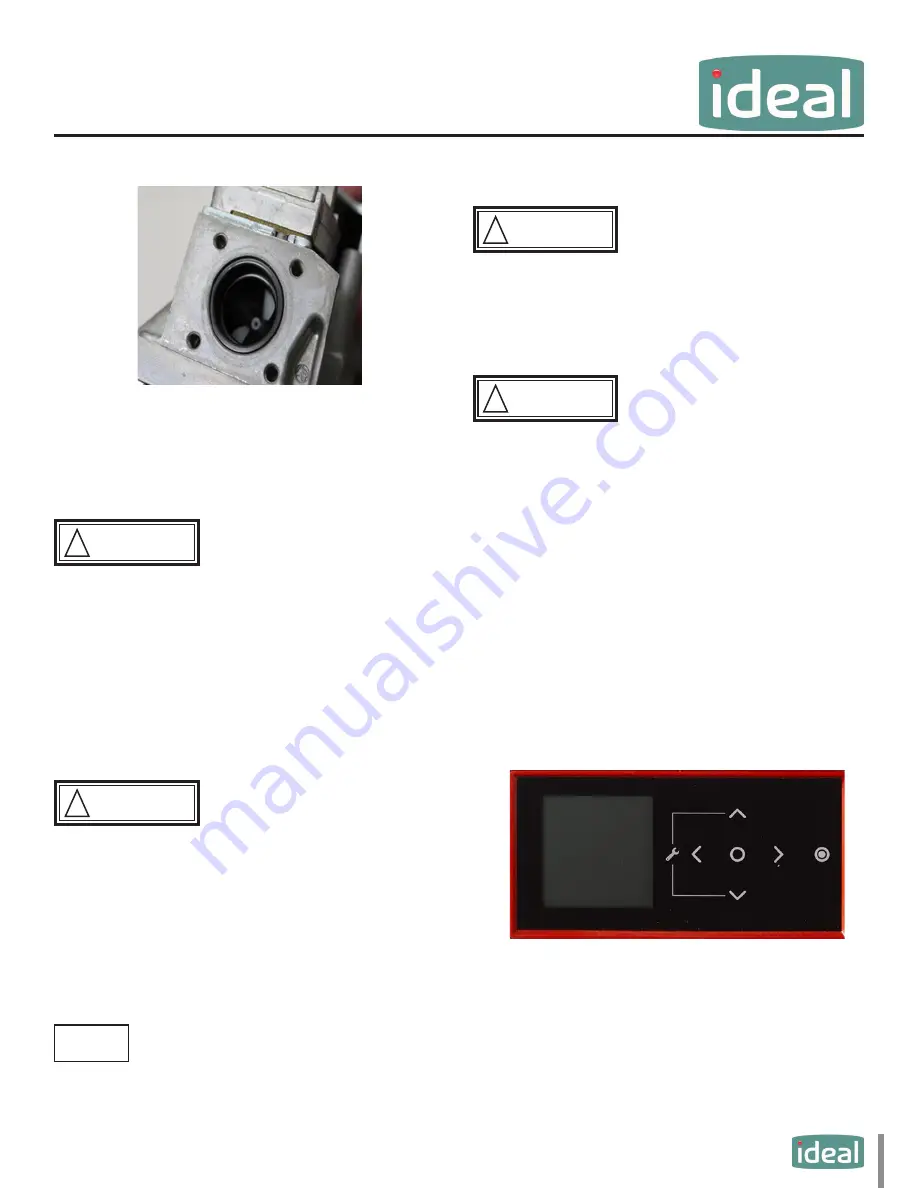
9. Install new O-Rings in the opening on both sides of
the new Gas valve as shown in Fig. 4.
Fig. 4: Gas Valve O-Ring
10. Secure the gas valve to the bracket with the screws
previously removed.
11. Secure all four screws on both sides of the gas valve
WARNING
!
Ensure the O-Rings are properly seated in both gas
valve opening prior to tightening the screws. Improp-
erly seated O-rings can cause severe personal injury,
death or substantial property damage.
12. Reconnect the Molex plug to the gas valve electri-
cal connection.
13. Check and test all gas connections for leaks. Repair
leaks if found.
WARNING
!
Do not check for gas leaks with an open flame. Use a
bubble test. Failure to check for gas leaks can cause
severe personal injury, death or substantial property
damage.
14. Turn the electrical power “ON” to the boiler to check
combustion.
3. Combustion Test and Adjustments
NOTICE
The installer MUST perform a complete combustion check
to ensure the following combustion levels are met at high
and low input firing rates and the burner is operating at op-
timum conditions.
WARNING
!
The combustion testing and adjustments must be per-
formed by a qualified installer, service agency or the
gas supplier. All combustion measurements must be
performed with calibrated equipment to ensure prop-
er readings and accuracy.
WARNING
!
Failure to perform a complete combustion test at both
high and low input rates may result in incomplete
combustion and the production of carbon monoxide,
which can cause severe personal injury, death or sub-
stantial property damage.
1. Touch simultaneously on the up and down soft
keys (as high lighted by the wrench icon) for 3 sec-
onds to access the functions for the installer. See
Fig. 5.
2. Enter the installer access code “054” by using the
LEFT and RIGHT buttons to select a digit and the UP
and DOWN buttons to change the digit. Press the
center button to enter the access code.
Fig. 5: CTRLMax Navigation Control


