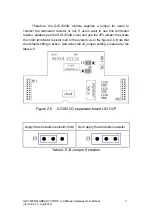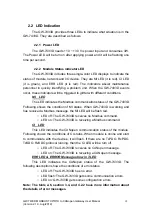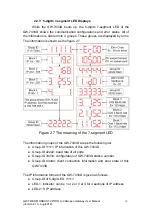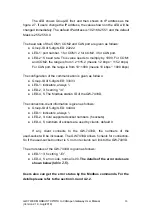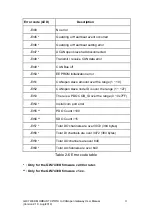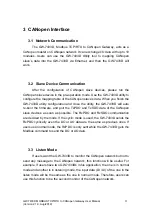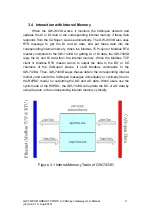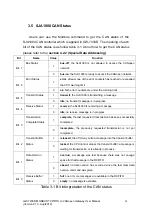
Figure1.6 CANopen Messaging
Before using the GW-7433D, users need to configure it by using
GW-7433D Utility tool. The figure 1.7 demonstrates how to let the GW-7433D
work and how to apply it in users’ CANopen network.
Figure 1.7 Four steps to establish connection
1.
Connect to GW-7433D:
You have to use the GW-7433D Utility to connect to the GW-7433D first.
In this step, the IP and mask of the GW-7433D must be used.
2. Add CANopen slave devices to GW-7433D EEPROM:
You can use the GW-7433D Utility to set the I/O configuration and
communication parameters of the CANopen slave device, and save them
into the GW-7433D. In this step, users need to read the CANopen slave
user manual first, then decide what Cob-IDs are used and what CANopen
protocols are implemented.
3. Establish connection:
After finishing the configuration and close the Utility, the GW-7433D will
reboot and apply the new configuration automatically. Then, it starts to
communication with the CANopen slave devices.
4. Access I/O data:
After communicating with slave devices, users can access the I/O data
with corresponding Modbus address via the Ethernet port or COM port.
GW-7433D MODBUS TCP/RTU to CANopen Gateway User Manual
11
(Version 2.1.0, Aug/2019)


