8.
Check
the
green
Drive
activity
LED
and
the
amber
Drive
fault
LED
above
the
new
drive
CRUs.
Make
sure
that
the
Drive
activity
LEDs
are
on
and
the
Drive
fault
LEDs
are
off.
Note:
The
Drive
fault
LEDs
might
flash
intermittently
while
the
drives
spin
up.
v
If
the
Drive
activity
LED
is
off,
the
drive
CRU
might
not
be
installed
correctly.
Remove
the
drive
CRU,
wait
at
least
70
seconds,
and
then
reinstall
it.
v
If
the
Drive
fault
LED
stays
on
or
the
Drive
activity
LED
stays
off,
the
new
drive
might
be
faulty.
See
the
DS4000
Storage
Manager
software
for
problem
determination.
9.
Use
the
DS4000
Storage
Manager
software
to
monitor
the
status
of
the
new
drive
and
the
progress
of
the
data
reconstruction.
Wait
for
data
reconstruction
to
finish
(the
Drive
activity
LED
stops
flashing).
Note:
The
Drive
activity
LED
will
continue
to
flash
after
reconstruction
is
finished
if
there
is
I/O
activity
to
that
drive
(for
example,
from
a
logical
drive
Media
Scan
operation).
In
that
case,
use
the
host
software
to
determine
if
the
data
reconstruction
is
finished.
10.
When
reconstruction
is
finished
on
the
new
drive,
repeat
step
through
step
for
each
additional
drive
that
you
want
to
install.
11.
Use
the
DS4000
Storage
Manager
software
to
configure
the
additional
space
on
the
new
drives.
Working
with
hot-swap
power
supplies
The
power
supplies
are
CRUs
and
do
not
require
preventive
maintenance.
v
Use
only
the
supported
power
supplies
for
your
specific
expansion
enclosure.
v
Both
power
supplies
must
always
be
installed
to
maintain
proper
cooling
and
to
protect
against
power
loss.
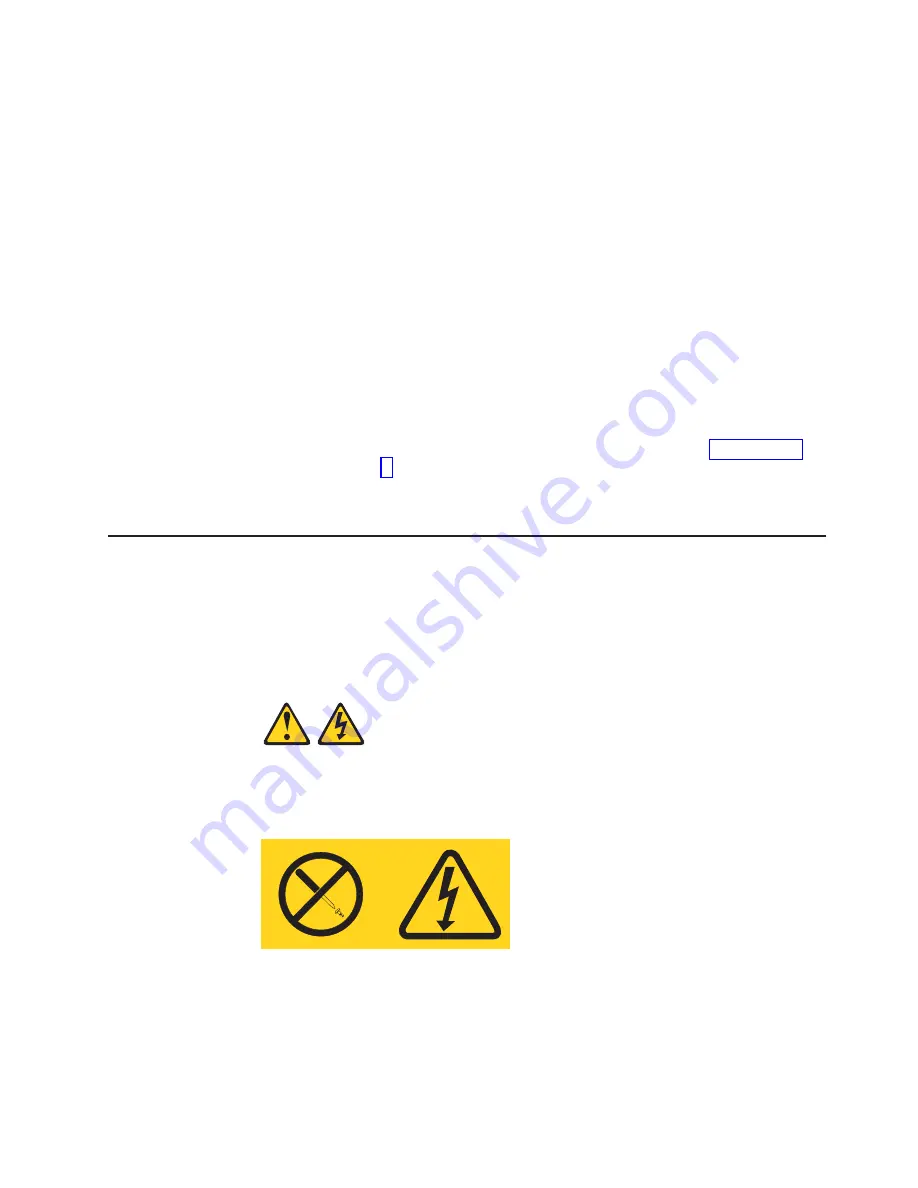
Statement
8:
CAUTION:
Never
remove
the
cover
on
a
power
supply
or
any
part
that
has
the
following
label
attached.
Hazardous
voltage,
current,
and
energy
levels
are
present
inside
any
component
that
has
this
label
attached.
There
are
no
serviceable
parts
inside
these
components.
If
you
suspect
a
problem
with
one
of
these
parts,
contact
a
service
technician.
Chapter
3.
Installing
and
replacing
devices
83
|
|
|
|
Summary of Contents for TotalStorage EXP100
Page 2: ......
Page 187: ......
Page 188: ... Part Number 39M5947 Printed in USA GC26 7694 01 1P P N 39M5947 ...


