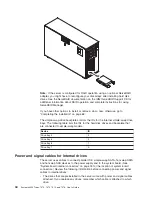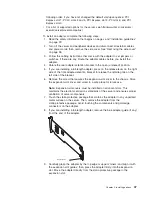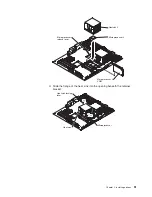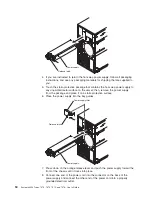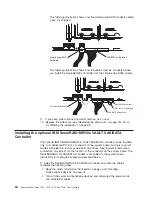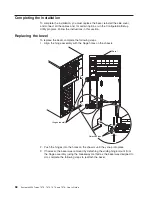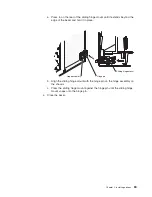
Release latch
Power supply
4.
If
you
are
instructed
to
return
the
hot-swap
power
supply,
follow
all
packaging
instructions,
and
use
any
packaging
materials
for
shipping
that
are
supplied
to
you.
5.
Touch
the
static-protective
package
that
contains
the
hot-swap
power
supply
to
any
unpainted
metal
surface
on
the
server;
then,
remove
the
power
supply
from
the
package
and
place
it
on
a
static-protective
surface.
6.
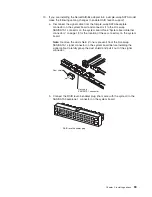
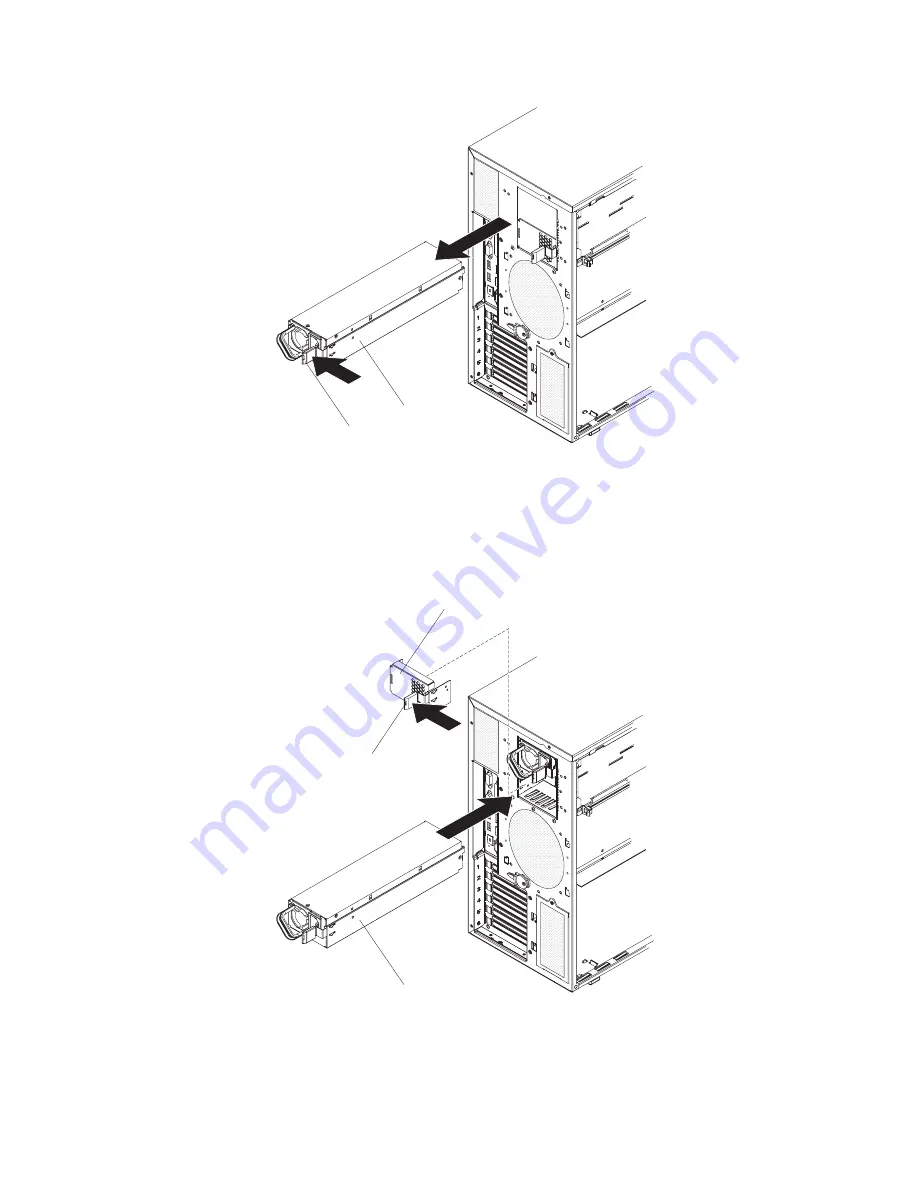
Place
the
power
supply
into
the
bay
guides.
Power supply filler
Release latch
Power supply
7.
Press
down
on
the
orange
release
lever
and
push
the
power
supply
toward
the
front
of
the
chassis
until
it
locks
into
place.
8.
Connect
one
end
of
the
power
cord
into
the
connector
on
the
back
of
the
power
supply
and
connect
the
other
end
of
the
power
cord
into
a
properly
grounded
electrical
outlet.
54
System
x3400
Types
7973,
7974,
7975,
and
7976:
User’s
Guide
Summary of Contents for System x3400 Type 7975
Page 1: ...System x3400 Types 7973 7974 7975 and 7976 User s Guide...
Page 2: ......
Page 3: ...System x3400 Types 7973 7974 7975 and 7976 User s Guide...
Page 88: ...74 System x3400 Types 7973 7974 7975 and 7976 User s Guide...
Page 126: ...112 System x3400 Types 7973 7974 7975 and 7976 User s Guide...
Page 133: ......
Page 134: ...Part Number 44W2584 Printed in USA 1P P N 44W2584...

