


To
install
a
simple-swap
hard
disk
drive,
complete
the
following
steps:
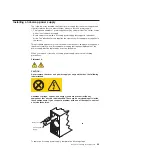
1.
Read
the
safety
information
that
begins
on
page
and
2.
Turn
off
the
server
and
peripheral
devices
and
disconnect
all
external
cables
and
power
cords.
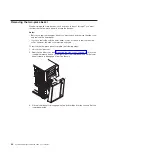
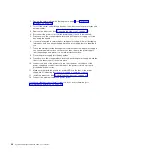
3.
Unlock
the
side
cover
(the
bezel
will
not
disengage
from
the
server
if
the
cover
is
locked).
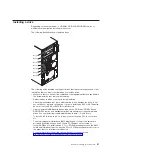
4.
Remove
the
side
cover
and
lower
bezel
(see
and
5.
Touch
the
static-protective
package
that
contains
the
drive
to
any
unpainted
metal
surface
on
the
server;
then,
remove
the
drive
from
the
package
and
place
it
on
a
static-protective
surface.
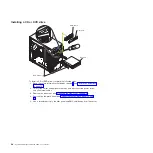
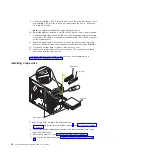
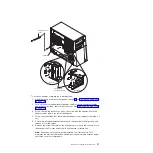
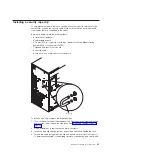
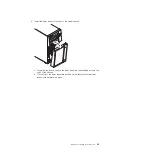
6.
Align
the
drive
assembly
with
the
guide
rails
in
the
bay
(the
connector
end
of
the
drive
goes
in
first).
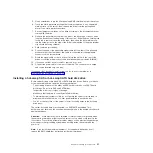
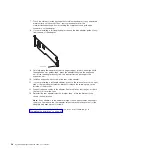
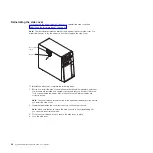
7.
Pull
the
loops
of
the
drive
assembly
toward
each
other;
then,
carefully
slide
the
drive
assembly
into
the
drive
bay
until
it
stops
and
release
the
loops.
Note:
Do
not
release
the
loops
on
the
drive
assembly
until
it
is
completely
seated.
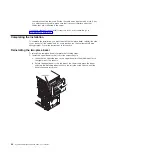
If
you
have
other
devices
to
install
or
remove,
do
so
now;
otherwise,
go
to
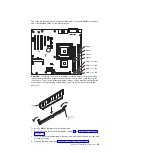
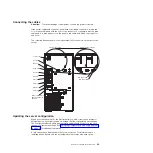
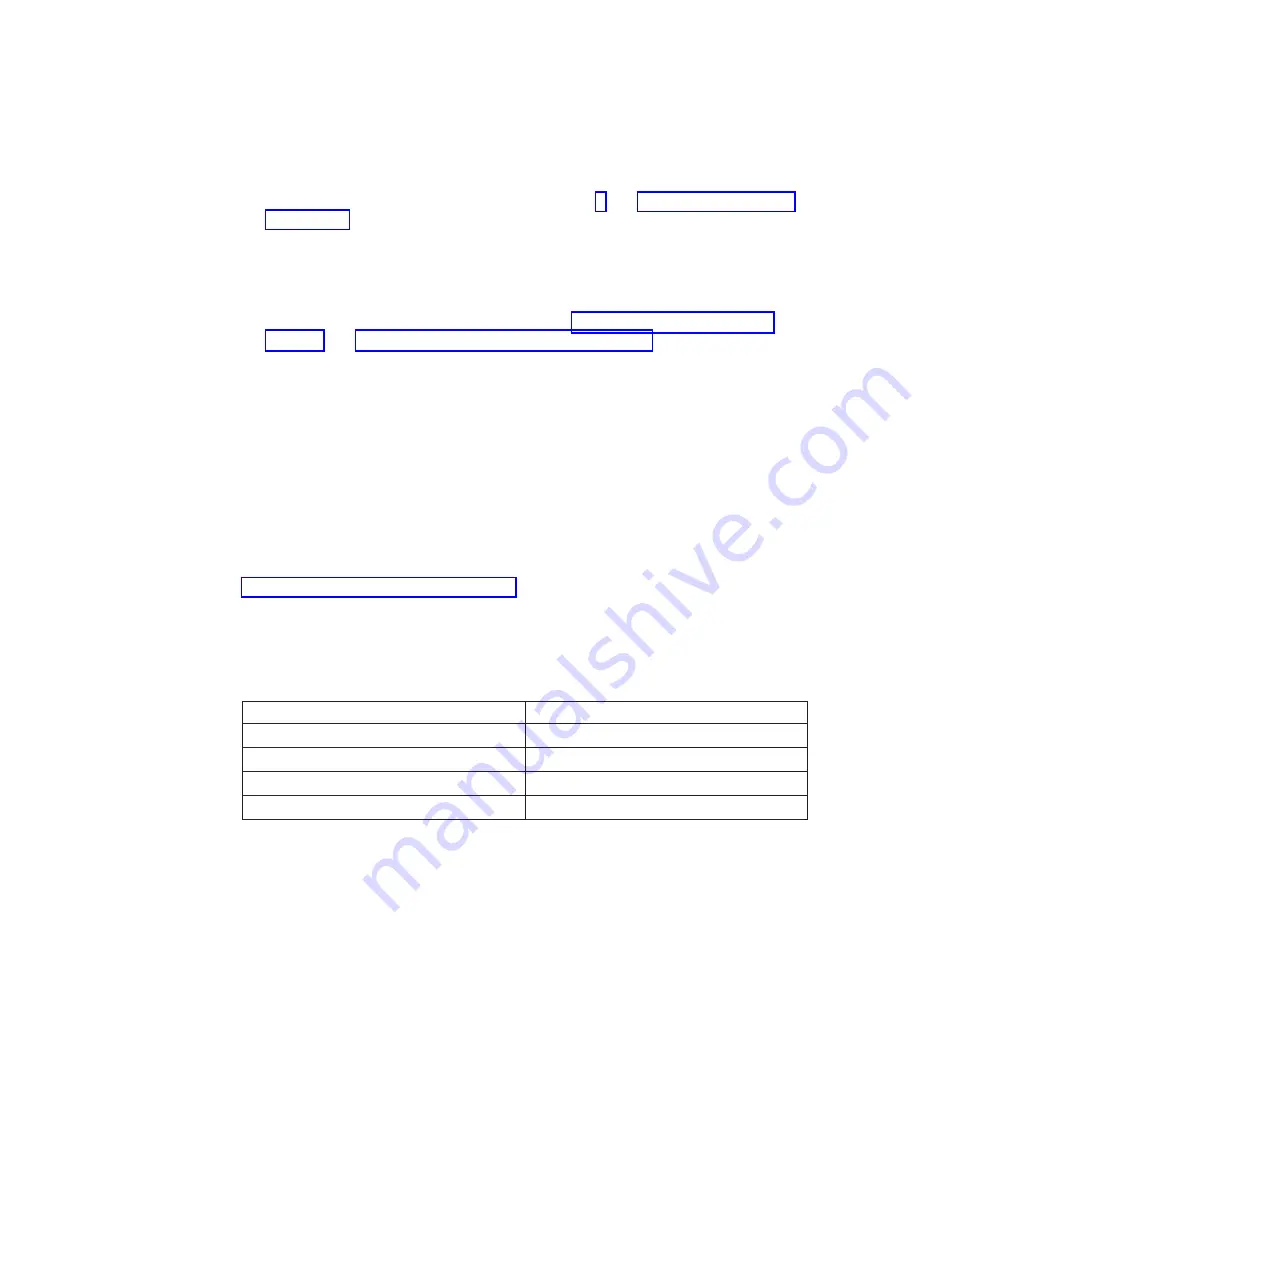
The
simple-swap-drive
backplate
controls
the
IDs
for
the
internal
simple-swap
drive
bays.
The
following
table
lists
the
IDs
for
the
hard
disk
drives
and
backplate
that
are
connected
to
simple-swap
models.
Table
2.
Device
ID
Drive
bay
4
0
Drive
bay
5
1
Drive
bay
6
2
Drive
bay
7
3
34
System
x3200
Types
4362
and
4363:
User’s
Guide
Summary of Contents for System x3200 4362
Page 1: ...System x3200 Types 4362 and 4363 User s Guide...
Page 2: ......
Page 3: ...System x3200 Types 4362 and 4363 User s Guide...
Page 81: ...Web site continued Update Xpress program 7 weight 3 Index 67...
Page 82: ...68 System x3200 Types 4362 and 4363 User s Guide...
Page 83: ......
Page 84: ...Part Number 42D2453 Printed in USA 1P P N 42D2453...