7.
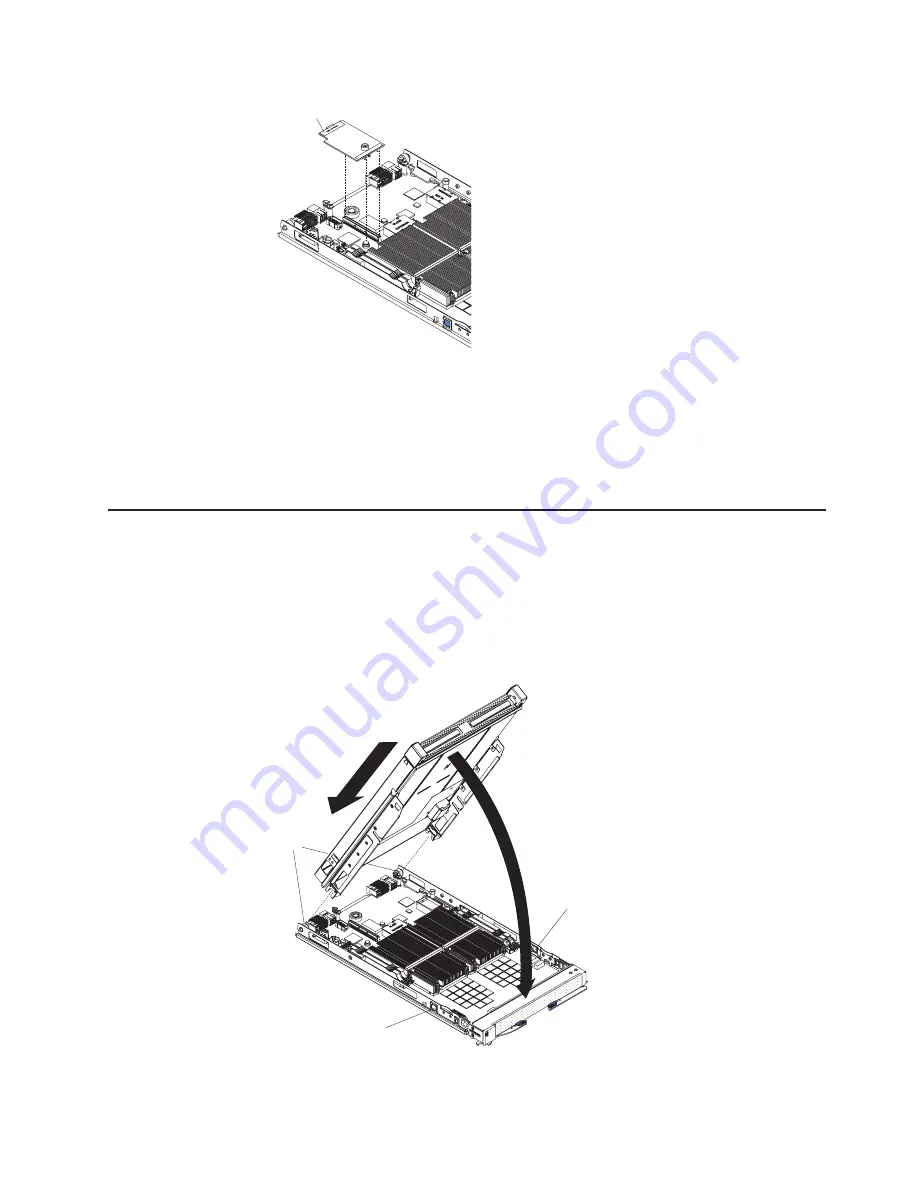
Using
the
blue
handling
areas,
carefully
push
the
card
down
to
insert
it
into
the
connectors.
Ensure
that
the
ball
stud
on
the
system
board
engages
with
the
ball
socket
on
the
SAS
expansion
card.
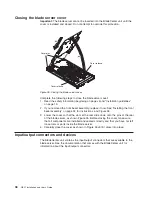
8.
If
you
do
not
want
to
install
any
other
options,
replace
the
cover
and
insert
the
BladeCenter
QS21
into
the
BladeCenter
unit.
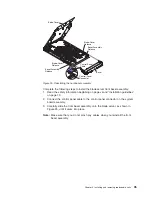
Installing
the
BladeCenter
PCI
Express
I/O
Expansion
Unit
Important:
v
A
BladeCenter
QS21
with
the
BladeCenter
PCI
Express
I/O
Expansion
Unit
installed
takes
up
two
contiguous
slots
in
the
BladeCenter
chassis
v
You
must
remove
any
expansion
card
using
the
high-speed
connector
before
installing
the
expansion
unit.
Expansion
card
Figure
21.
SAS
expansion
card
location
Cover pins
Cover release
Cover release
Figure
22.
Installing
the
expansion
unit
Chapter
4.
Installing
and
removing
replaceable
units
29
Summary of Contents for QS21 - BladeCenter - 0792
Page 3: ...BladeCenter QS21 Type 0792 Installation and User s Guide...
Page 8: ...vi QS21 Installation and User s Guide...
Page 30: ...14 QS21 Installation and User s Guide...
Page 34: ...18 QS21 Installation and User s Guide...
Page 74: ...58 QS21 Installation and User s Guide...
Page 108: ...92 QS21 Installation and User s Guide...
Page 109: ......
Page 110: ...Part Number 40M2416 Printed in USA 1P P N 40M2416...


