12. Reinstall the eject paper tray
K
and tighten the four screws
J
.
A
B
D
C
O
L
M
N
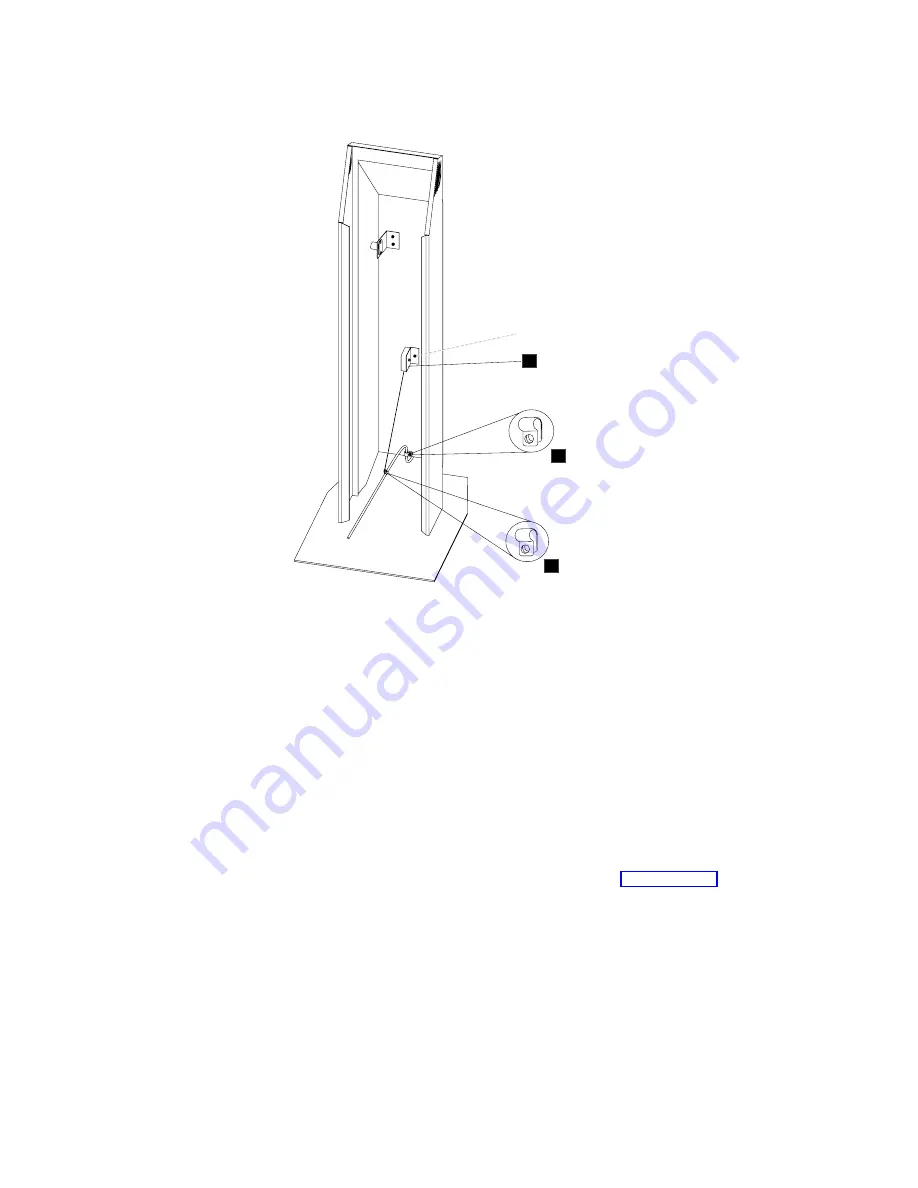
13. Refer to the above figure. Secure the UPS power cord to the cable retainer as
follows:
a. Locate the take-up spool
L
on the inside-back of the enclosure. Attach
the take-up spool to the UPS power cord using the cable retainer
N
which is attached to the end of the take-up spool cable.
b. Locate the cable retainer
M
attached to the bottom of the enclosure.
Attach this cable retainer to the UPS power cord.
14. Route and then secure the UPS RS-232 interface cable using the cable
clamps. Refer to
D
in the figure on page 26 for the location of these clamps.
15. Connect the cable to the rear tailgate connector of the NetVista Kiosk 4835.
16. To install the UPS, do the sequence in reverse.
Note:
Make sure that you align the upper guide of the printer with the paper
eject slit on the front plate properly and that there is no gap between
the front plate and the eject paper tray. See 13 on page 24 for details.
28
Summary of Contents for NetVista Kiosk DBCS
Page 2: ......
Page 6: ...iv ...
Page 37: ...The NetVista Kiosk DBCS Model 31 ...
Page 38: ... Part Number 57P4240 Printed in Japan GY18 2417 00 1P P N 57P4240 ...


