34
Installing internal options-microtower model
2.
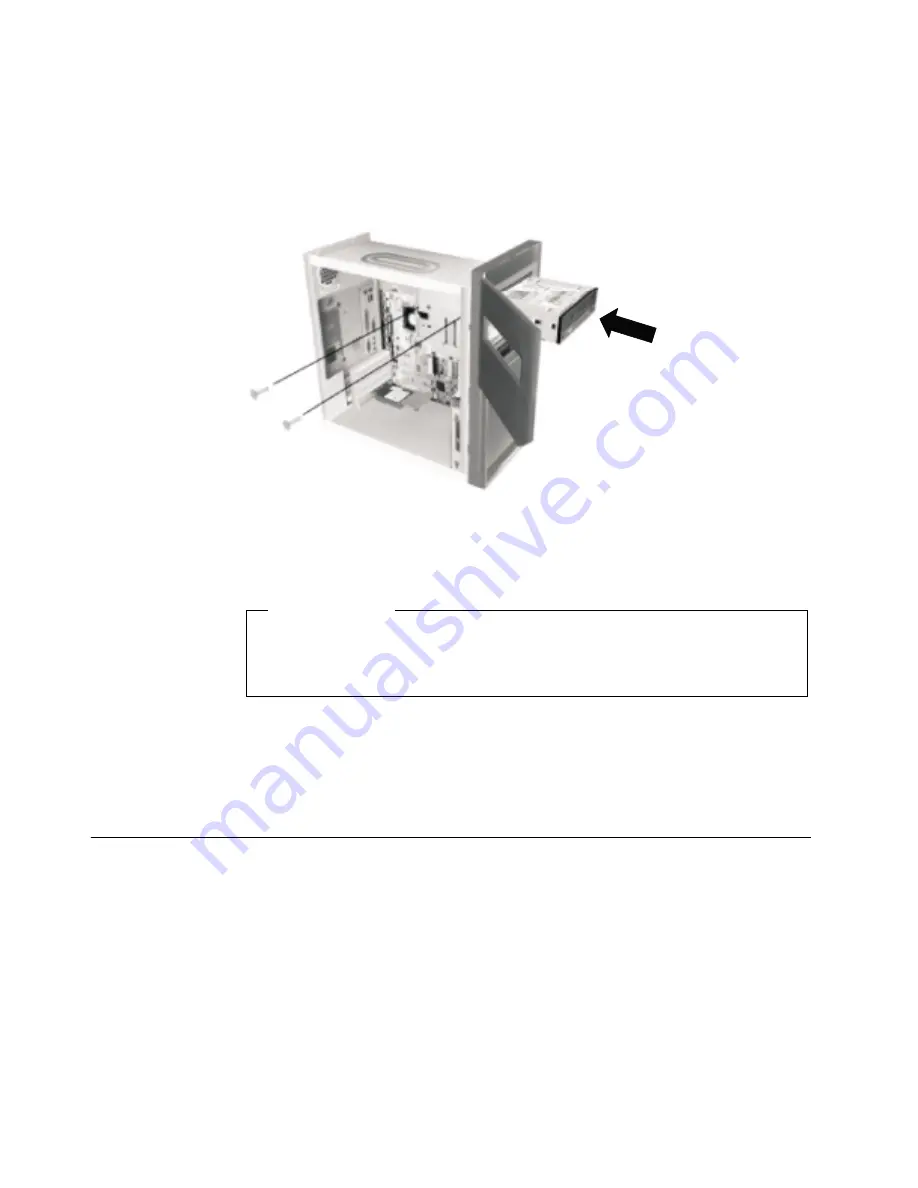
Remove the bay panel, and insert a flat-blade screwdriver into one of the slots on the static
shield in the drive bay into which you are installing the drive. Gently pry the static shield
loose from the drive bay.
3.
Install the drive into the bay. Align the screw holes and insert the two screws.
4.
If the drive you installed is a removable-media drive, place the bezel frame that comes with
your computer over the drive bay.
Replacing the cover and connecting the cables
After working with options, you need to install any removed parts, replace the cover, and
reconnect any cables, including power cords and telephone lines. Also, depending on the option
that installed, you might need to confirm the updated information in the Configuration/Setup
Utility program.
To replace the cover and connect cables to your computer:
1.
Ensure that all components have been reassembled correctly and that no tools or loose
screws are left inside your computer.
2.
Clear any cables that might impede the replacement of the cover.
•
To
work with another option, go to the appropriate section.
•
To complete the installation, go to
“Replacing the cover and connecting the cables”
on page 34.
What to do next
Summary of Contents for NetVista A20i
Page 1: ......
Page 4: ...iv Contents ...
Page 10: ...x About this book ...
Page 18: ...8 Overview ...
Page 24: ...14 Installing external options ...
Page 34: ...24 Installing internal options desktop model ...
Page 46: ...36 Installing internal options microtower model ...
Page 52: ...42 Updating the computer configuration ...
Page 56: ...46 Updating System Programs ...
Page 62: ...52 Notices and trademarks ...
Page 65: ......
Page 66: ...Part Number 22P0801 ...


