2.
If necessary, rotate the leveling foot located at the rear of the projector, as
shown in Figure 2-9 on page 2-6.
Note:
Avoid placing your hands near the hot exhaust vent in front of the
projector.
3.
Position the projector the desired distance from the screen at a 90° angle to the
screen. See “Projected image size” on page 2-7 for a table listing screen sizes
and distances to the screen.
4.
Adjust the zoom and focus.
5.
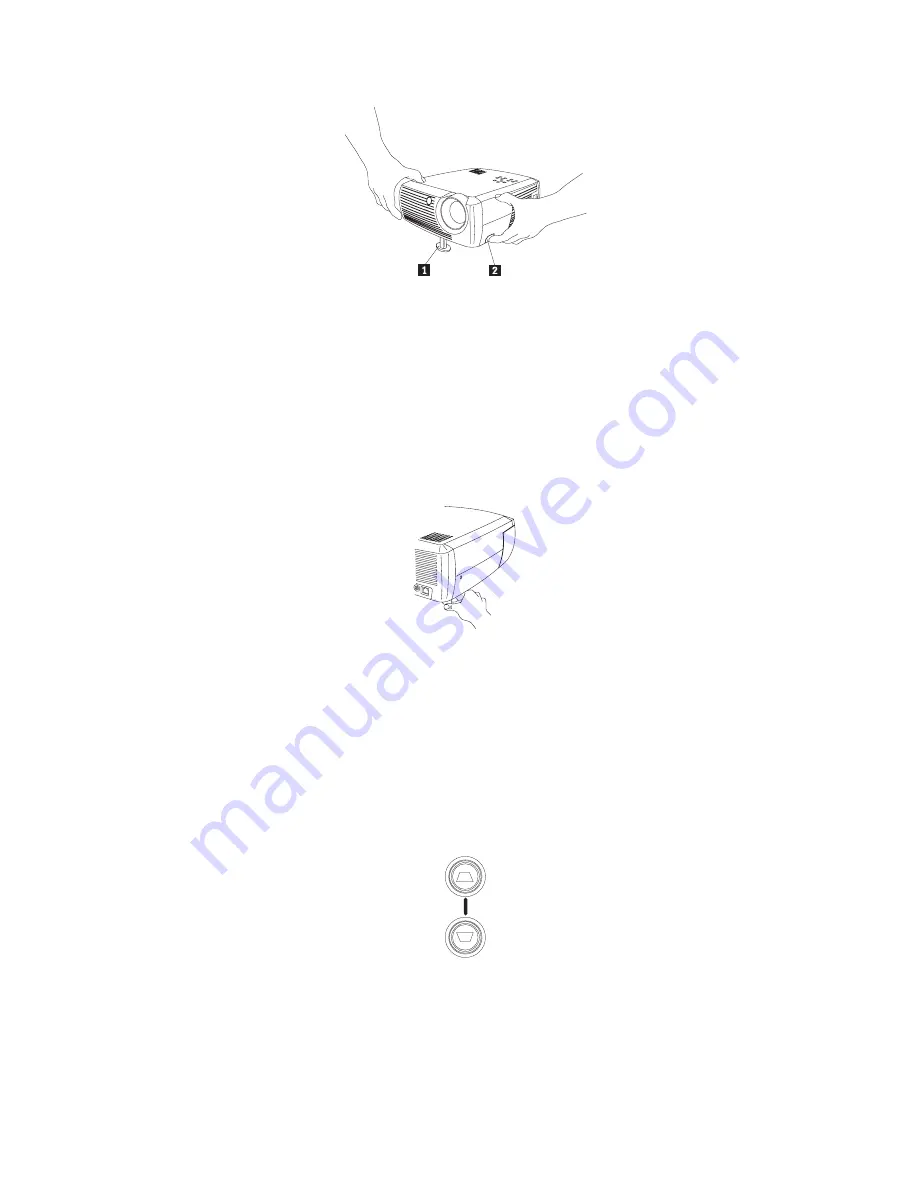
If the image is not square, adjust the keystone using the buttons on the keypad.
Press the top Keystone button to reduce the upper part of the image, and press
the bottom Keystone button to reduce the lower part. Figure 3-7 shows an
illustration of the Keystone buttons on the projector keypad.
6.
Adjust the volume on the keypad or remote. Figure 3-8 on page 3-6 shows an
illustration of the Volume buttons on the projector keypad and remote.
1
Elevator foot
2
Release button
Figure 3-5. Adjusting the height of the projector
Figure 3-6. Rotating leveling foot
Figure 3-7. Keystone buttons
Chapter 3. Using the projector with a video device
3-5
Summary of Contents for iLV300
Page 1: ...IBM iLV300 Value Data Video Projector User s Guide ...
Page 2: ......
Page 3: ...IBM iLV300 Value Data Video Projector User s Guide ...
Page 8: ...vi IBM iLV300 Value Data Video Projector User s Guide ...
Page 20: ...2 8 IBM iLV300 Value Data Video Projector User s Guide ...
Page 34: ...4 8 IBM iLV300 Value Data Video Projector User s Guide ...
Page 42: ...Figure 5 20 About menu 5 8 IBM iLV300 Value Data Video Projector User s Guide ...
Page 50: ...B 4 IBM iLV300 Value Data Video Projector User s Guide ...
Page 52: ...C 2 IBM iLV300 Value Data Video Projector User s Guide ...
Page 64: ...D 12 IBM iLV300 Value Data Video Projector User s Guide ...
Page 72: ...F 6 IBM iLV300 Value Data Video Projector User s Guide ...
Page 73: ......
Page 74: ... Part Number 31P9883 Printed in U S A 1P P N 31P9883 ...


