2.
Connect the other end to the video port on your computer, as shown in
Figure 2-3 on page 2-2. If you are using a desktop computer, you will need to
disconnect the monitor cable from the computer video port first.
3.
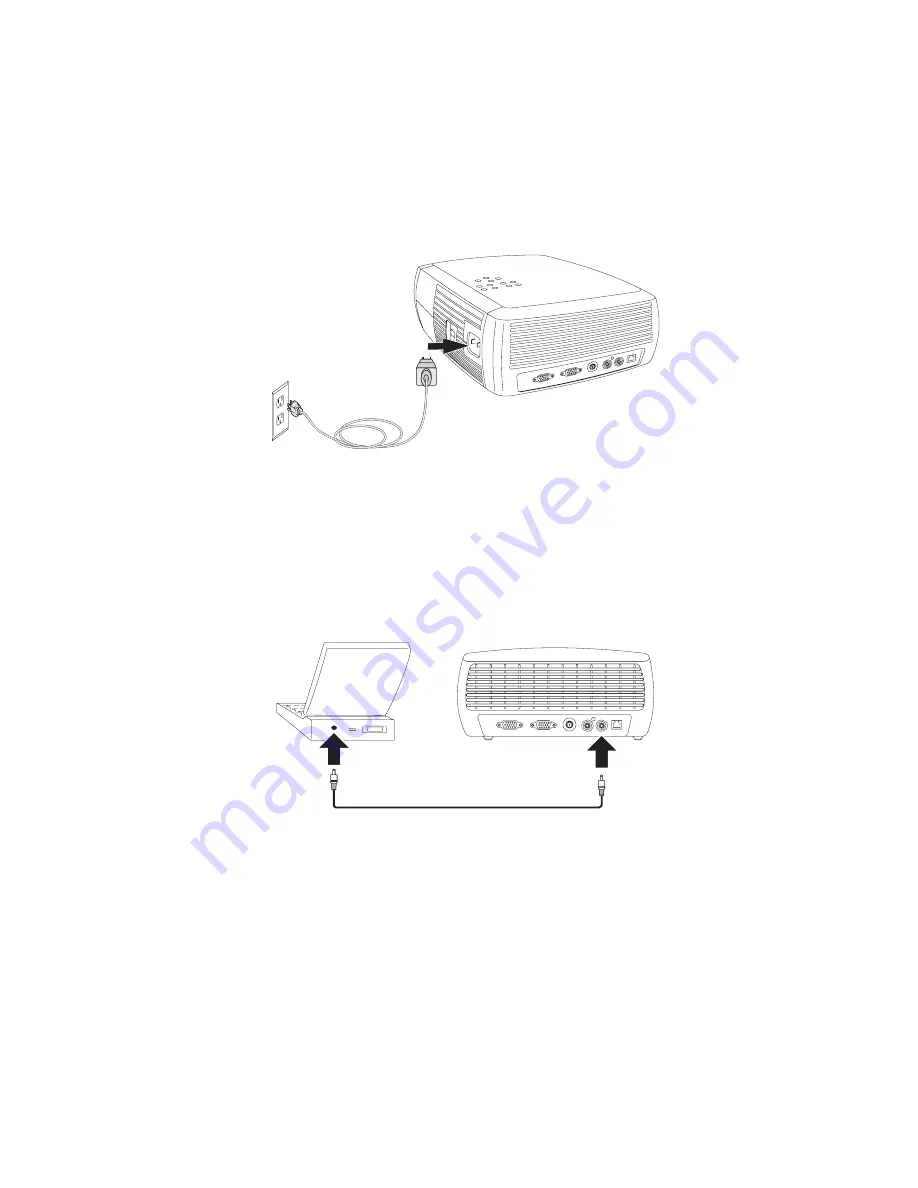
Connect the black power cord to the
Power
connector on the side of the
projector and to your electrical outlet, as shown in Figure 2-4.
Note:
Only use the power cord that was shipped with the projector.
For more information on using the projector with a video device, see “Connecting
a video device” on page 3-1.
Optional computer connections
To have sound with your presentation, connect the audio cable to your computer
and to the
Audio In
connector on the projector, as shown in Figure 2-5.
If you are using a desktop computer and want to see the image on your computer
screen as well as on the projection screen, connect the monitor cable from your
computer to the
Computer In
connector. Then, connect the computer monitor cable
to the
Monitor Out
connector on the projector, as shown in Figure 2-6 on page 2-4.
Figure 2-4. Connecting the projector to an electrical outlet
Figure 2-5. Connecting the audio cable
Chapter 2. Setting up the projector
2-3
Summary of Contents for iLV300
Page 1: ...IBM iLV300 Value Data Video Projector User s Guide ...
Page 2: ......
Page 3: ...IBM iLV300 Value Data Video Projector User s Guide ...
Page 8: ...vi IBM iLV300 Value Data Video Projector User s Guide ...
Page 20: ...2 8 IBM iLV300 Value Data Video Projector User s Guide ...
Page 34: ...4 8 IBM iLV300 Value Data Video Projector User s Guide ...
Page 42: ...Figure 5 20 About menu 5 8 IBM iLV300 Value Data Video Projector User s Guide ...
Page 50: ...B 4 IBM iLV300 Value Data Video Projector User s Guide ...
Page 52: ...C 2 IBM iLV300 Value Data Video Projector User s Guide ...
Page 64: ...D 12 IBM iLV300 Value Data Video Projector User s Guide ...
Page 72: ...F 6 IBM iLV300 Value Data Video Projector User s Guide ...
Page 73: ......
Page 74: ... Part Number 31P9883 Printed in U S A 1P P N 31P9883 ...


