Chapter 2. Installing options
13
Installing memory modules
The server supports up to four pairs of DIMMs and supports memory interleaving.
Adding memory to the server is an easy way to make programs run faster.
Notes:
1.
The server supports a minimum of 512 MB of system memory and a maximum of
8 GB of system memory. The DIMM slots are arranged in two columns of four
rows each. The server supports DIMMs of 256 MB, 512 MB, and 1 GB capacities.
2.
Each pair of DIMMs must be the same type, capacity, and speed. However, you
can install DIMM pairs of different capacities as long as both DIMMs in each pair
are the same.
3.
Installing or removing DIMMs changes the configuration information in the server.
Therefore, after installing or removing DIMMs, you must save the new configura-
tion information using the Configuration/Setup Utility program. When you restart
the server, the system displays a message indicating that the memory configura-
tion has changed. Start the Configuration/Setup Utility program and select Save
Settings. See Chapter 4, “Configuring the server” on page 29 for more informa-
tion.
Complete the following steps to install DIMMs:
1.
Review the safety precautions beginning on page v, “Handling static-sensitive
devices” on page 3, and the documentation that comes with the DIMMs.
2.
Turn off the server, disconnect all power cords and external cables, and remove
the top cover (see “Removing the server top cover and bezel” on page 7).
3.
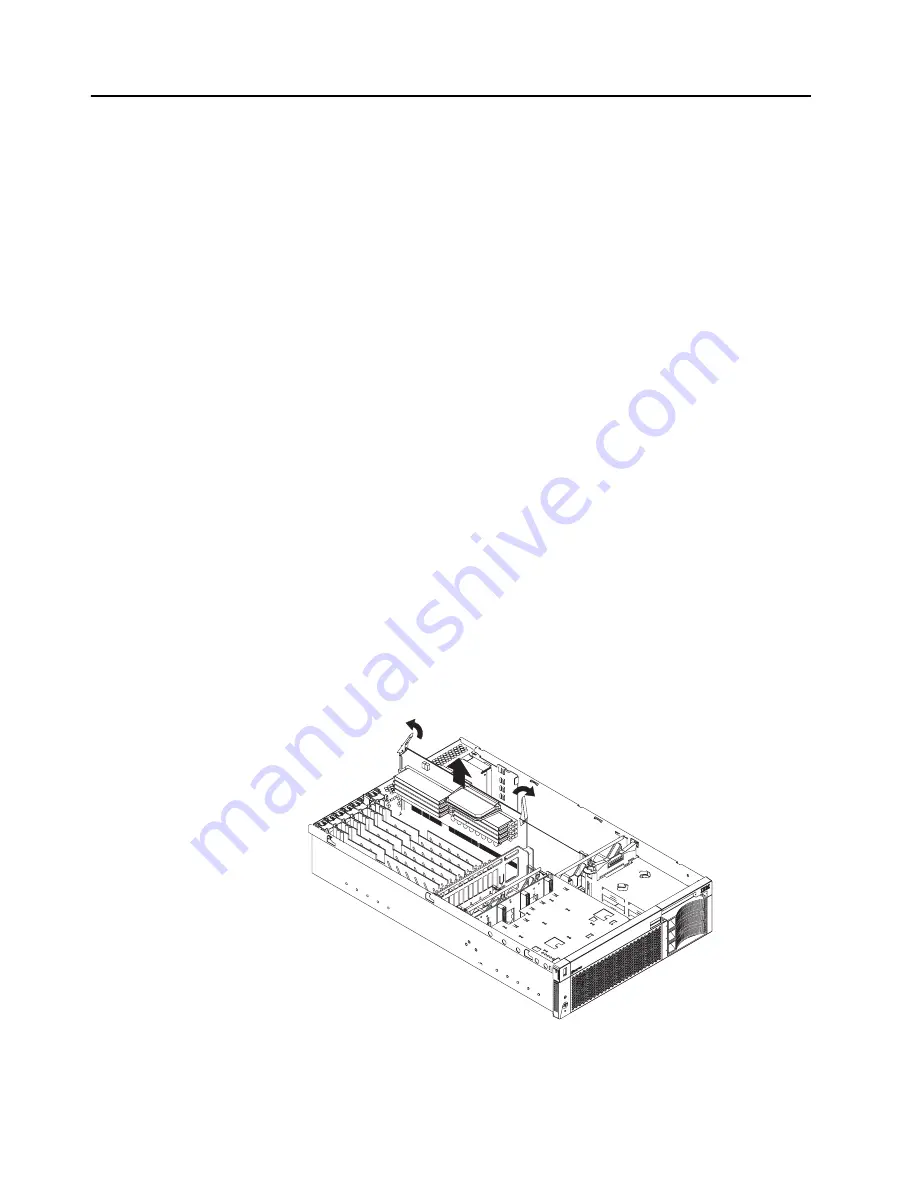
Remove the memory board, as shown in the following illustration:
Attention: When you handle Electrostatic Discharge-Sensitive devices (ESD),
take precautions to avoid damage from static electricity. For details on handling
these devices, see “Handling static-sensitive devices” on page 3.
a.
Lift up the two memory-board locking latches to release the board.
b.
Lift the memory board out of the server.
4.
When installing additional DIMMs, determine the DIMM slots into which you will
install them. You must populate the slots in pairs, one DIMM in each column, pro-
ceeding from top to bottom. Use only 2.5 V, 184-pin, PC1600, DDR registered
Summary of Contents for Eserver xSeries 360 Type 8686
Page 1: ...IBM IBM xSeries 360 Type 8686 Installation Guide...
Page 10: ...x IBM xSeries 360 Type 8686 Installation Guide...
Page 16: ...6 IBM xSeries 360 Type 8686 Installation Guide...
Page 38: ...28 IBM xSeries 360 Type 8686 Installation Guide...
Page 56: ...46 IBM xSeries 360 Type 8686 Installation Guide...


