3301690 CPU Card
The audio kit comes with a PCI slot bracket for the installation into a PC case or rackmount
chassis. Connect the 10-pin header to the 3301570’s AUDIO1 header as shown in
Figure E-1, and if necessary, connect the CDIN1 and AUXIN1 to optical drives or other
audio sources, e.g., an MPEG card, using a 4-pin cable. Note that depending on the
devices you connect to, the phone jacks have different functions with different audio
installation modes (2 channel or 5.1 channel modes).
D.3
Driver Installation
The driver installation has been described in
Chapter 6
,
Section 6.4
.
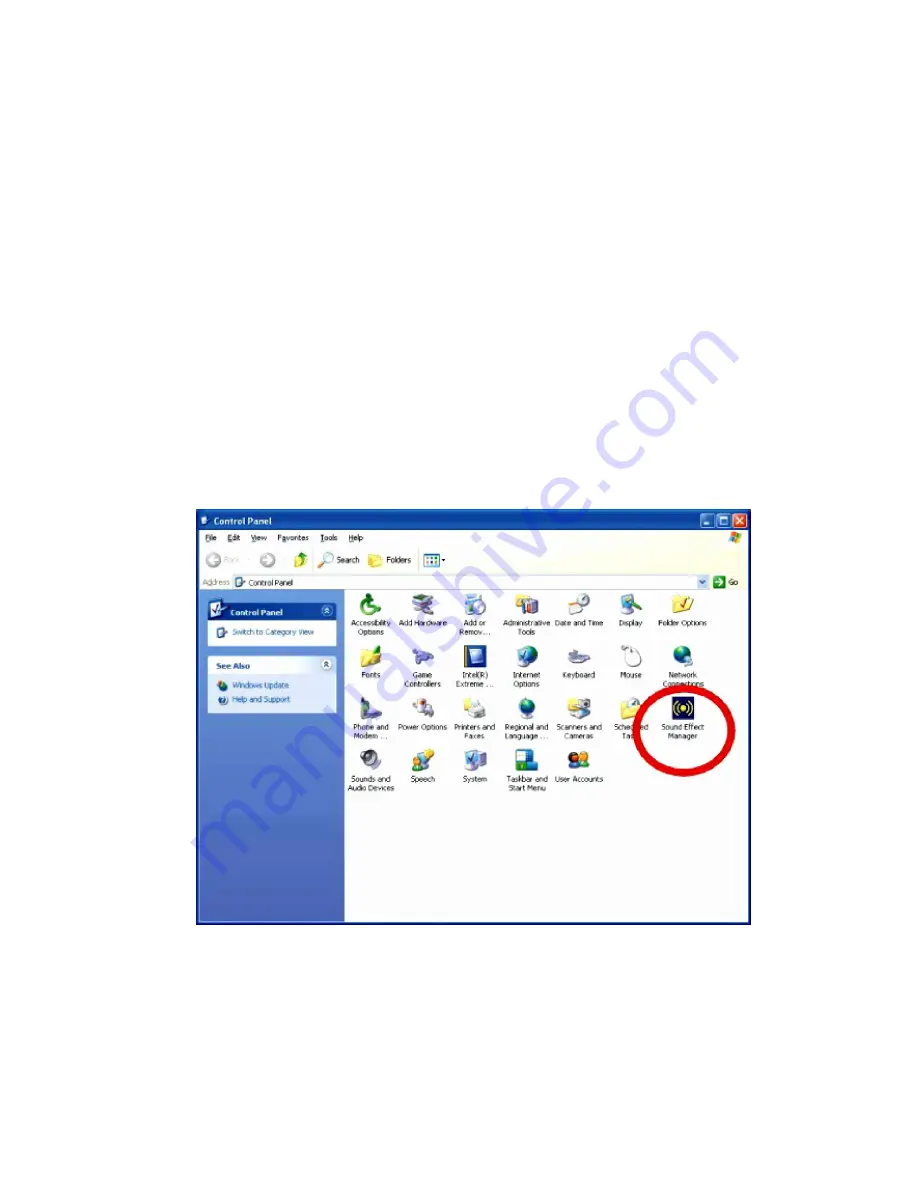
After reboot, you should be able to find the sound effect configuration utility in Windows
Control Panel (see
Figure D-3
); and if peripheral speakers have been properly connected,
hear the sound effects.
Figure D-3: Sound Effect Manager Icon
159
Summary of Contents for 3301690
Page 1: ...User s Manual 3301690 1...
Page 15: ...3301690 CPU Card Chapter 1 1 Introduction 15...
Page 20: ...3301690 CPU Card Chapter 2 2 Detailed Specifications 20...
Page 29: ...3301690 CPU Card Chapter 3 3 Connectors and Jumpers 29...
Page 60: ...3301690 CPU Card Figure 3 22 J_CMOS1 Jumper Location 60...
Page 61: ...3301690 CPU Card Chapter 4 4 Installation and Configuration 61...
Page 75: ...3301690 CPU Card Chapter 5 5 AMI BIOS Setup 75...
Page 102: ...3301690 CPU Card BIOS Menu 14 PCI PnP Configuration Part 1 102...
Page 125: ...3301690 CPU Card Chapter 6 6 Software Drivers 125...
Page 144: ...3301690 CPU Card Figure 6 24 Ethernet Driver Installation Confirmation 144...
Page 145: ...3301690 CPU Card Appendix A A BIOS Configuration Options 145...
Page 149: ...3301690 CPU Card Appendix B B Watchdog Timer 149...
Page 152: ...3301690 CPU Card This Page is Intentionally Left Blank 152...
Page 153: ...3301690 CPU Card Appendix C C Address Mapping 153...
Page 156: ...3301690 CPU Card Appendix D D External AC 97 Audio CODEC 156...
Page 172: ...3301690 CPU Card E Index 172...


