Chapter 3: Basic Operations
23
NOTE:
If the server list changes, the mouse cursor will turn into an hourglass as the list is automatically updated. No
mouse or keyboard input will be accepted until the list update is complete.
Assigning names to servers
1.
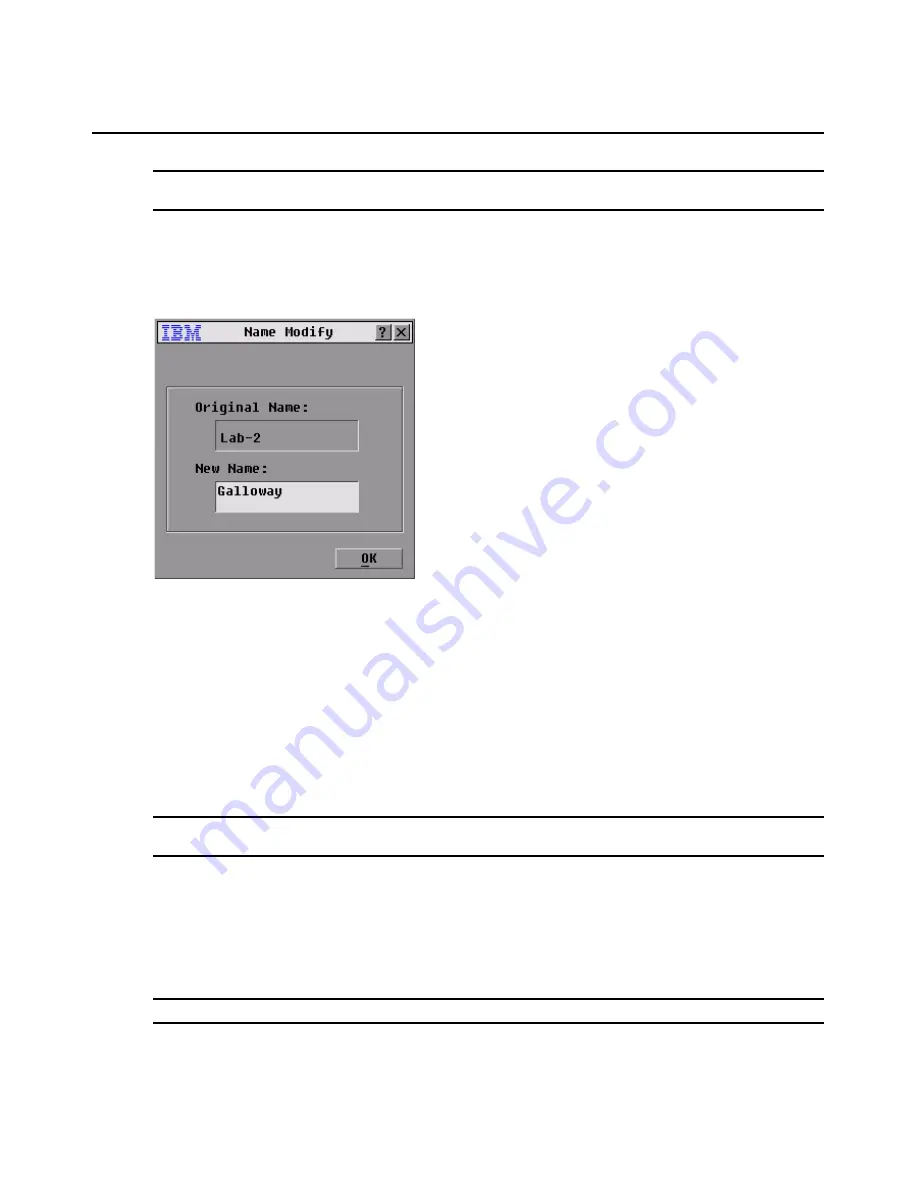
In the Names window, select a server name or port number and click
Modify
. The Name
Modify
window opens.
Figure 3.4: Name Modify Window
2.
Type a name in the
New Name
field. Names of servers can be up to 15 characters long. Valid
characters include: A to Z, a to z, 0 to 9, space, and hyphen.
3.
Click
OK
to transfer the new name to the Names window. The selection is not saved until you
click
OK
in the Names window.
4.
Repeat steps 1 to 3 for each server in the system.
5.
Click
OK
in the Names window to save the changes.
-or-
Click
X
or press Esc
to exit the window without saving changes.
NOTE:
If a switch cable has not been assigned a name, “PS/2 cable” or “USB cable” is used as the
default name.
Assigning device types
The console switch automatically discovers tiered switches, but you will need to specify the number
of ports on the tiered switch through the Devices window. You will see an abbreviation of the switch
type displayed in the Type category for the tiered switch. Select the switch from the list and the
Modify button displays, enabling you to assign it the appropriate number of ports.
NOTE:
The Modify
button will only be available if a configurable switch is selected.
Summary of Contents for 09N4290
Page 1: ......
Page 2: ......
Page 3: ...Console Switch Installation and User s Guide...
Page 4: ......
Page 5: ......
Page 7: ......
Page 8: ......
Page 12: ...xii List of Figures...
Page 14: ...xiv List of Tables...
Page 19: ...Chapter 1 Product Overview 5...
Page 22: ...8 IBM Console Switch Installation and User s Guide...
Page 60: ...46 IBM Console Switch Installation and User s Guide...
Page 63: ......
Page 64: ...31R3148 590 479 999A...


