69
Change Controller Mode
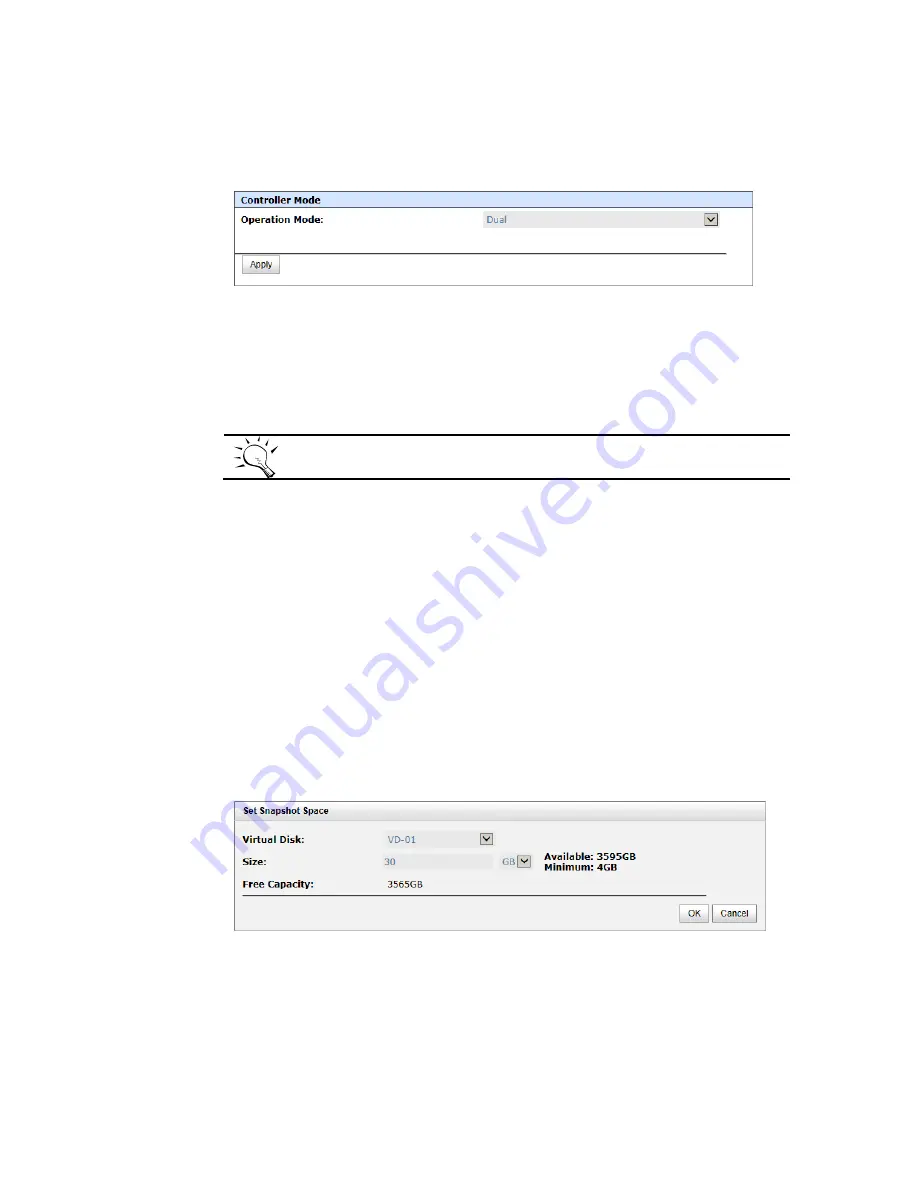
The operation mode can be changed from Single to Dual or vice versa. Please follow the procedures to
change the operation mode.
1.
In System Maintenance -> Upgrade tab, select Single or Dual in the drop-down list.
2.
Click Apply button, it will pop up a warning message, click OK button to confirm.
Recommend iSNS Server
In addition, iSNS server is recommended. It’s important for keeping I/O running smoothly when the
ownership of the RAID group is switching or one of the dual controllers fails. For example of without iSNS
server, when the controller 1 fails, the running I/O from host to controller 1 may fail because the host
switches to new portal is slower at the moment and it may cause I/O time out. With iSNS server, this case
would not happen.
TIP:
iSNS server is recommended for dual controller system of iSCSI interfaces.
Snapshots
Snapshot-on-the-box captures the instant state of data in the target volume in a logical sense. The
underlying logic is Copy-on-Write, moving out the data which would be written to certain location where a
write action occurs since the time of data capture. The certain location, named as “Snapshot virtual disk”, is
essentially a new virtual disk which can be attached to a LUN provisioned to a host as a disk like other
ordinary virtual disks in the system.
Rollback restores the data back to the state of any time which was previously captured in case for any
unfortunate reason it might be (e.g. virus attack, data corruption, human errors and so on). Snapshot virtual
disk is allocated within the same RAID group in which the snapshot is taken, we suggest to reserve 20% of
the RAID group size or more for snapshot space. Please refer to the following figure for snapshot concept.
Take a Snapshot
Take an example of taking a snapshot.
1.
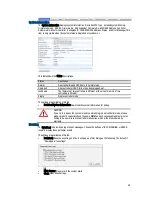
Before taking a snapshot, it must reserve some storage space for saving variant data. There are two
methods to set snapshot space. In Virtual Disks tab, selects a virtual disk. And then click
▼
-> Set
Snapshot Space or in Snapshots tab, click Set Snapshot Space button.
2.
Enter a Size which is reserved for the snapshot space, and then click OK button. The minimum size is
suggested to be 20% of the virtual disk size. Now there are two numbers in Snapshot Space (GB)
column in Virtual Disks tab. They mean used snapshot space and total snapshot space.
3.
There are two methods to take snapshot. In Virtual Disks tab, selects a virtual disk. And then click
▼
-> Take a Snapshot or in Snapshots tab, click Take a Snapshot button.
4.
Enter a Snapshot Name.
5.
Click OK button. The snapshot is taken.


