


19
Rev. 170322
i3-TRNG-CAMS-Ax47DC-UM.indd
8.
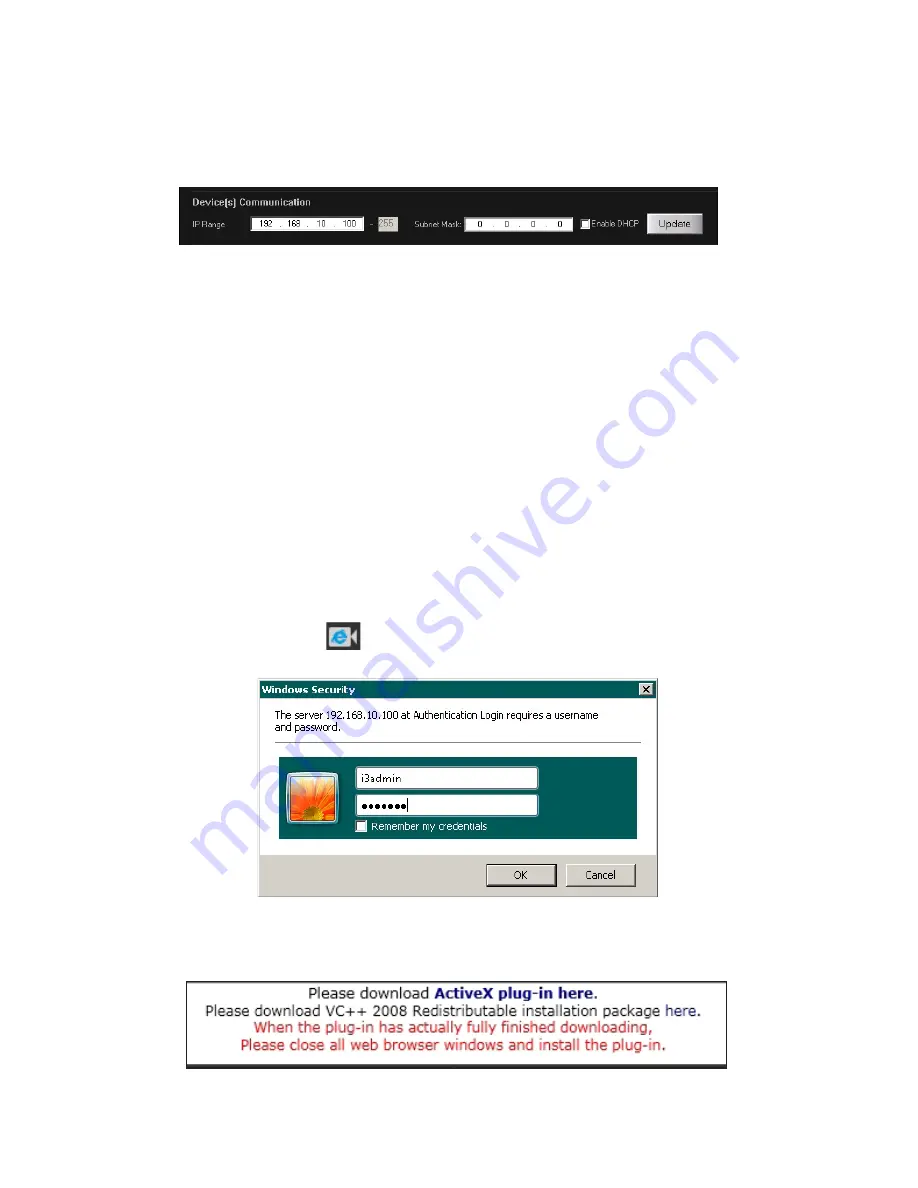
Enter the new IP address and Subnet Mask of the camera in the Device(s)
Communication Update area and click
Update
. The new camera IP address must
match the
original
range of your SRX-Pro LAN or NIC1 card. E.g. If your original
SRX-Pro Server’s IP address was 192.168.10.122, change your Annexxus camera’s
IP address to 192.168.10.XXX.
Remember:
Annexxus Cameras cannot share an IP address, each camera requires
its own unique IP address.
9.
Click
Yes
in the confirmation window. Wait a few moments for a “
Success
”
message in the Result field.
10.
Repeat Steps 7-9 for all detected Annexxus cameras in the ACT OR Select multiple
cameras (Ctrl + left-click) and enter IP range to assign IP addresses sequentially to
the selected cameras.
11.
Change the IP address of the NIC/NIC1 back to its original setting (reverse Step 2).
6.5 Viewing Camera in IE browser
Once the IP address of the Annexxus camera(s) has been changed, make sure you can
connect to the camera(s) through Internet Explorer.
1.
Open an Internet browser window and enter the new IP Address you have just
assigned to your Annexxus camera in Step 7. Or click the IE icon in the ACT window
next to your camera.
2.
Enter the default camera User Name:
i3admin
and Password:
i3admin
.
3.
Annexxus camera interface will be displayed in the Internet Explorer window.
4.
If you have not connected to an Annexxus camera via IE before, you will see the
following ActiveX download message.


