22
ZT-2800
®
/ZT-3100™/ZT-3400™
fan and pULLeY
NOTE:
It is necessary to remove the
transaxle from the vehicle before performing the
repair procedures presented in this section. To
remove the wheel from the hub, do so by
removing the lug nuts.
Do not remove the
axle/hub nut unless replacing the hub, the
axle seal or removing the axle shaft.
Before starting any disassembly, make certain
that your work area is neat and clean. Clean
the external parts of the transaxle.
The following procedures are presented in the
order recommended for a complete tear down
of the transaxle.
Do not disassemble the unit any farther than
necessary to accomplish the required repairs.
Reassembly is accomplished by performing
the “Assembly” portions of the procedures. If
the unit has been completely disassembled, a
summary of the assembly procedures, in the
order in which they should occur, is given on
page 38.
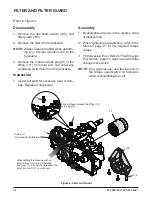
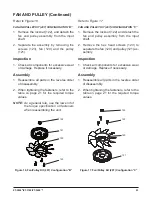
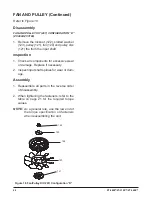
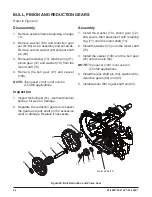
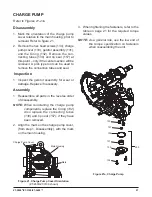
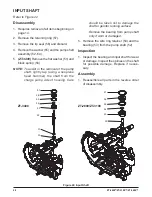
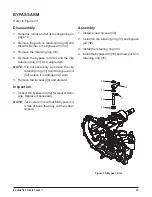
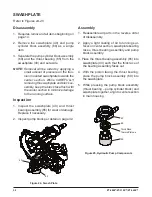
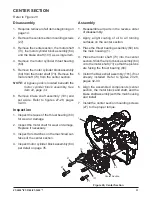
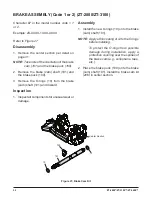
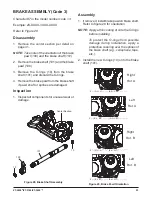
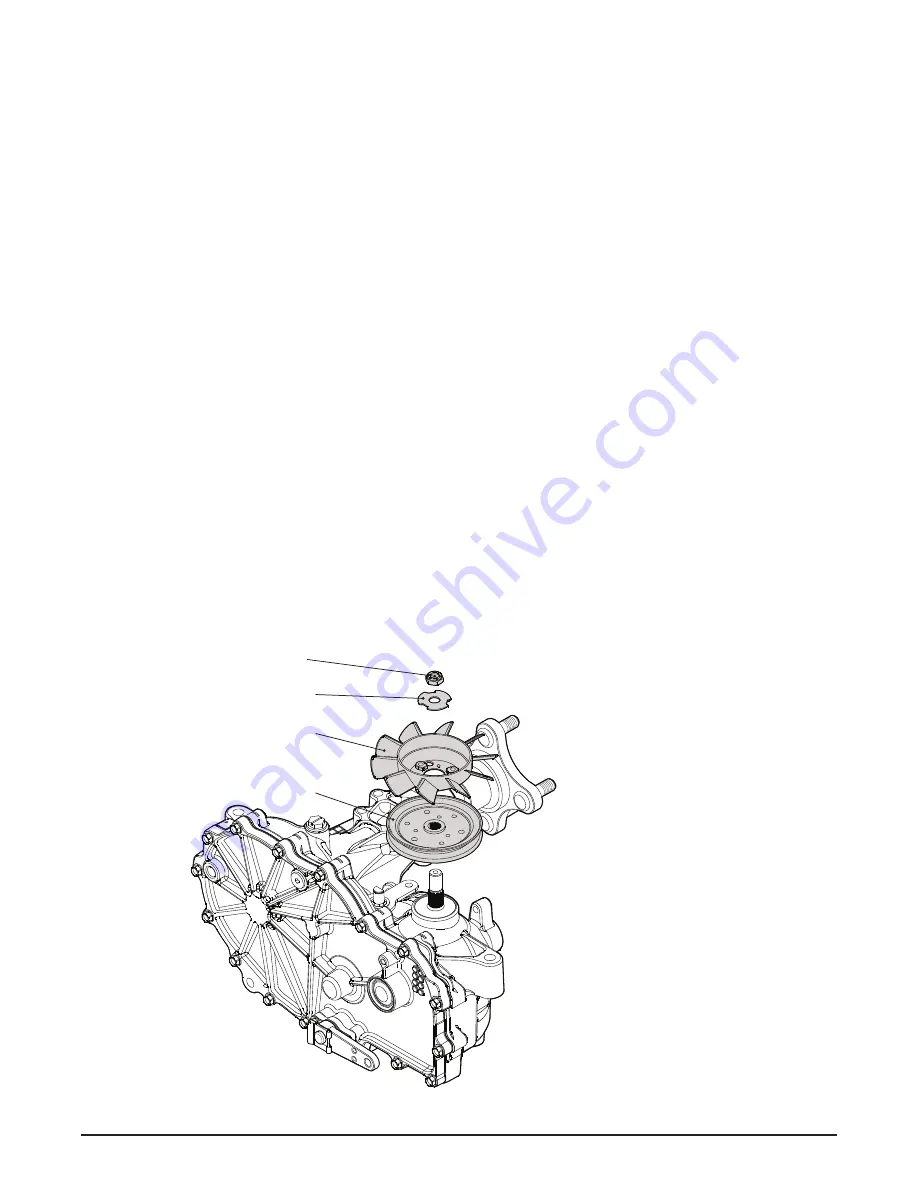
Figure 15, Fan/Pulley Kit (207) Configuration “A”
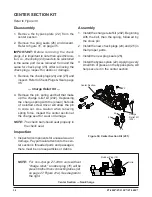
Refer to Figure 15
disassembly
FAN AND PULLEY KIT (207) CONFIGURATION “A”
1. Remove the locknut (122), slotted washer
(123), fan (120) and the pulley (121) from
the input shaft.
i
nspection
1. Check all components for excessive wear
or damage. Replace if necessary.
2. Inspect input shaft splines for wear or dam-
age.
assembly
1. Reassemble all parts in the reverse order
of disassembly.
2. When tightening the fasteners, refer to the
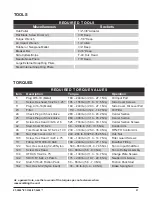
table on page 21 for the required torque
values.
NOTE:
As a general rule, use the low end of
the torque specification on fasteners
when reassembling the unit.
TransaXLe reMOVaL
122
123
120
121

